WE SCAR-L and SCAR-H Installation GuideUpdated 5 months ago
WE SCAR-L and SCAR-H Installation Guide
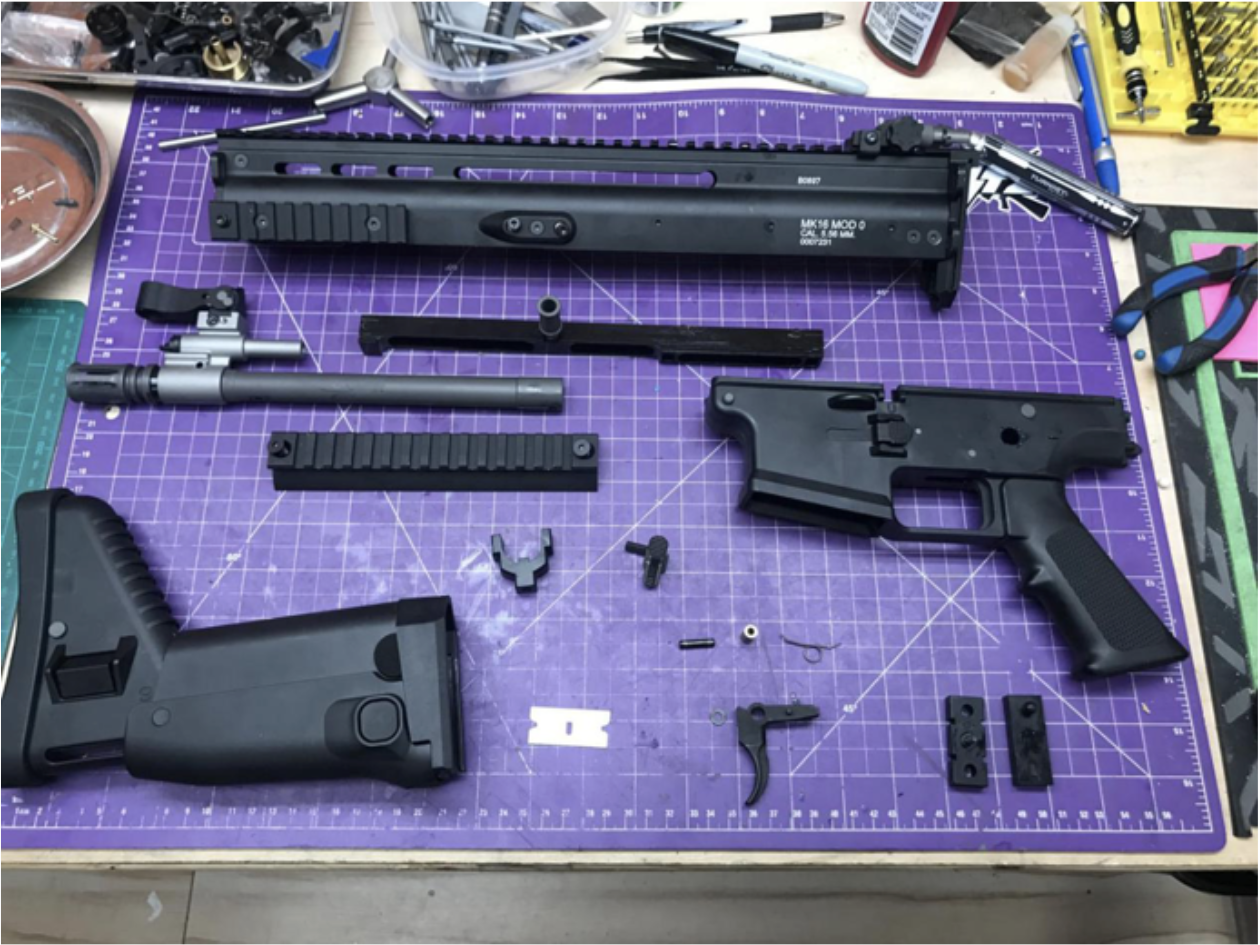
Prepare everything you need from a stock WE SCAR body:
Hopup rubber is inside the hopup chamber. (Knife is not included)
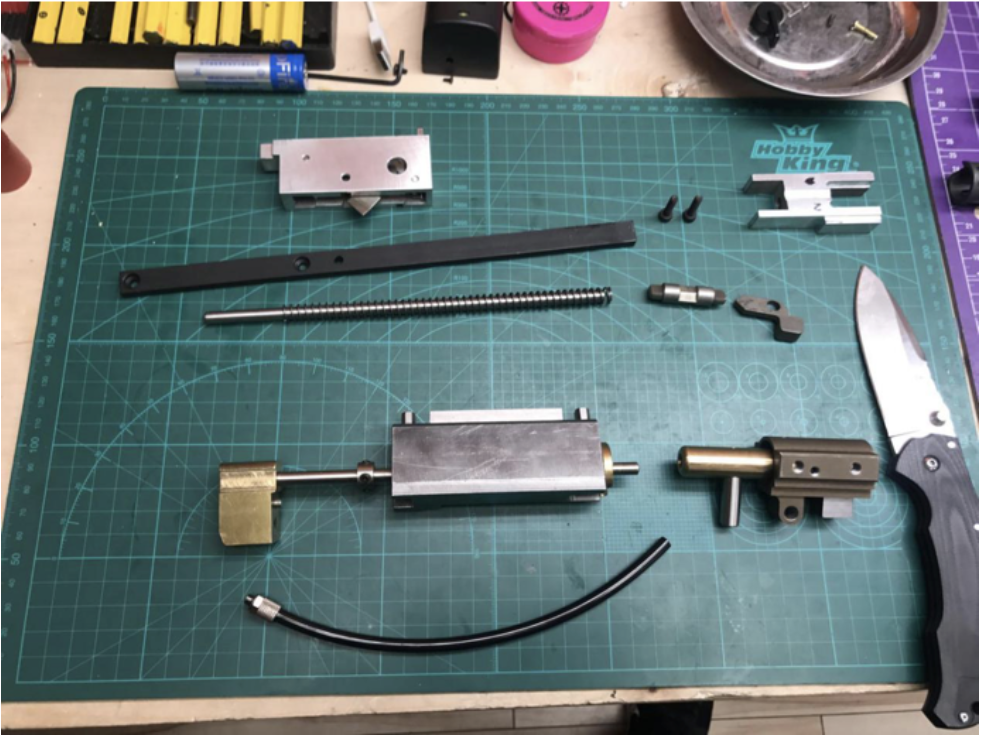
Everything in Daytona Gun Kit:
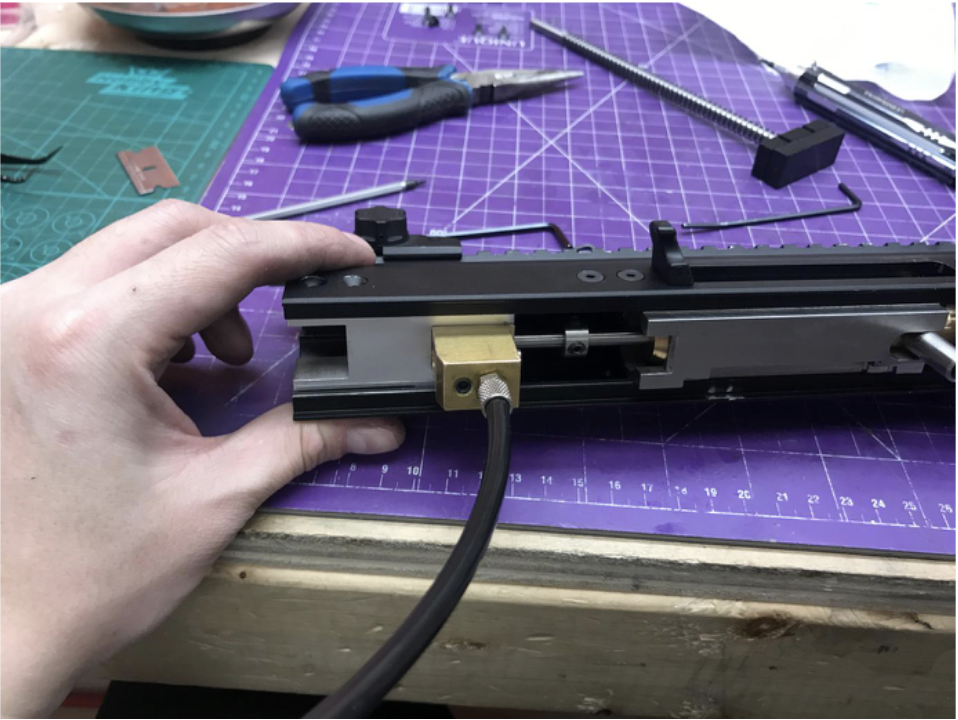
DO NOT OVERTIGHTEN THE AIR LINE FITTING. IT SHOULD BE FINGER TIGHT ONLY WITH A SMALL AMOUNT OF THREAD LOCK APPLIED TO THE THREADS. Overtightening may result in breaking the fitting. DGA will not be held responsible for fittings broken by overtightening.
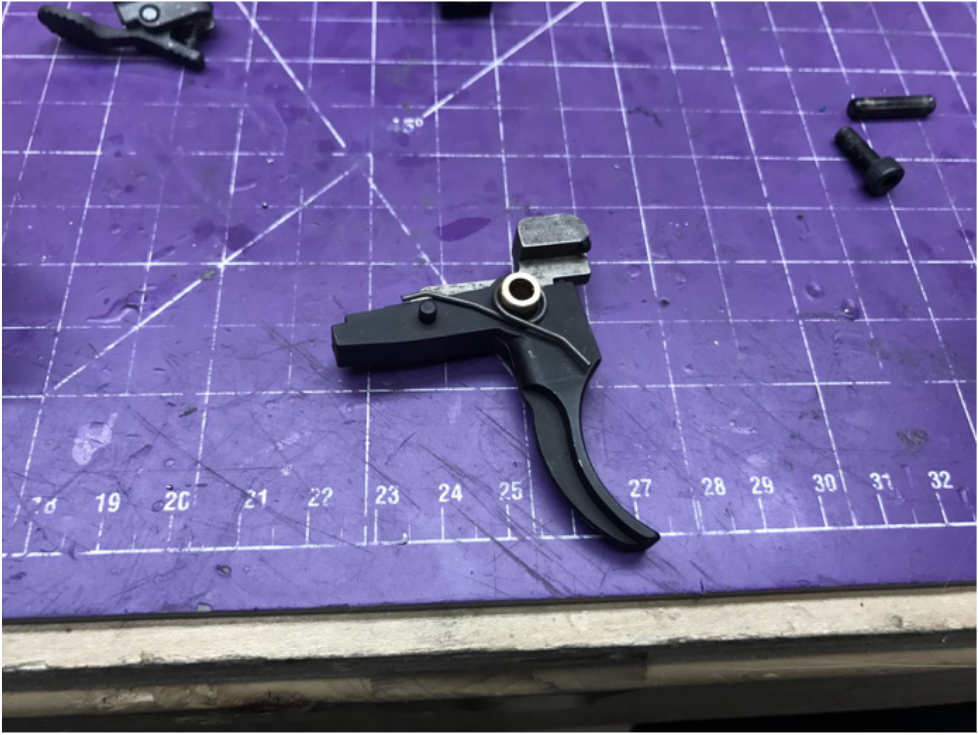
Put trigger assembly together. This includes the trigger, sear, and brass tube. Trigger spring is no longer needed. Adjust trigger mod to eliminate the gap.
Insert the trigger and sear into the trigger box. You may take off the rear lever so it leaves more room to drop in the trigger.
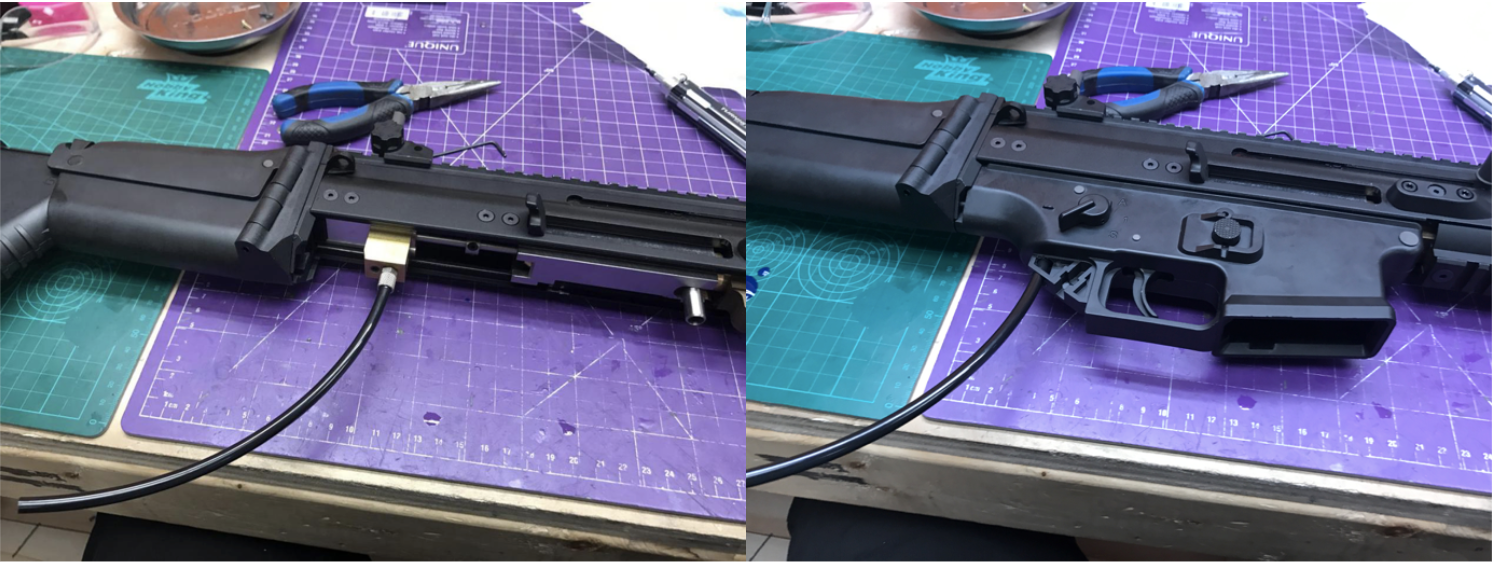
Drill the hole on the receiver for the air line to come out. Measure it before you put the bit down!
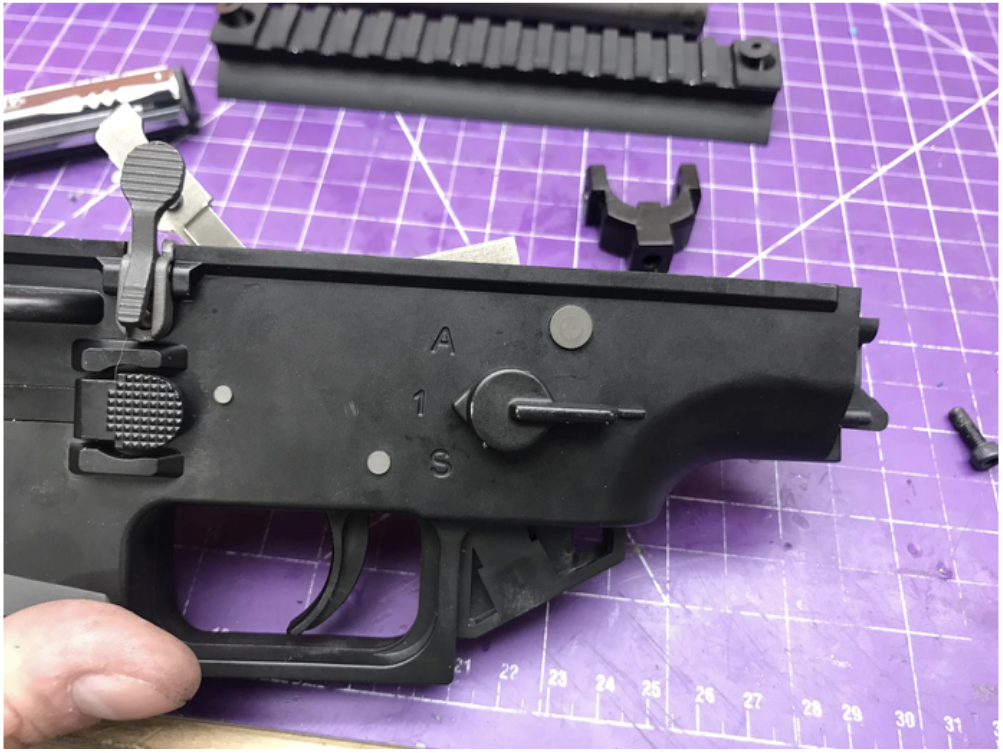
You may now drop in the trigger box. Make sure alignment is proper so the fire selector can be directly inserted.
Drill a hole in the pistol grip to allow the air line to go through (GBB-spec or real AR15 grip will work).
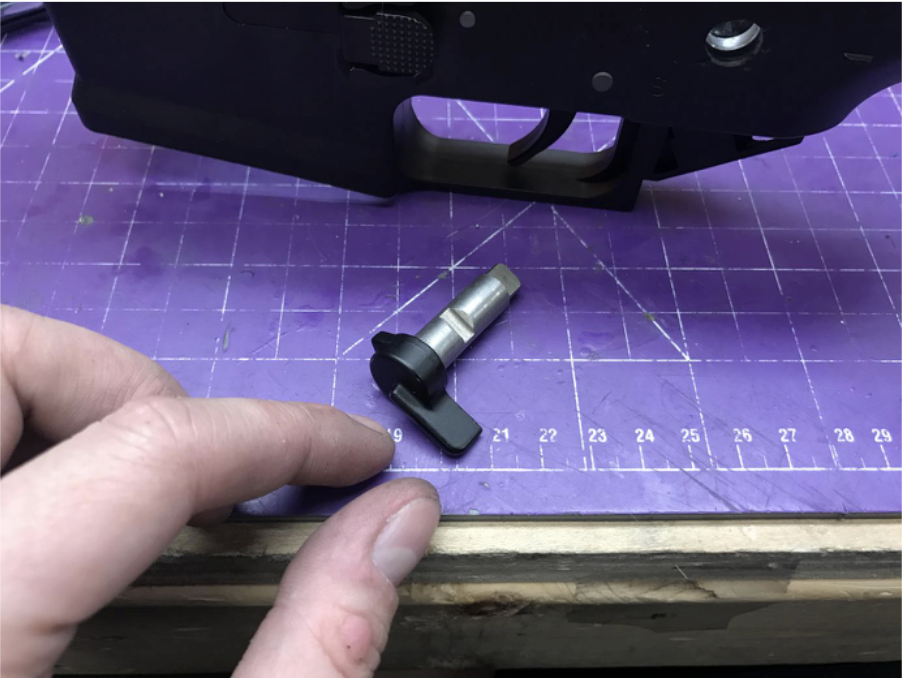
Put stock fire selector switch on the Daytona Gun selector bar. Make sure the hex screw is facing downward. The full-auto undercut on the selector bar should be closer to the left side.
Put the fire selector back in. Close and tighten the switch on the other side. Screw in the trigger box screw on the right side above the magazine release. (Bolt catch is purely aesthetic. Cut the actual catch to put it back on the receiver).
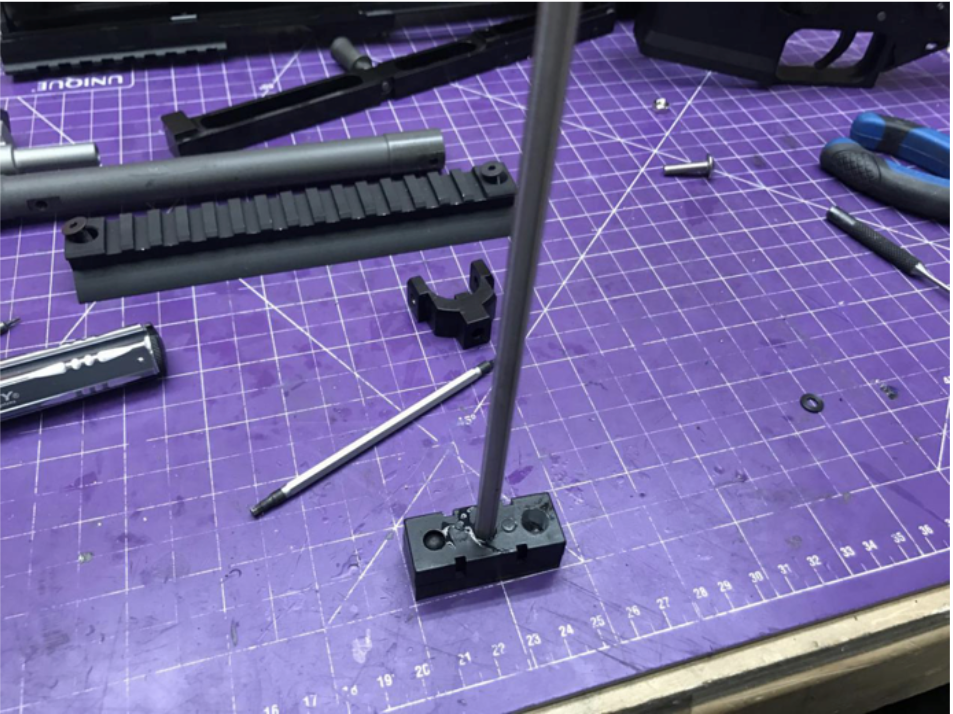
Recoil Spring guide:
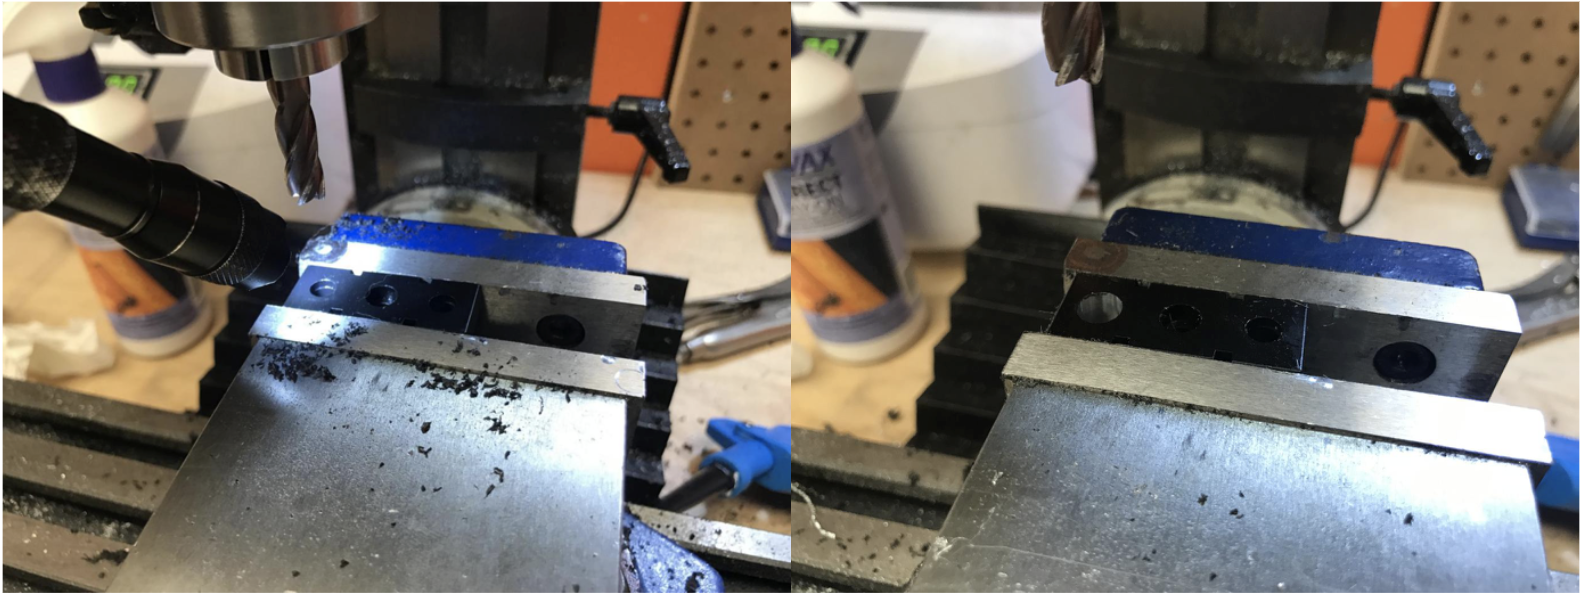
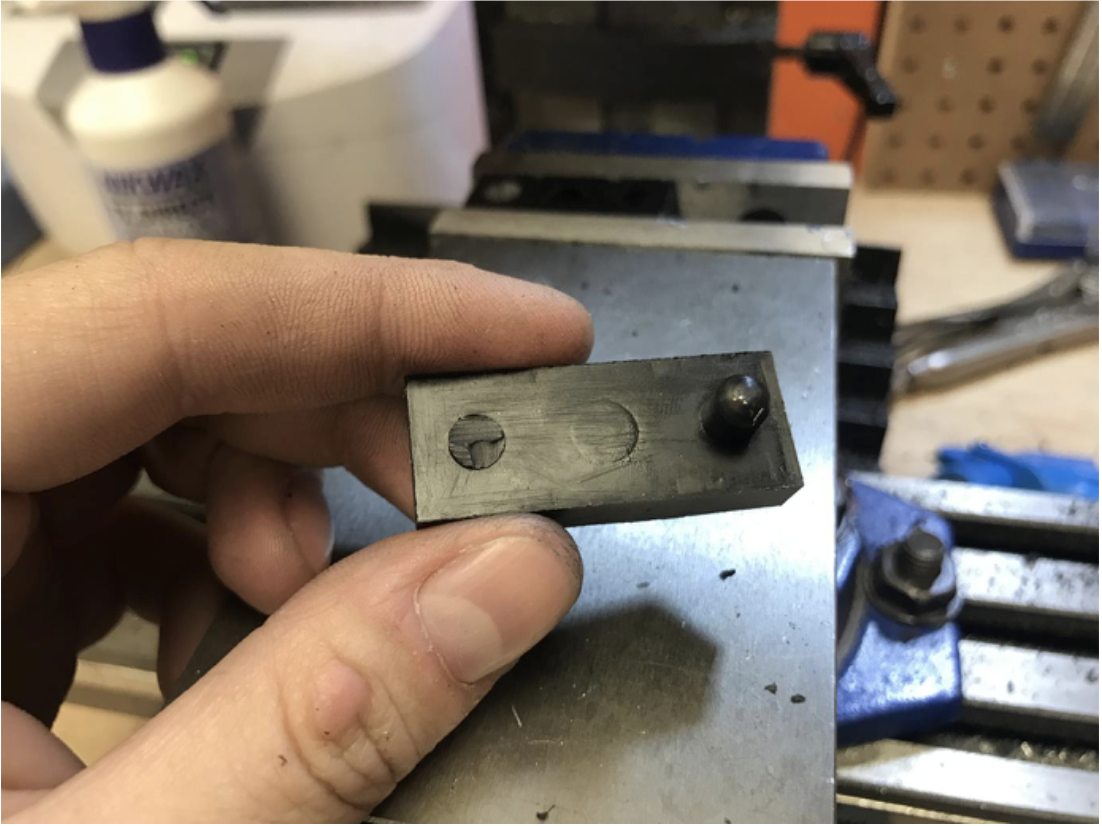
Drill a bigger hole on one of 2 holes (does not matter which one).
This is to ensure that the shaft will not hit the edge of the hole and potentially damage it.
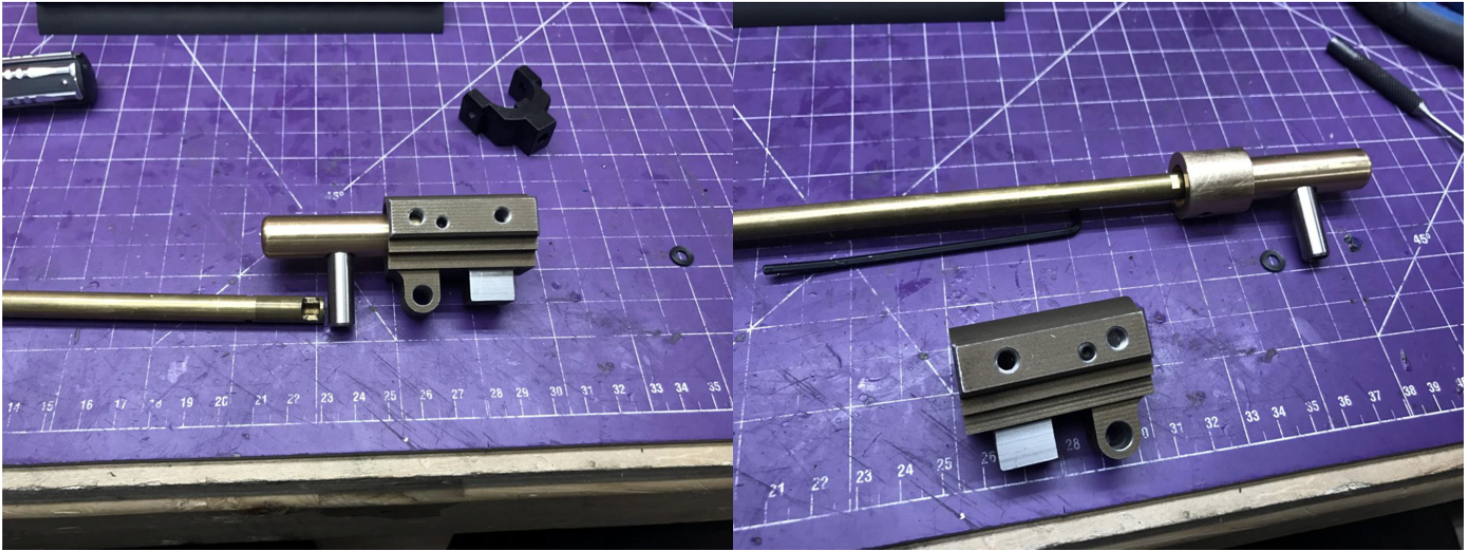
Recoil spring guide rubber pad:
Cut one notch off to allow the airshaft to blow back fully.
Screw the Daytona recoil spring rod and spring onto spring guide. Thread lock it.
Make sure your rubber pad notch goes in the smaller hole on the spring guide.
Bolt assembly.
Put the stock WE bolt carrier on top of Daytona Gun Steel Bolt Carrier (you may use a rubber mallet to hammer it in). Then put the top-weight onto it and tighten screws on it. Remember to apply thread lock. Drill through the hole on the steel top-weight to allow hopup Adjustment.

Drill the hopup hole. Measure twice before you actually drill it. Location may vary on each body so make sure you do the measurement first.
It will be around the Slot #21 area.

Prepare the hopup unit.
Get an AEG barrel, either brass or steel (aluminum barrel will bend).
Make sure you align the hopup and barrel straight, and that the nub is perfectly centered. Locktite every screw you touch in this step.
Tighten up the side screws, reinsert outer barrel and front nub, and slide on the bottom rail.
Tighten and thread lock all screws you touch in this step.
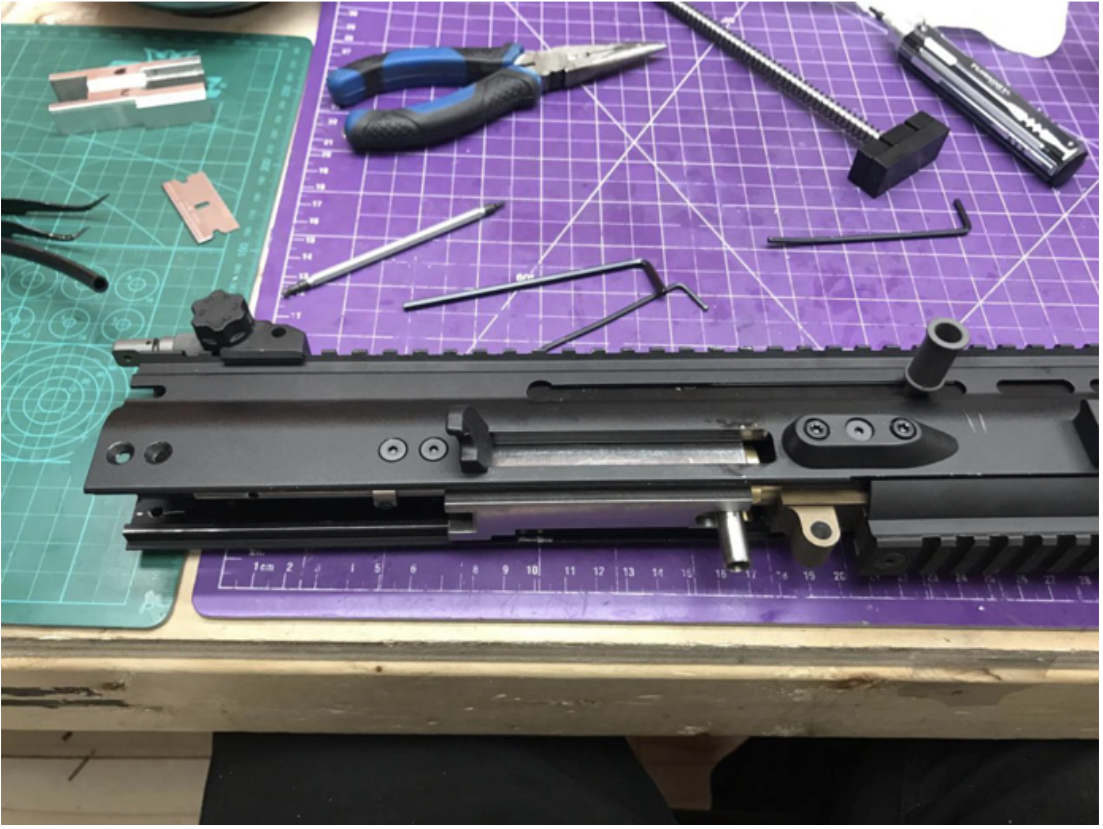
Put the bolt assembly back in. Remember your charging handle.
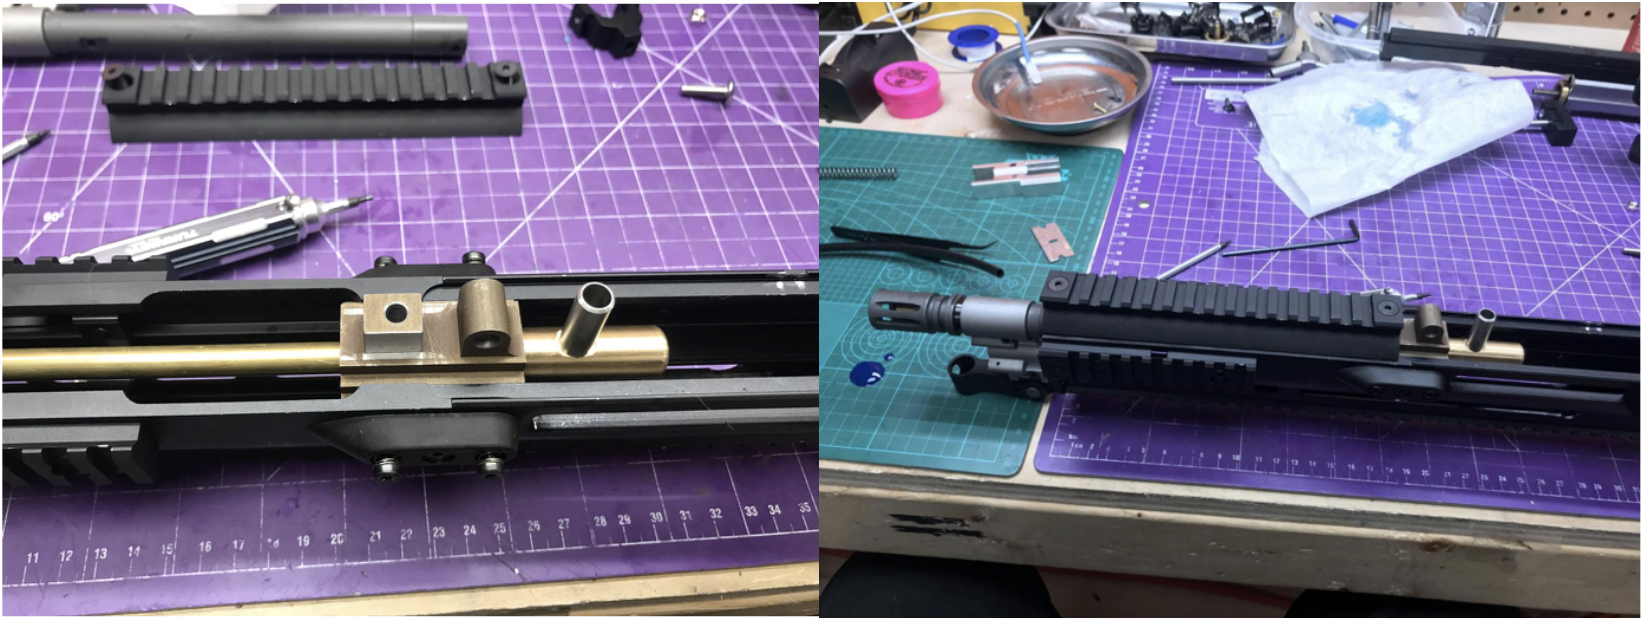
Put back in the air valve unit and the aluminum block.
Keep an eye out for the direction that it goes in.
Tighten up the 5 screws on the sides and top. Loctite them.
Reinstall the stock and put the receiver back on.
Put your pistol grip back on the receiver and fasten the screw. The system is now ready to go.
Remember to lube it before you test fire.
Once you confirm there are no heavy chops/jams then the system is good. Apply some moderate hop and have fun.