WE M4/HK416/Raptor and M16 Installation GuideUpdated 5 months ago
WE M4/HK416 and M16 Installation Guide
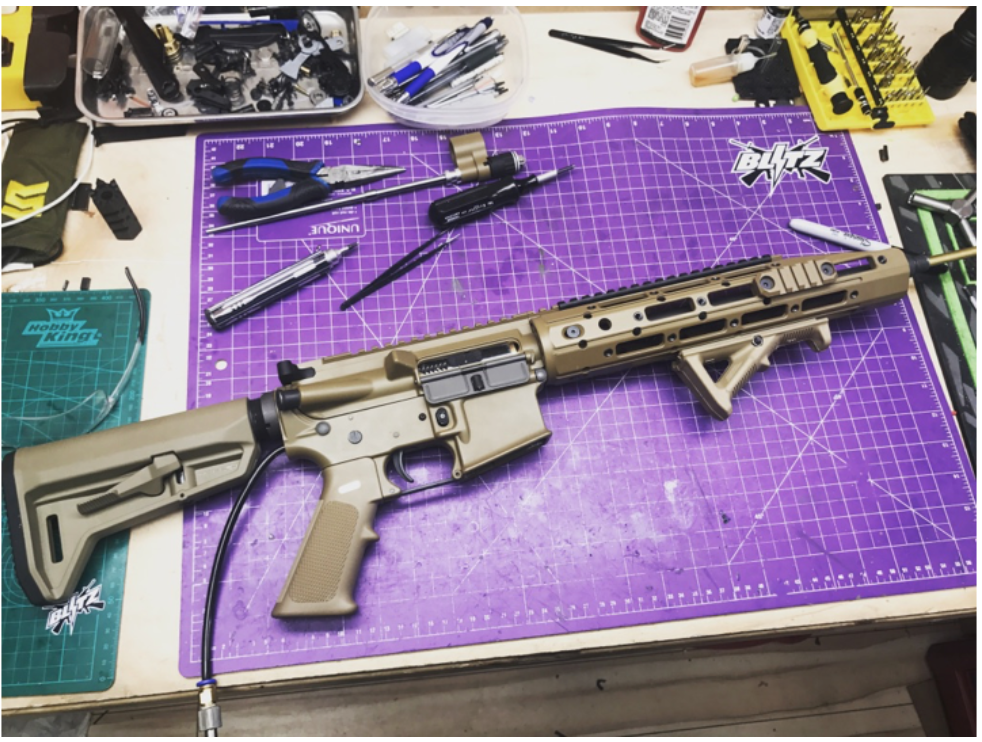
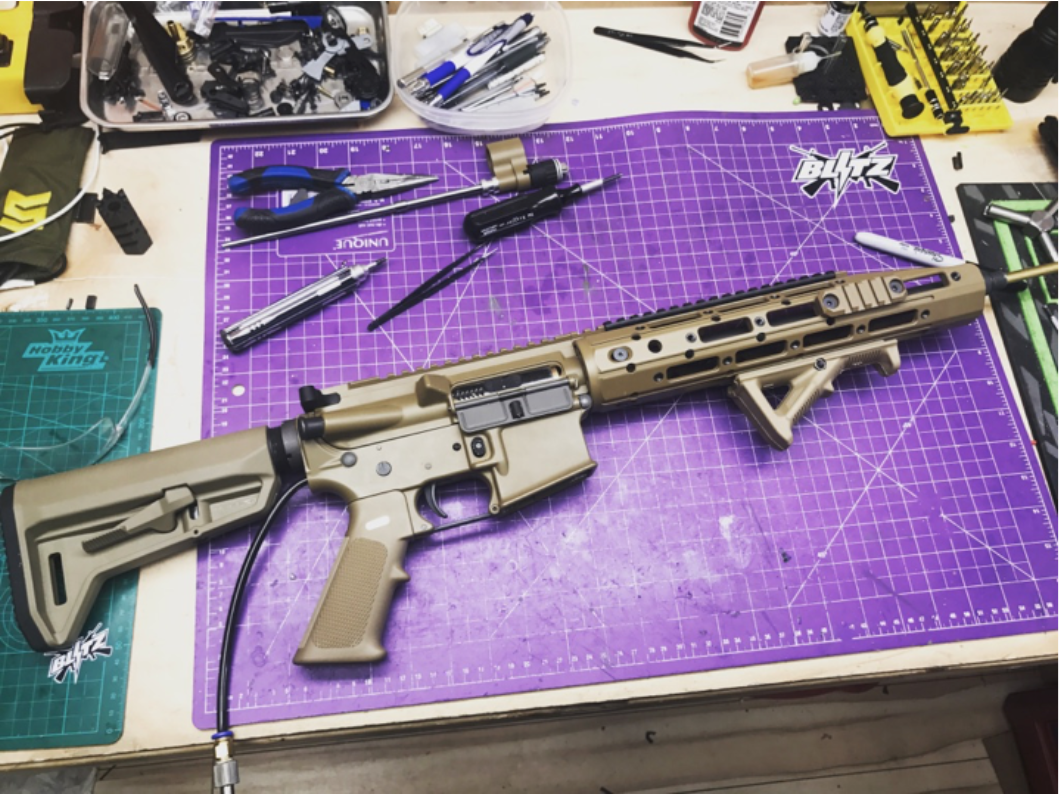
The tutorial uses a WE Raptor Body. However, all WE M4/HK416 and RA-Tech Forged WE bodies will be the same.
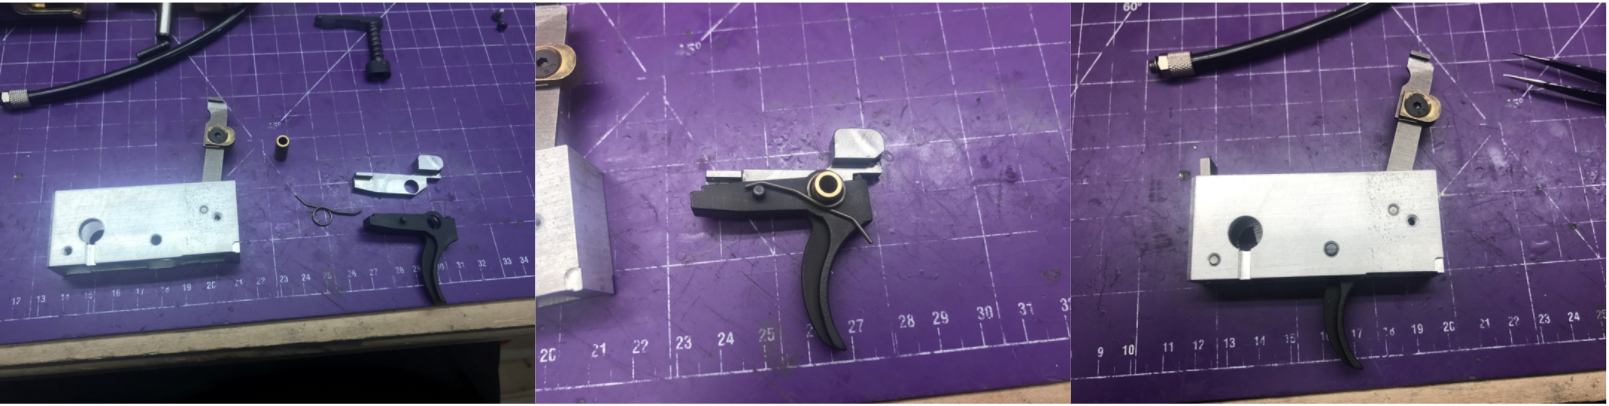
Prepare your trigger assembly
Things you need from stock WE Body: trigger, trigger spring, brass tube and lock pin.
You can perform trigger mod on the sear before trigger installation.
Once you put them together you can set them aside.
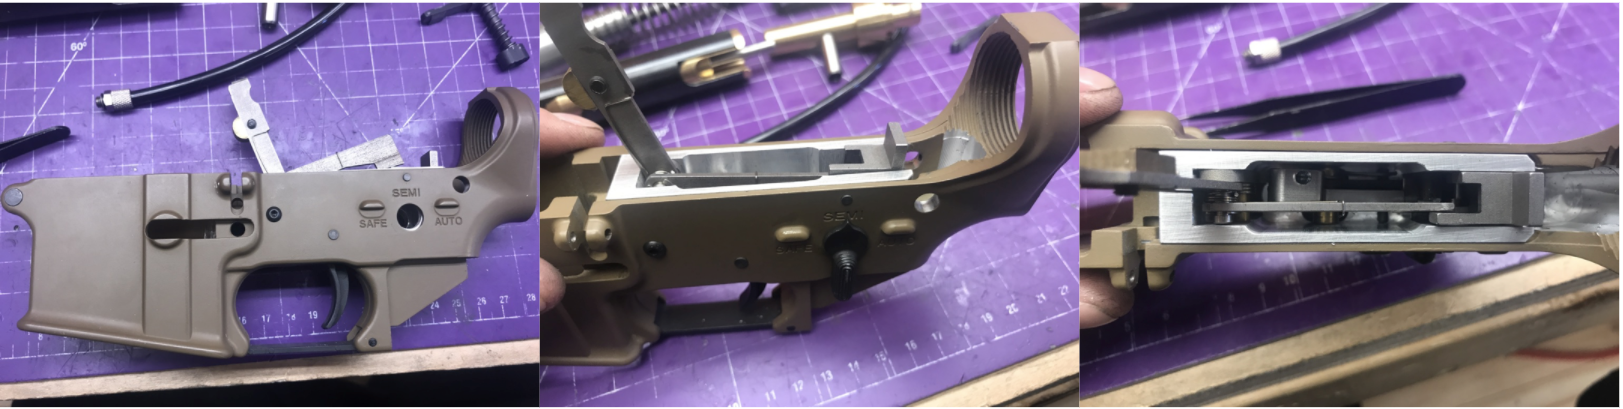
Lower receiver
Mill out some material on the rear part of the receiver.
Recoil spring retention pin can be removed by pushing a flat head screwdriver to unscrew.
Be extra cautious and use a brass air valve to check (constantly) if you have milled enough material. Overcutting will cause a wobbling issue.
One hole needs to be drilled at the rear of the receiver if you plan to do a buffer tube line instead of a grip line (grip line installation in the separate tutorial).
1/4inch drill bit or 7mm drill bit for stock airline. 3/8inch bit or 9mm bit for DGIL.
Drill the same hole on your sling mount/buffer tube plate.
Right behind the front body pin, a small section needs to be cut in order to let the feed tube through for easier assembly/disassembly of the gun for maintenance.
Now the trigger assembly can be dropped into the lower receiver, after which the fire selector can be installed back in (the selector needs some small modification, check the Fire Selector Cut Tutorial).
You can slightly adjust your trigger mod to achieve better trigger pull and maximize the airflow.
Mag release, buffer tube, and bolt catch can be put back.
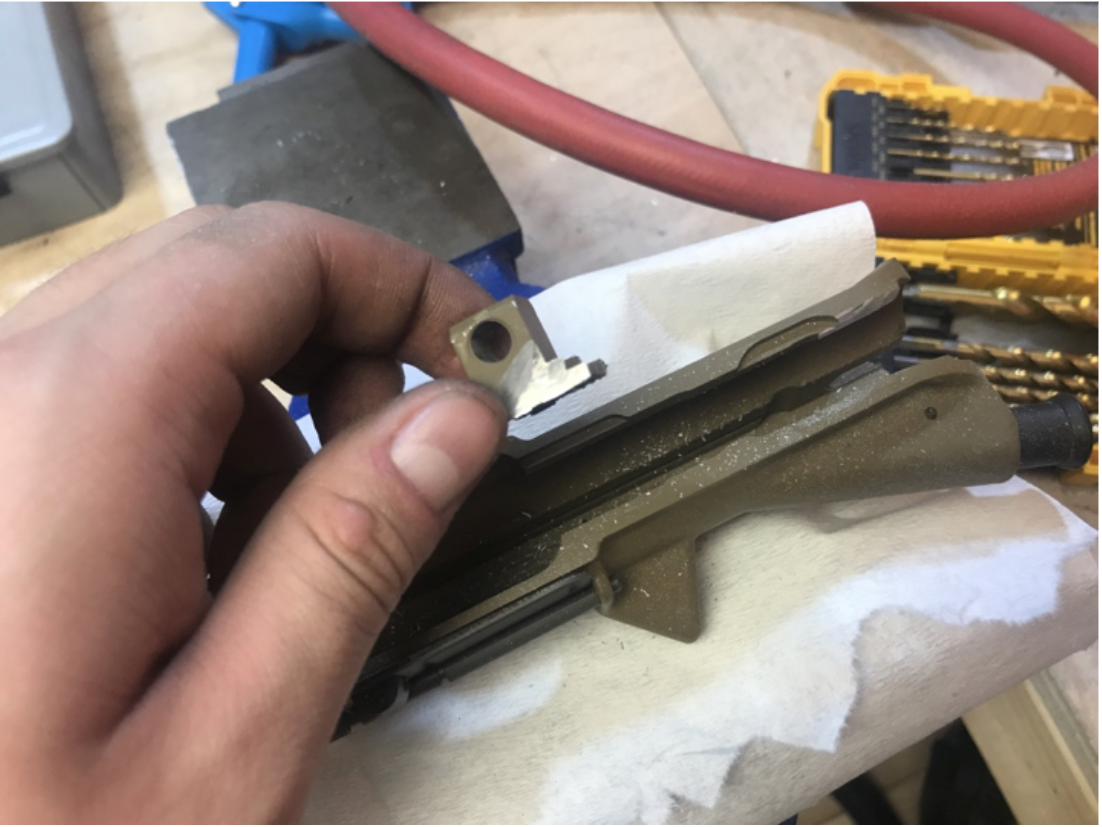
You need to cut the bolt catch to fit back in the receiver. This is purely cosmetic. Functional bolt catch is currently under R&D.
Put the air valve back and connect it to the airline. After complete installation, remember to put a bit of Loctite on the airline fitting.
DO NOT OVERTIGHTEN THE AIR LINE FITTING. IT SHOULD BE FINGER TIGHT ONLY WITH A SMALL AMOUNT OF THREAD LOCK APPLIED TO THE THREADS. Overtightening may result in breaking the fitting. DGA will not be held responsible for fittings broken by overtightening.
Put two side screws on the trigger guide to lock up the trigger mech box.
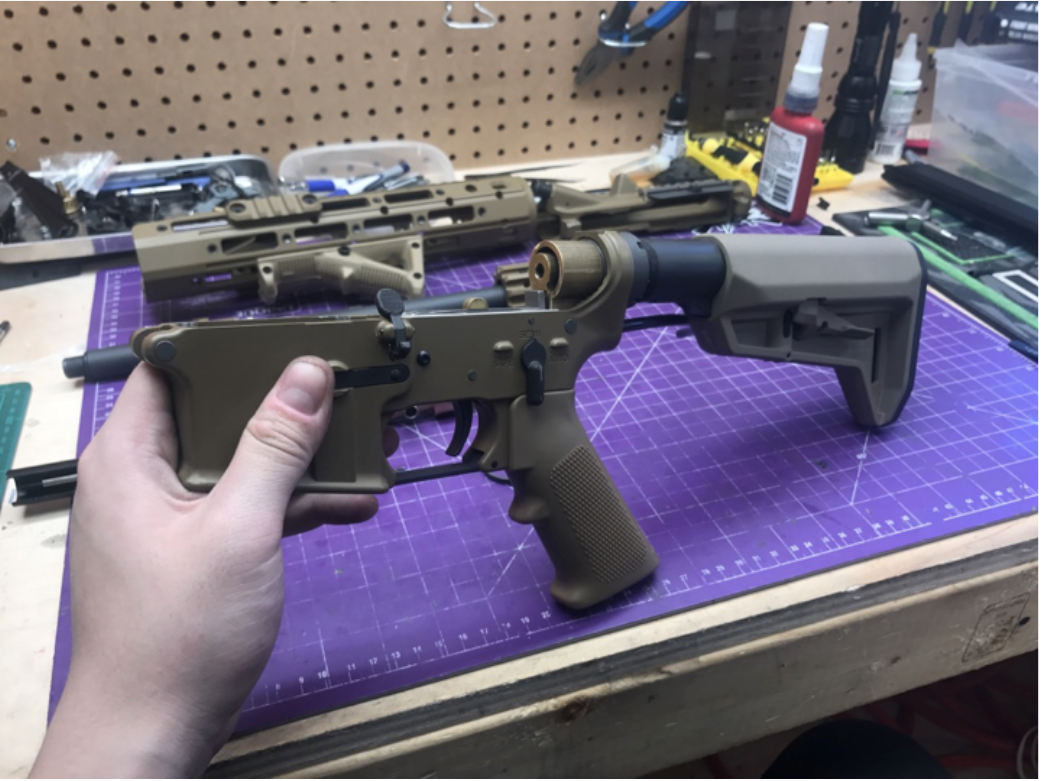
The lower receiver is now ready.
Upper receiver
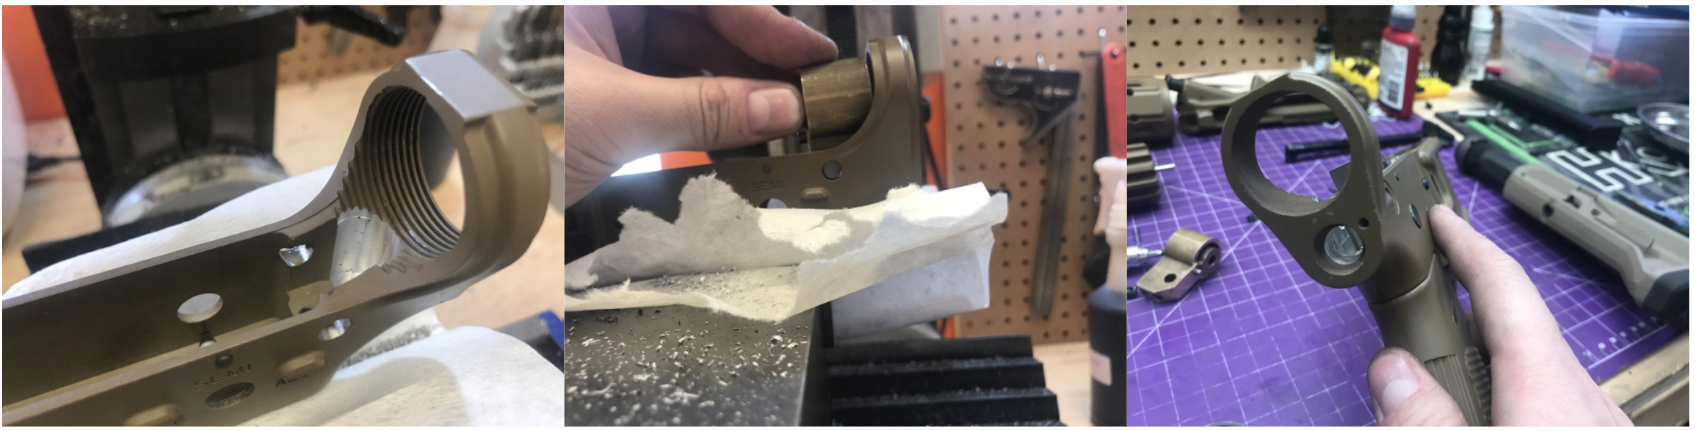
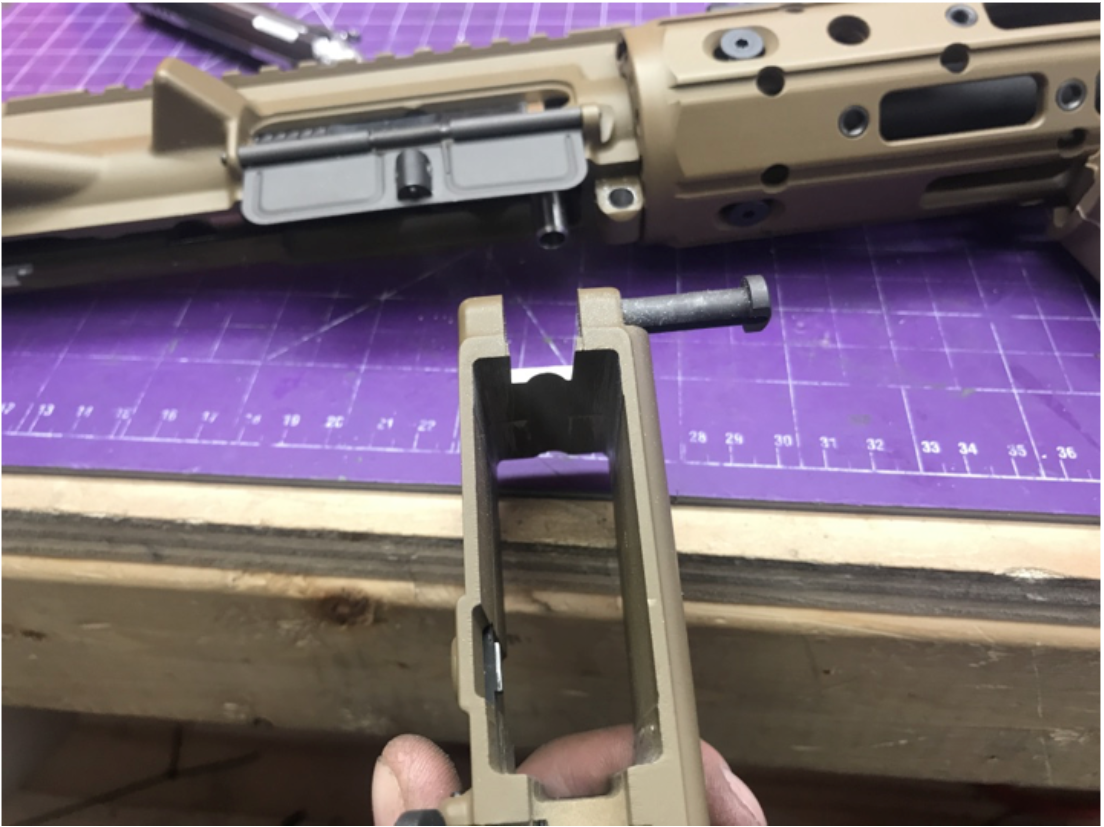
Cut off the rear body pin block. Make sure both edges are flat and smooth.
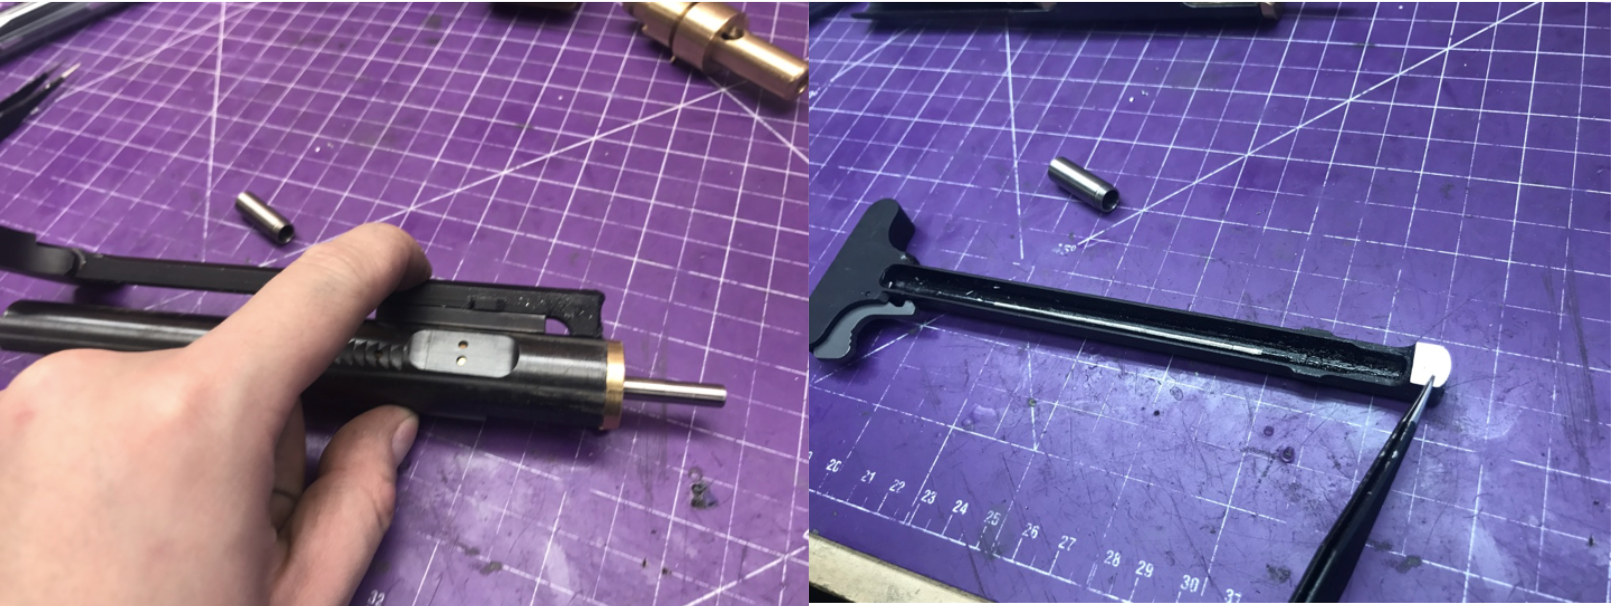
Cut and file the front part of the charging handle so that it can sit flat on top of the bolt carrier.
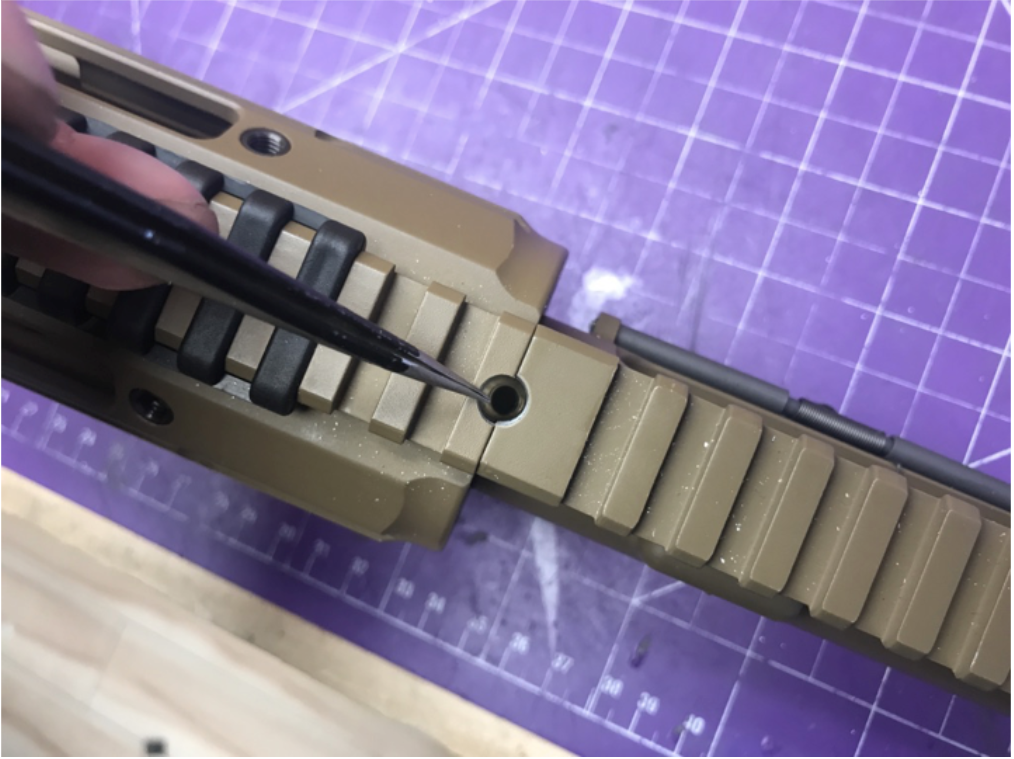
Then you can drill the hole for hopup adjustment access. It is recommended to use a 3/8 (or 8.5mm or 9mm) drill bit for this process. While not required, it will be much easier for hopup adjustment.
Make sure when you drill the hole, the hopup unit is not installed so you won't damage it.
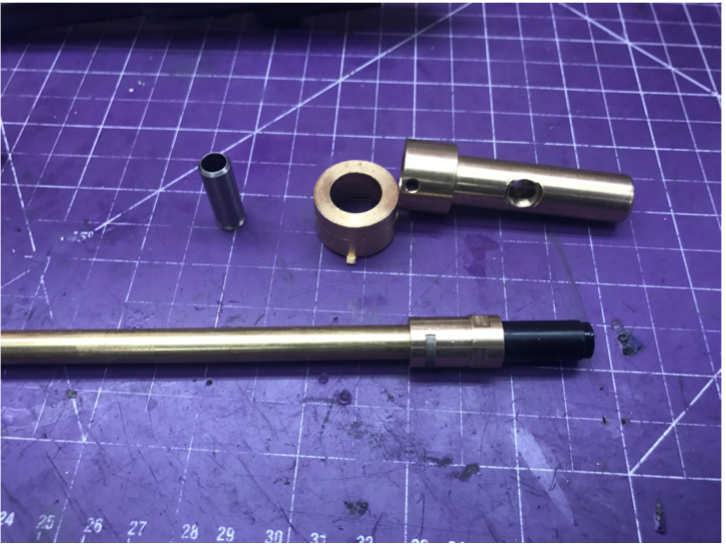
Assembling the Hopup unit
Put hopup rubber on the barrel, then slide barrel ring onto hopup rubber from the other side. Make sure it sits nice and neat.
Align your barrel and barrel ring until you can smoothly put the steel c-clip in. If you feel the c-clip is stiff, don’t try to force it in as you may break it. The file is your best friend here.
After that, drop your barrel assembly into the main chamber and tighten up your set screws (don’t forget blue Loctite).
Put the bigger brass spacer ring onto the hopup unit then fit it into the receiver. Thread your feeding tube on afterward.
M4 gas tube. You need to cut the tube off before the hopup adjustment hole. The recommendation is 6mm away from the upper receiver.

Put charging handle and bolt back into the upper receiver.
Close it up with the lower.
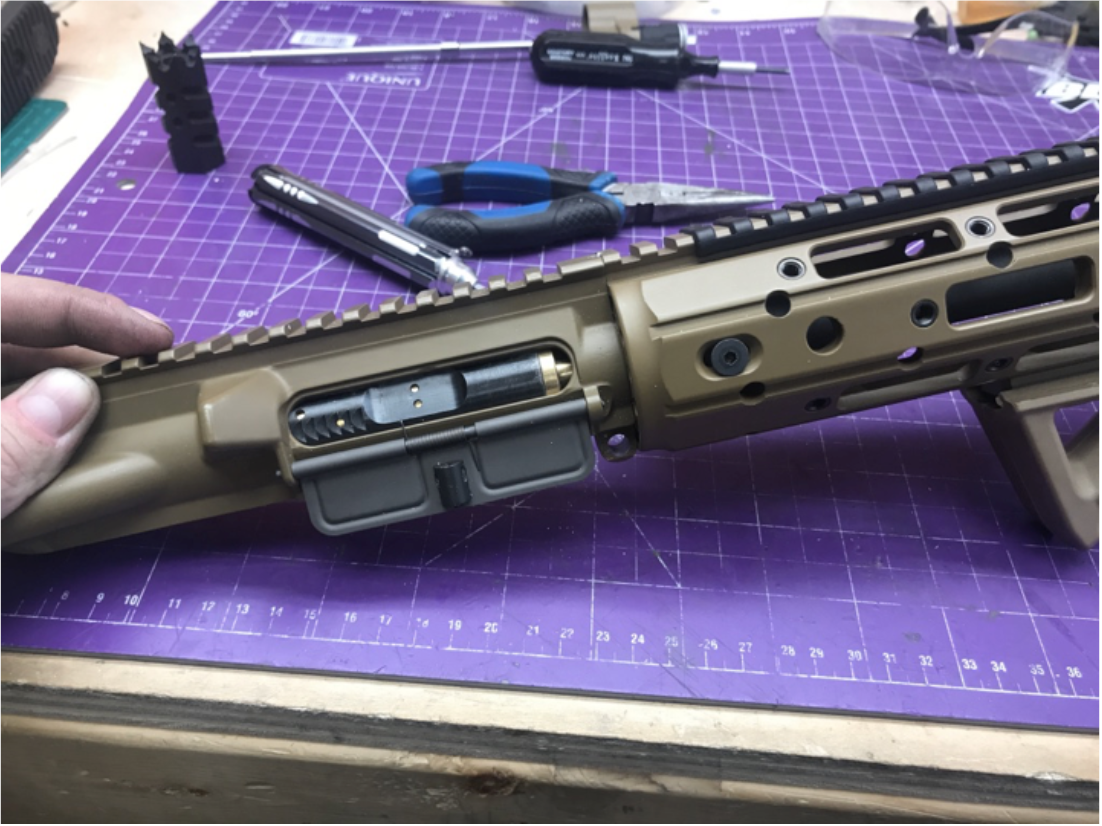
Finish everything up and test fire (after letting the Loctite set for at least 1 hr).
Don’t forget to lube it.