CA G36 Series Installation GuideUpdated 5 months ago
Daytona Gun HPA G36 Installation Guide
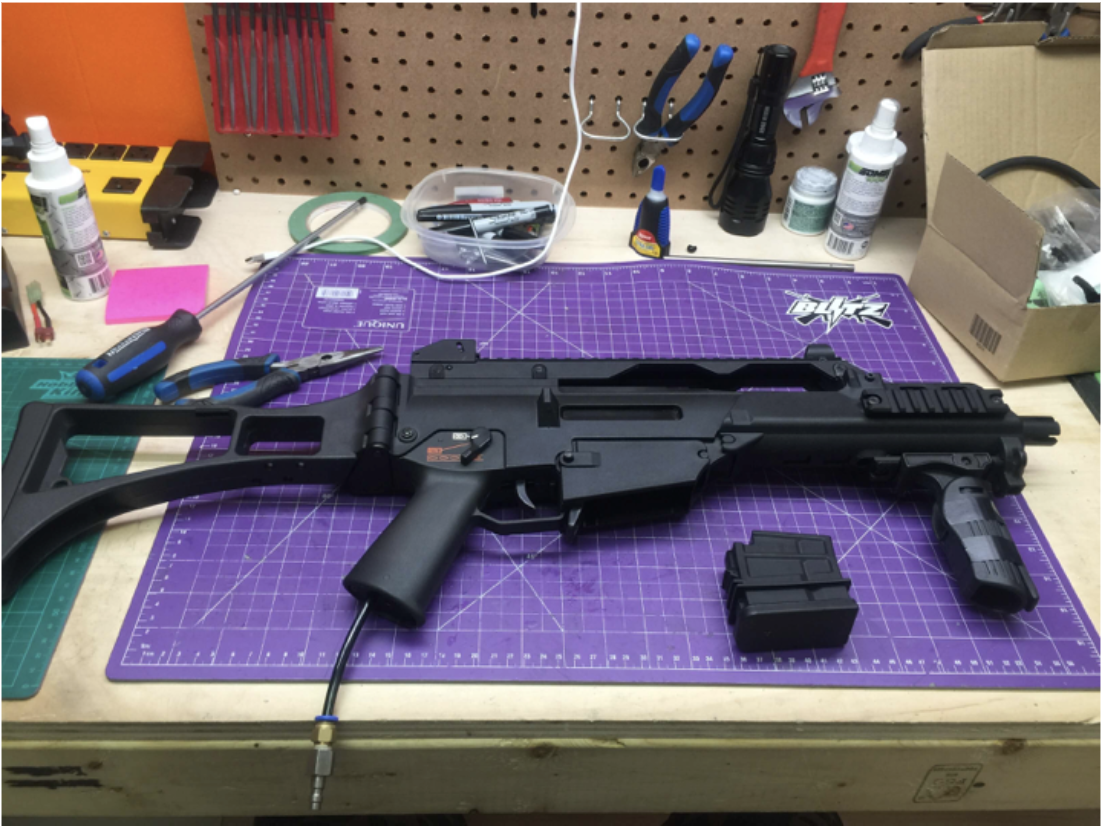
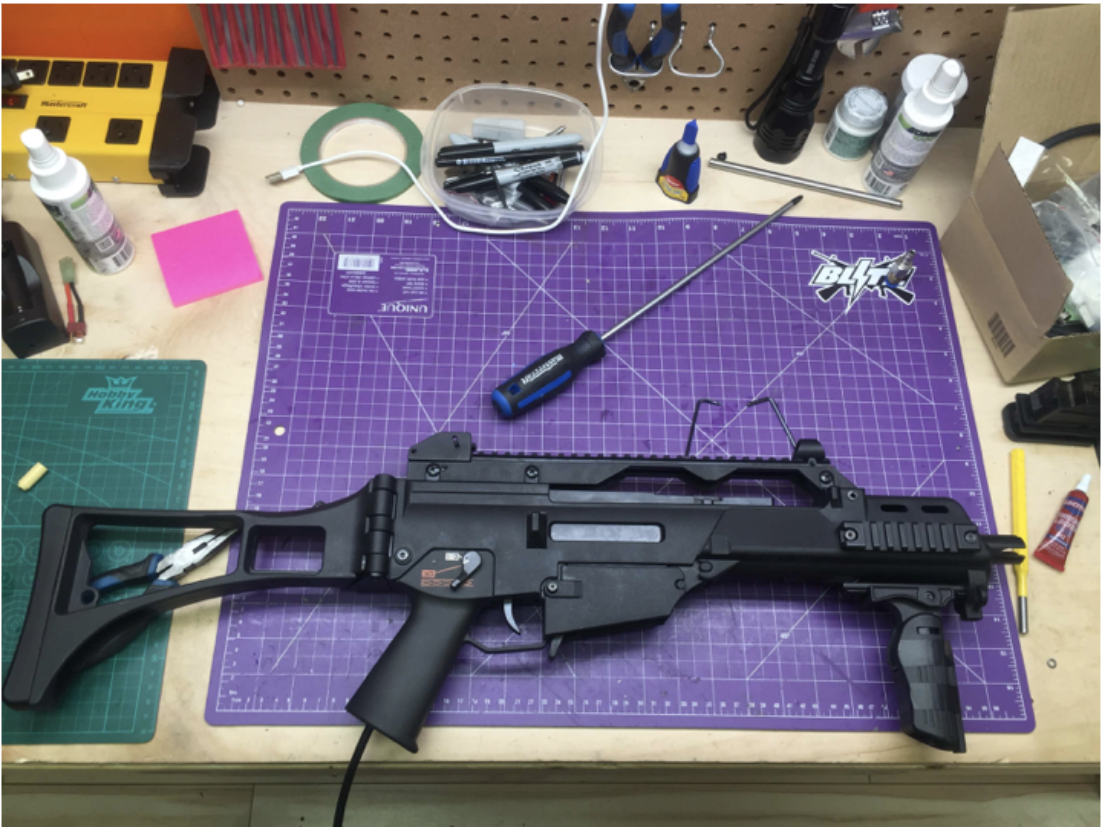
Daytona Gun CA G36 Full Kit.
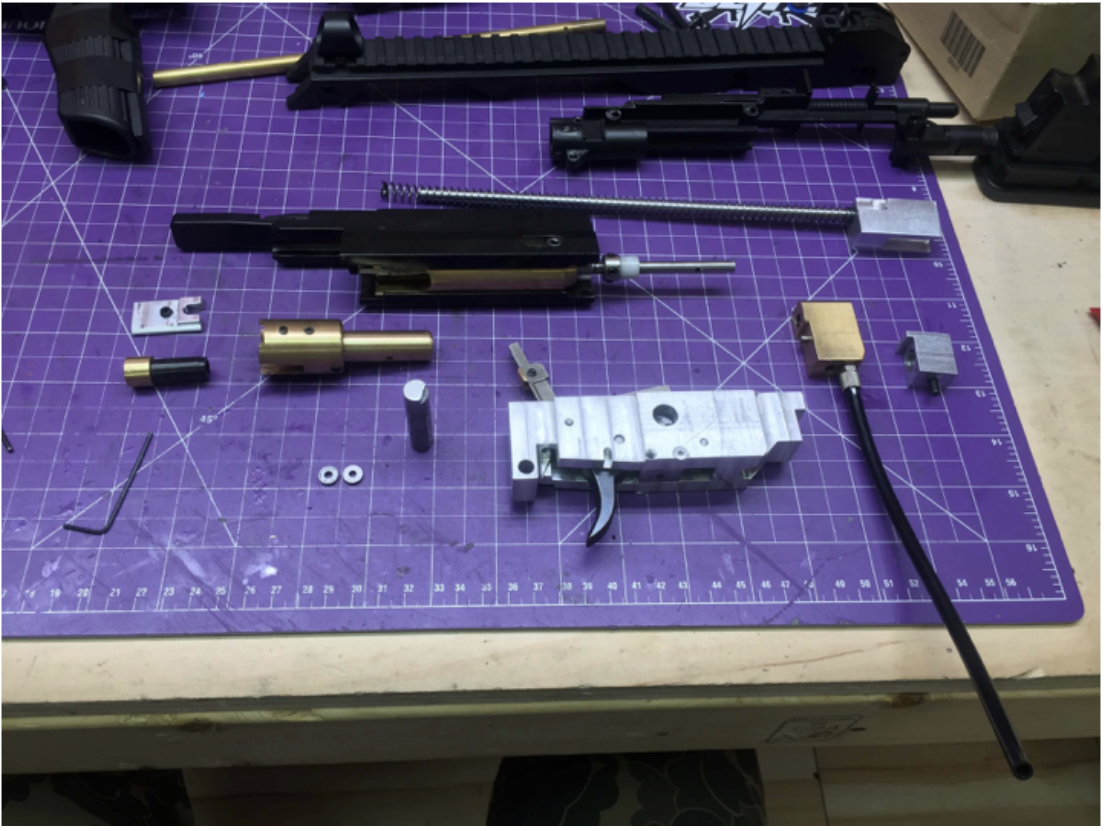
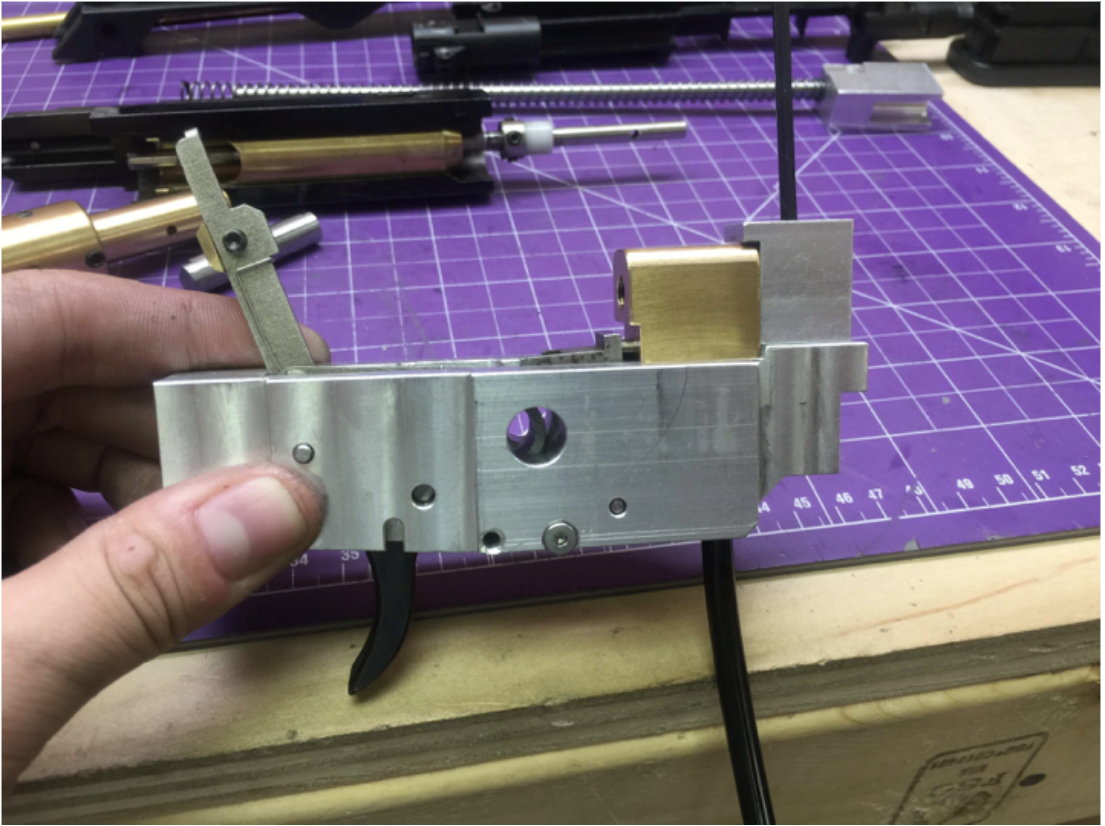
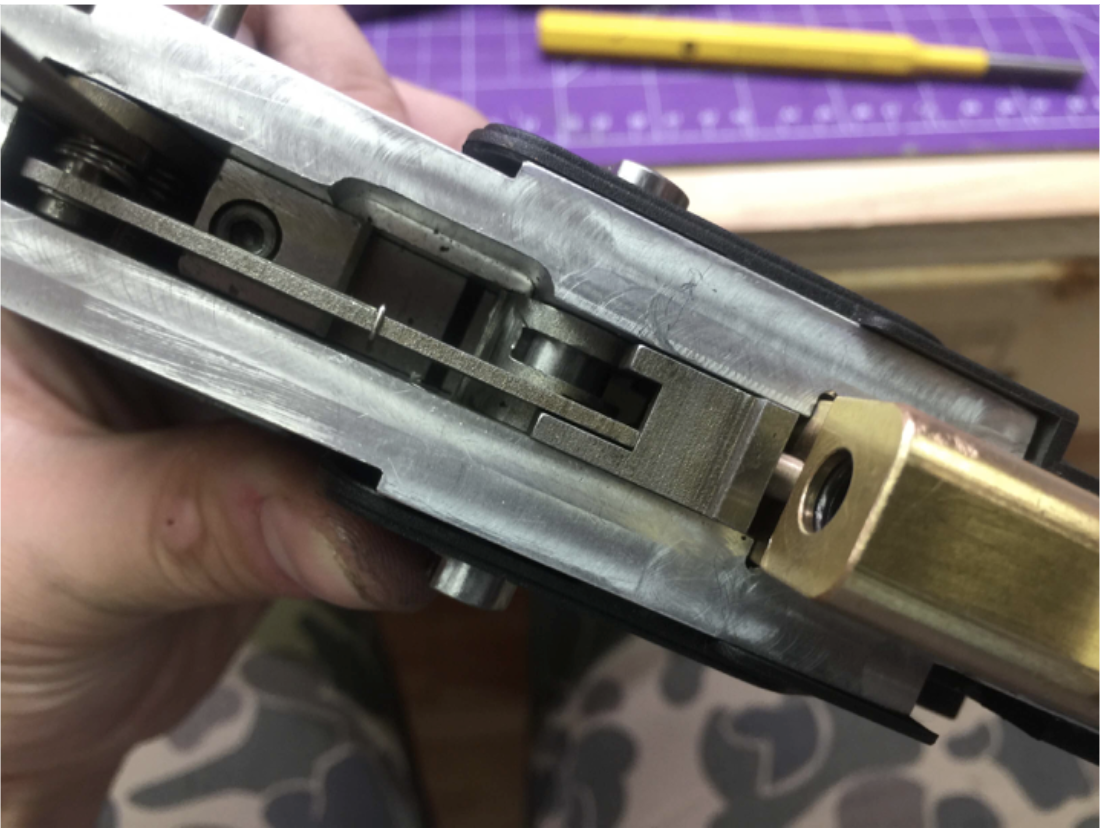
Starting from the trigger box. Put the air valve in and screw on the rear block.
DO NOT OVERTIGHTEN THE AIR LINE FITTING. IT SHOULD BE FINGER TIGHT ONLY WITH A SMALL AMOUNT OF THREAD LOCK APPLIED TO THE THREADS. Overtightening may result in breaking the fitting. DGA will not be held responsible for fittings broken by overtightening.
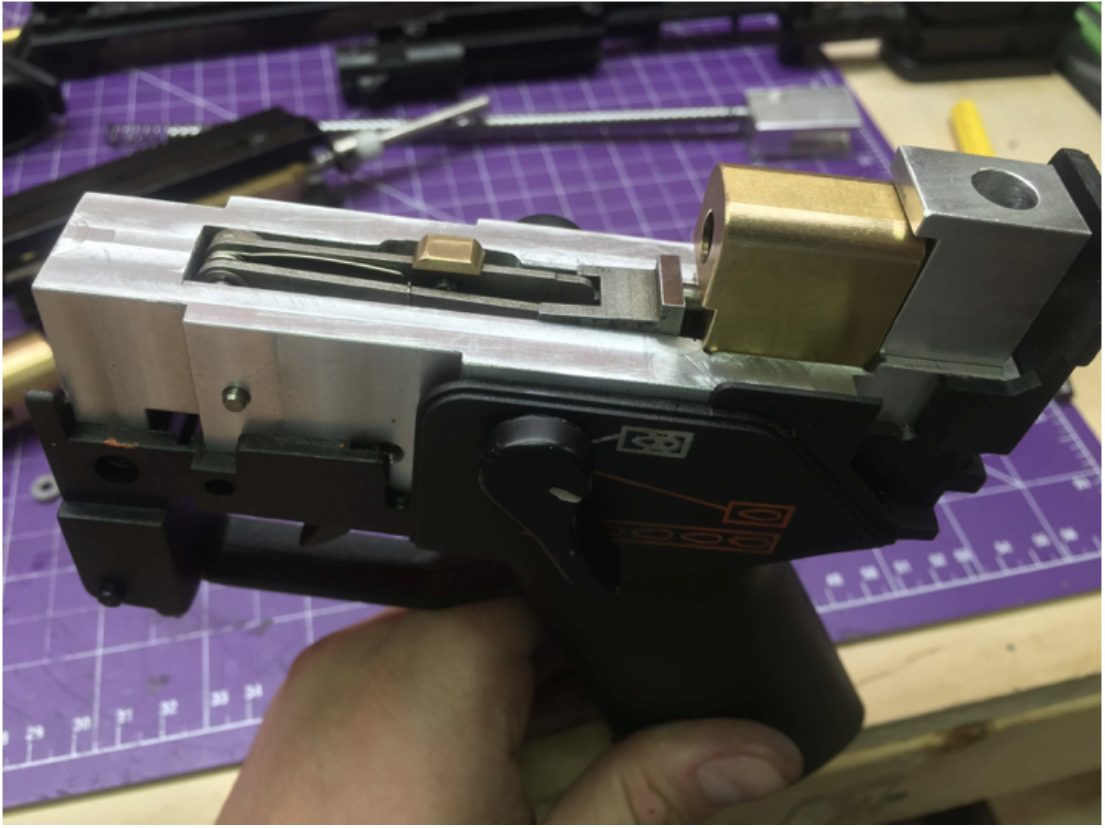
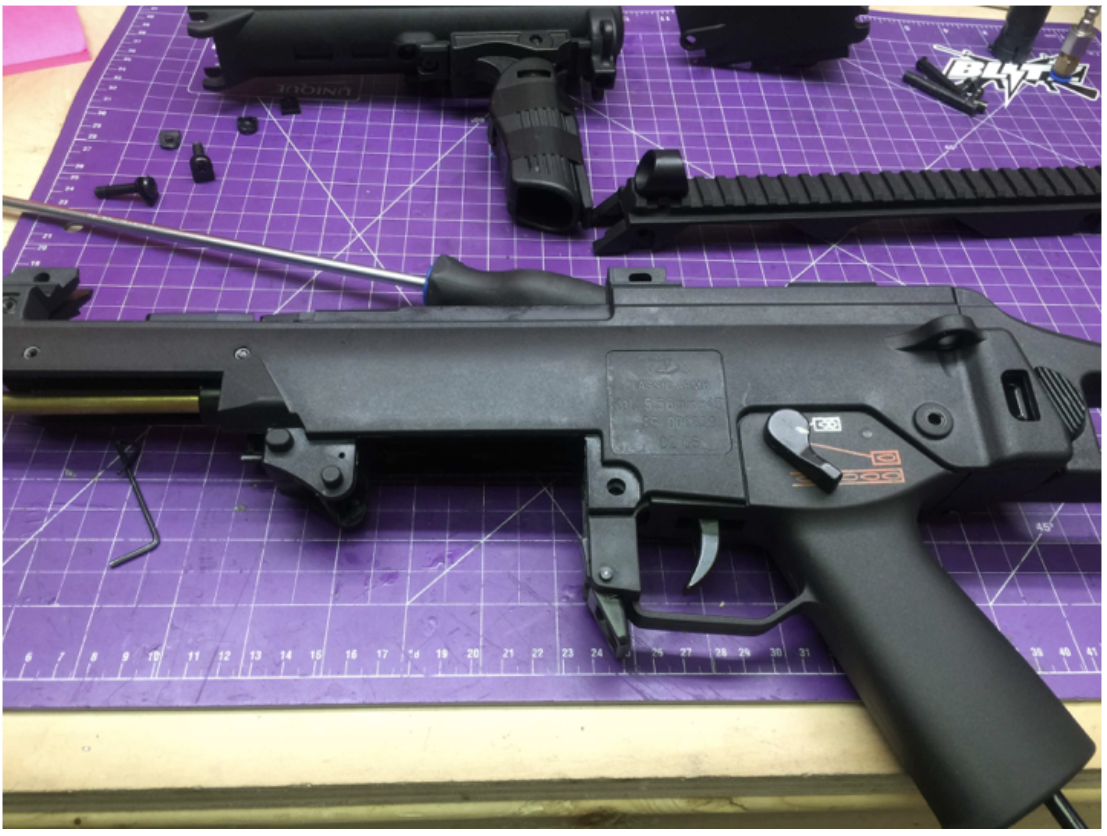
Drop the trigger box into the pistol grip. Don’t forget the rear receiver block.
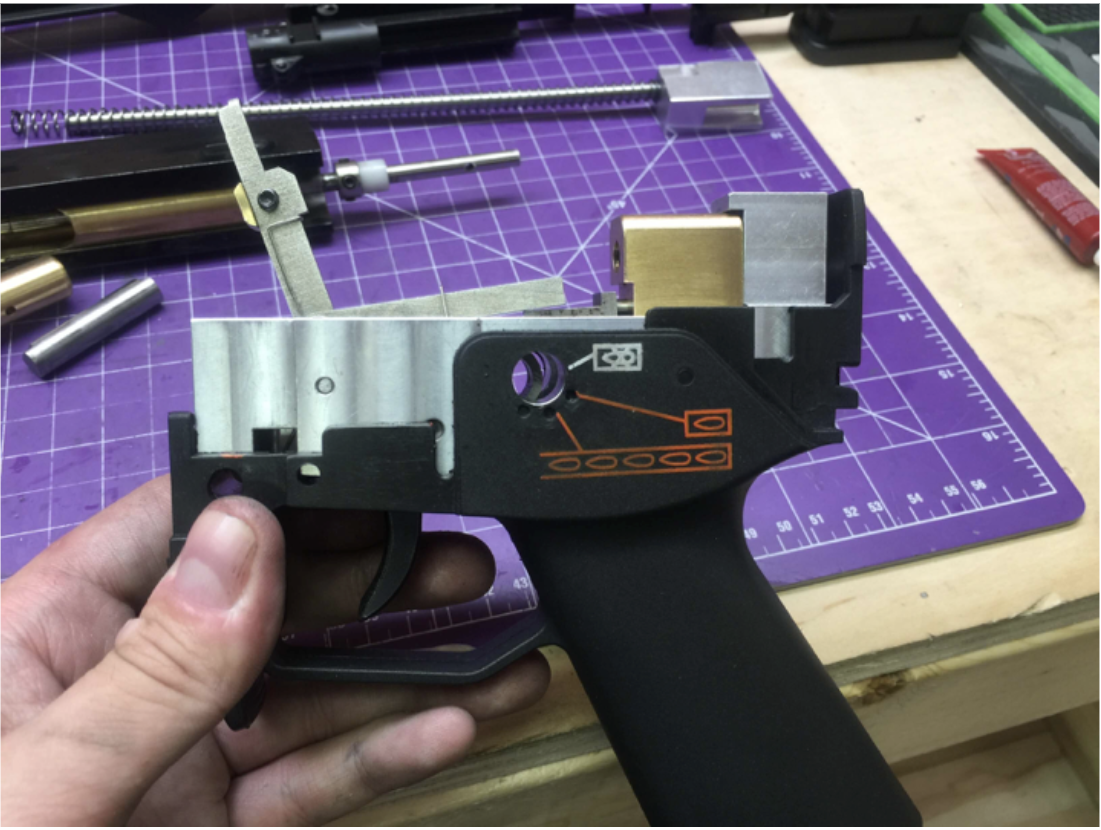
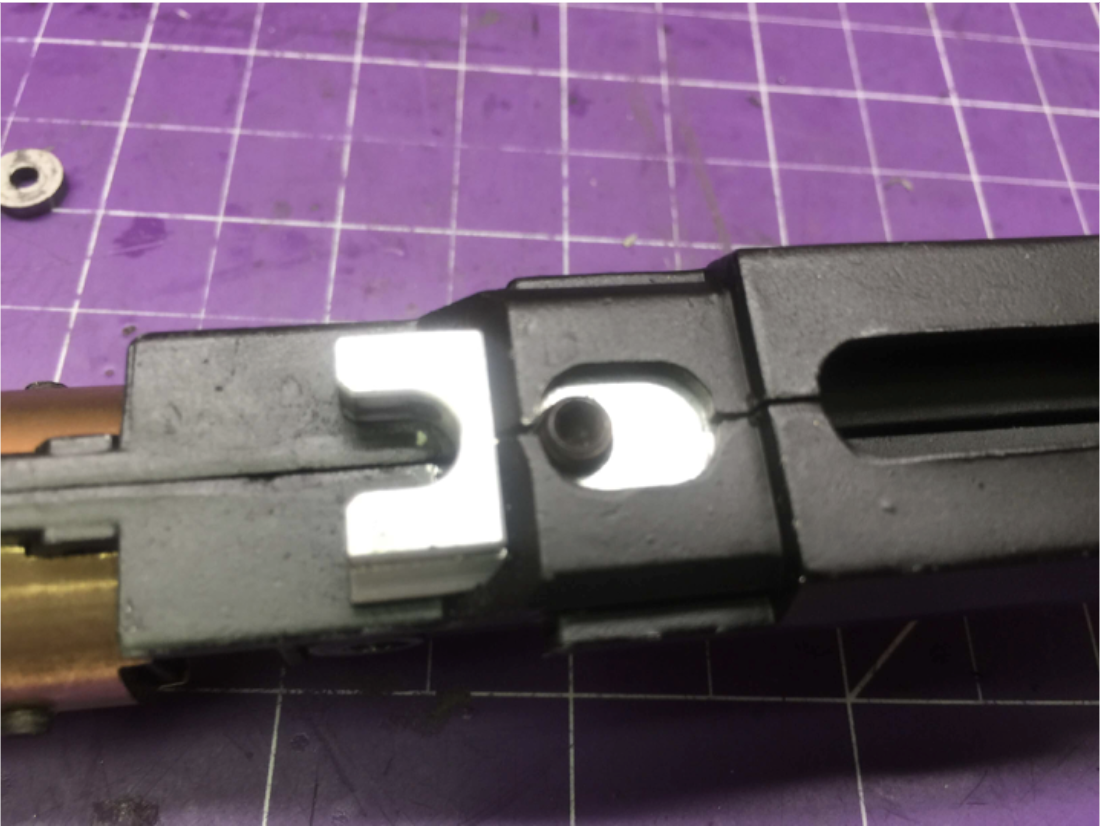
Put in the fire selector bar.
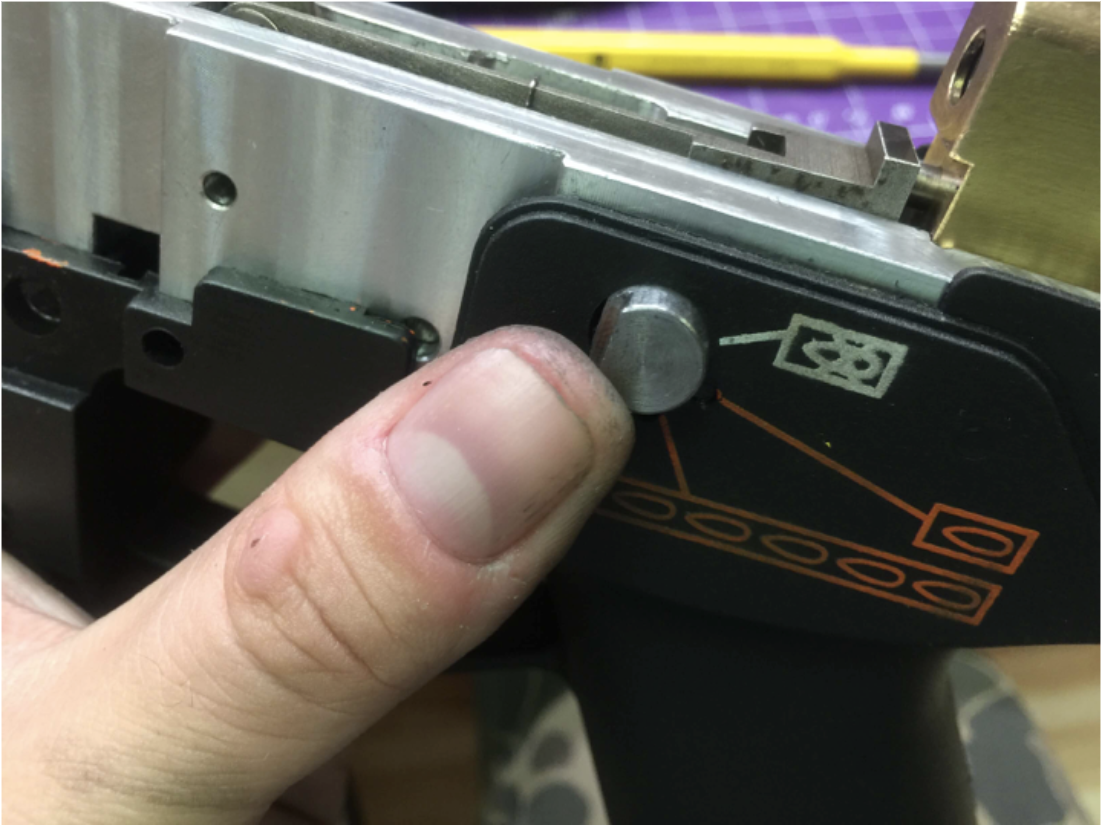
Make sure the alignment is correct.
Put the fire selector switches on both sides.
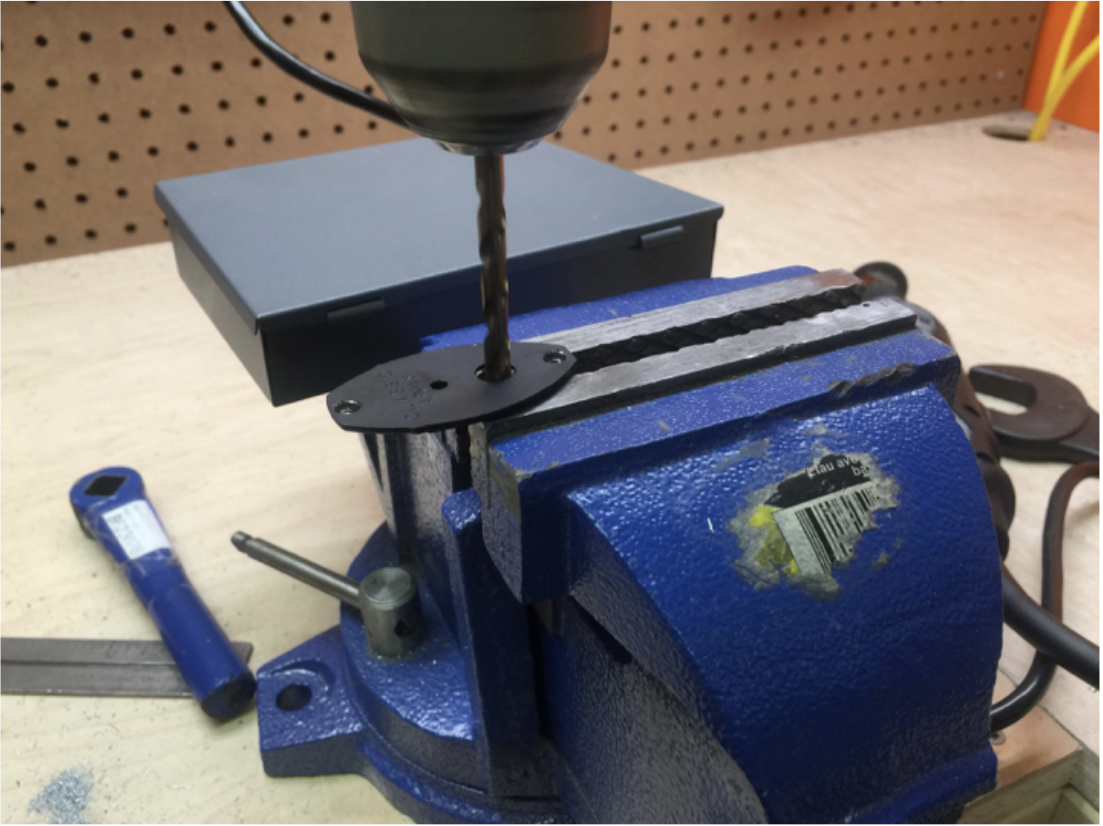
Drill a hole on the pistol grip bottom plate for the air line.
Put it back on.
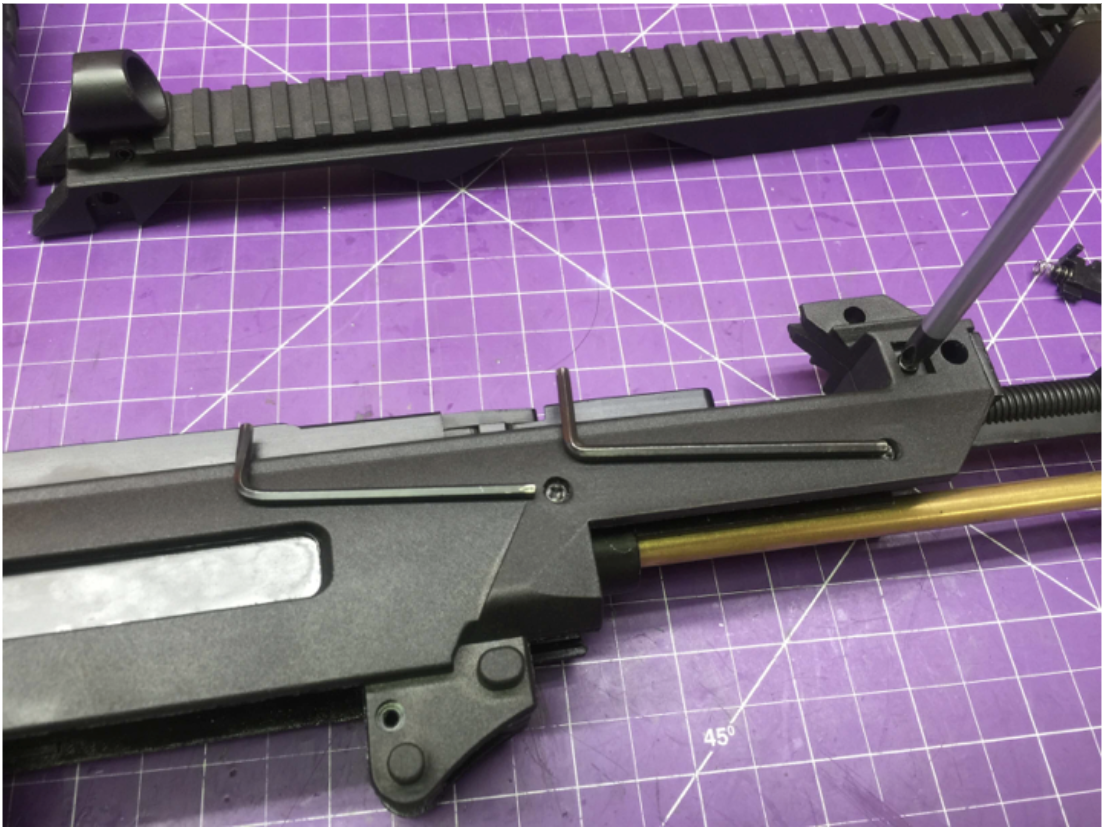
Assemble the barrel group.
Put two screws on and apply Loctite.
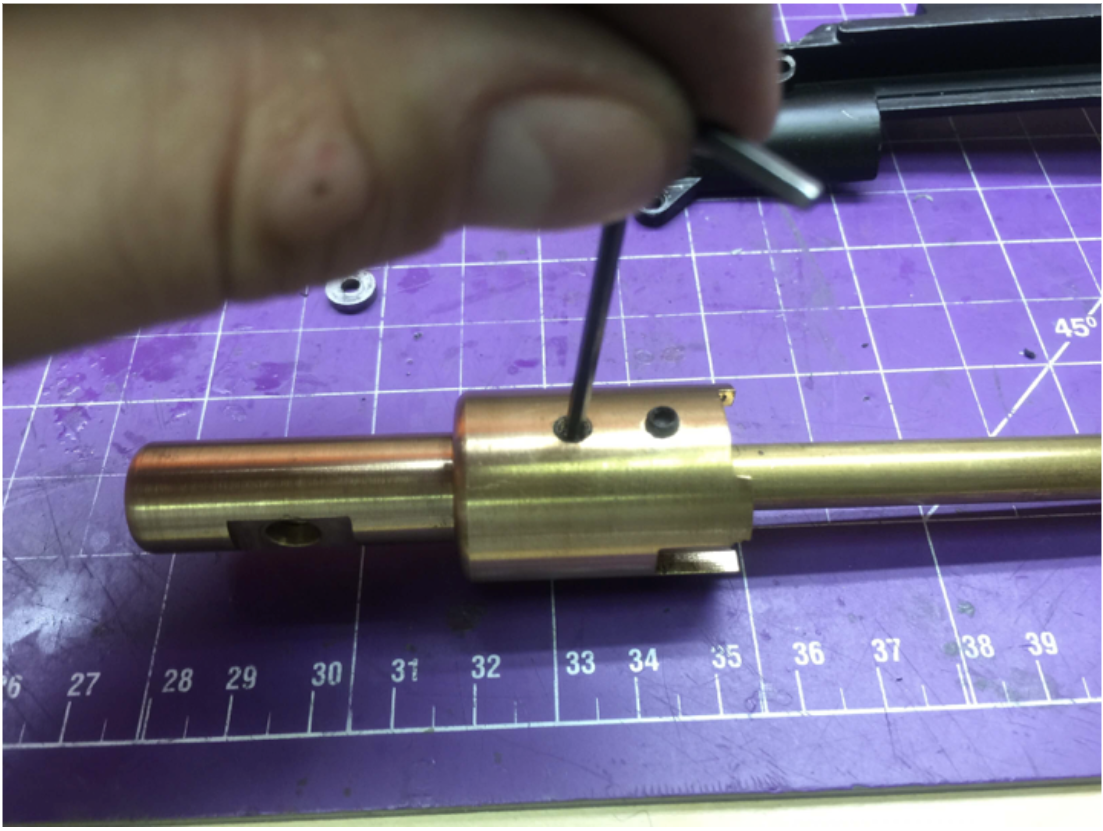
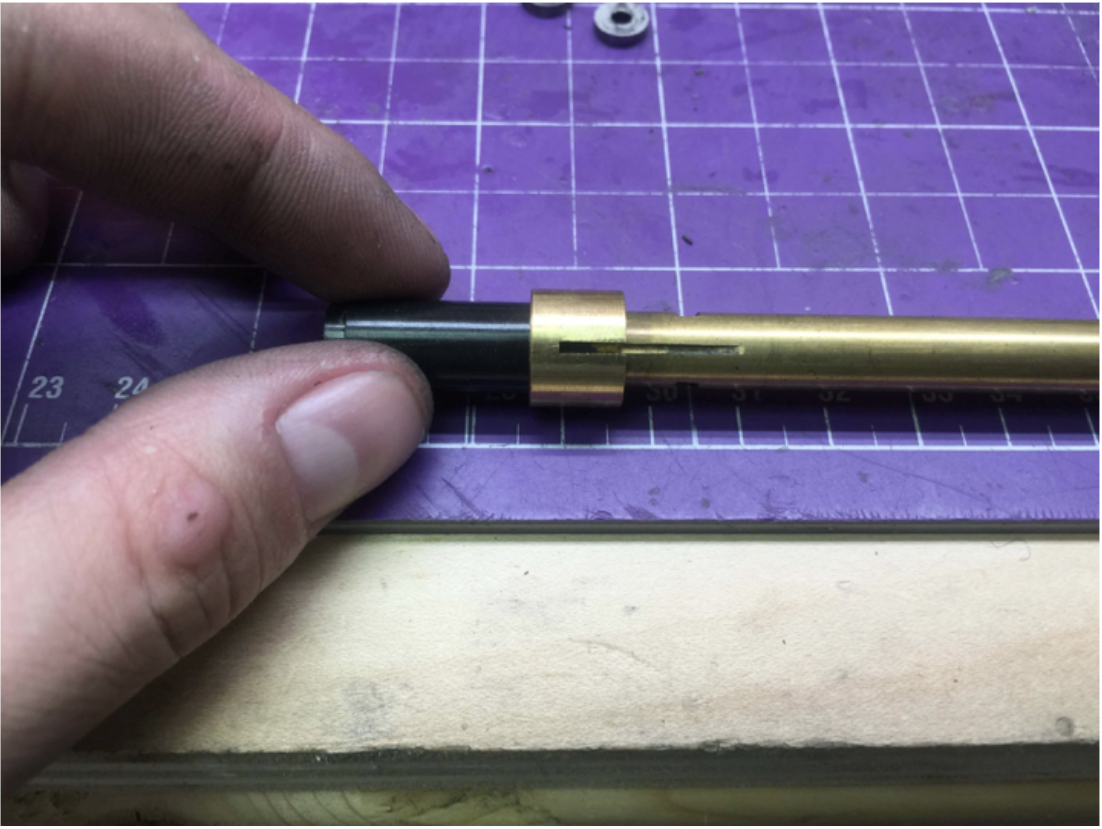
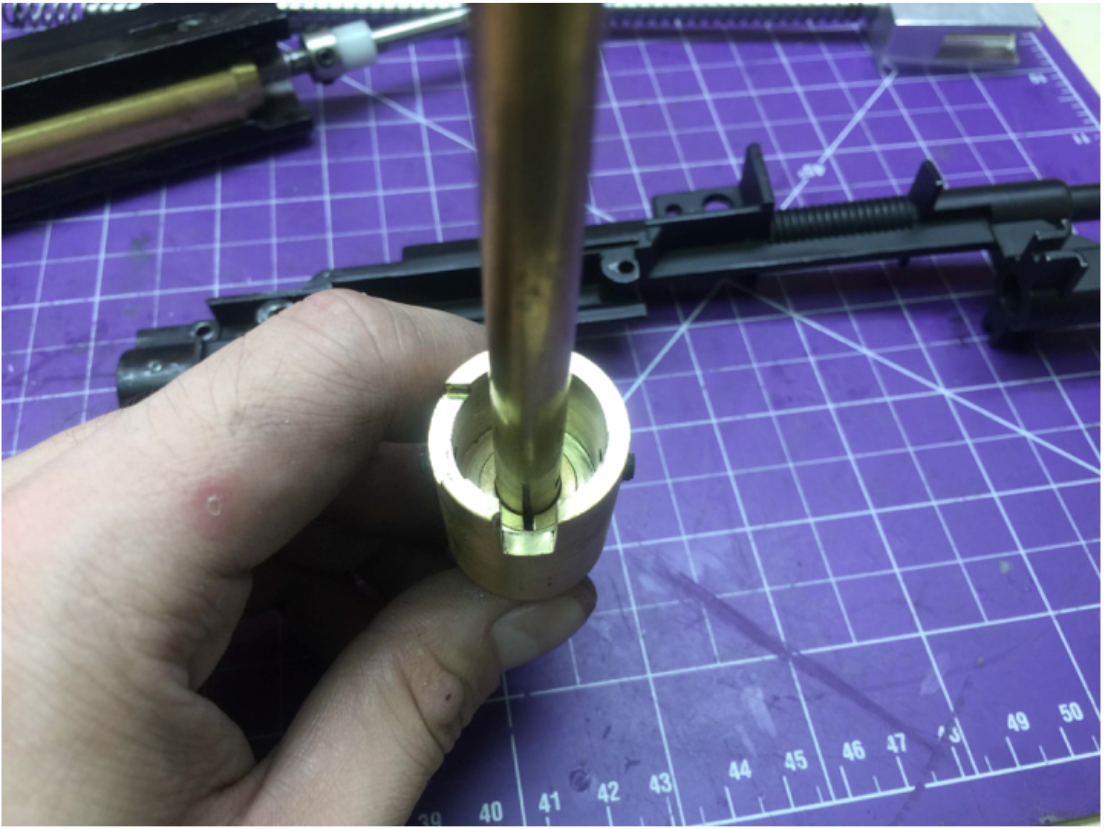
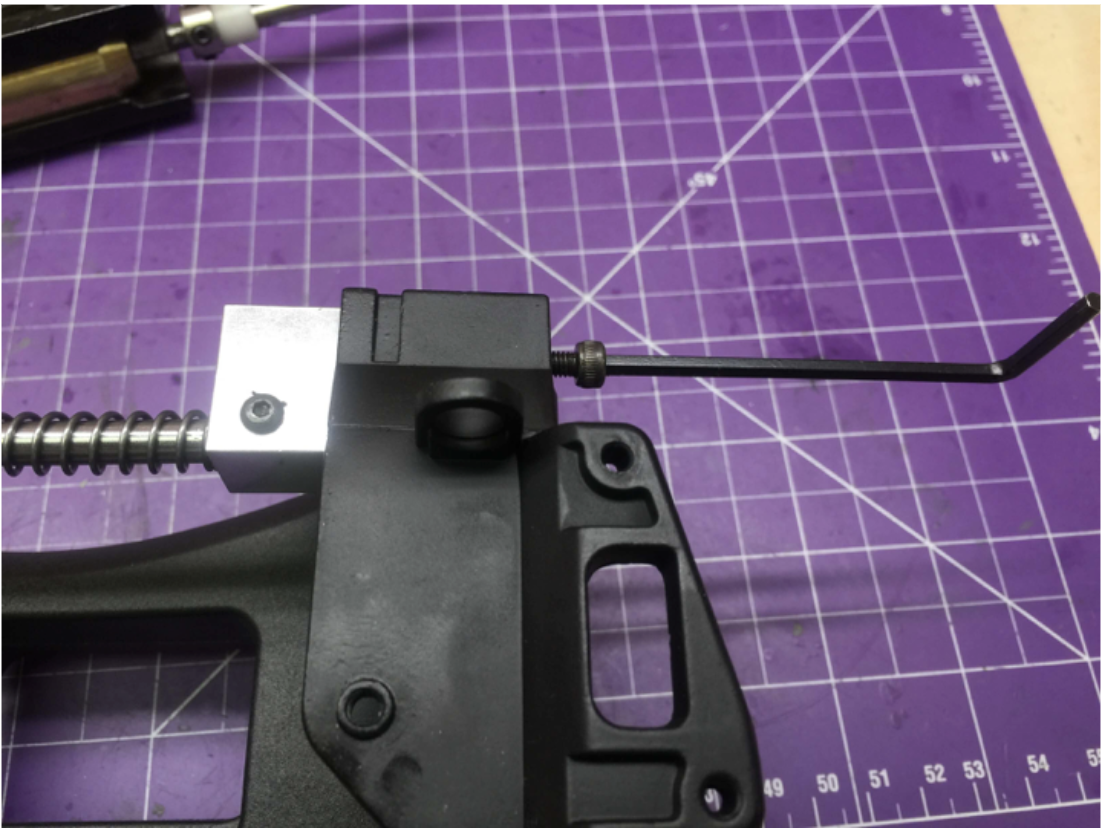
Put the recoil spring stabilizer onto the outer barrel assembly. Adjust the screw for a tight fit.
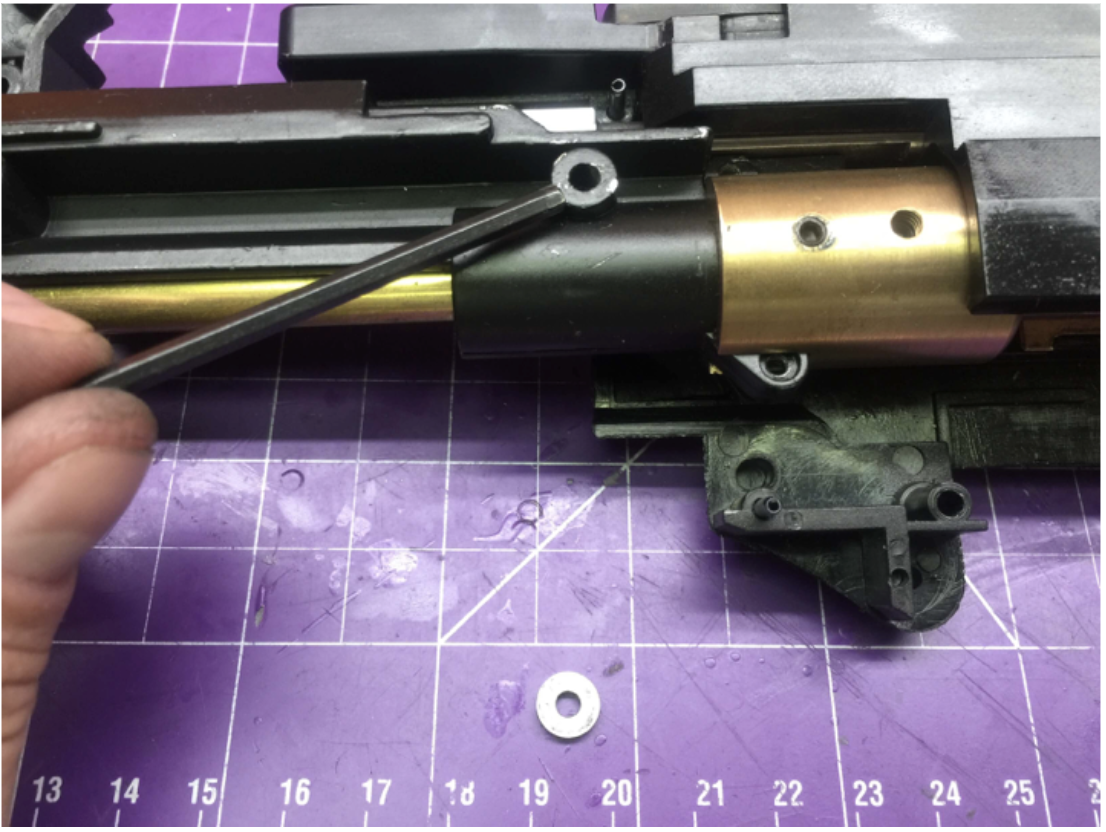
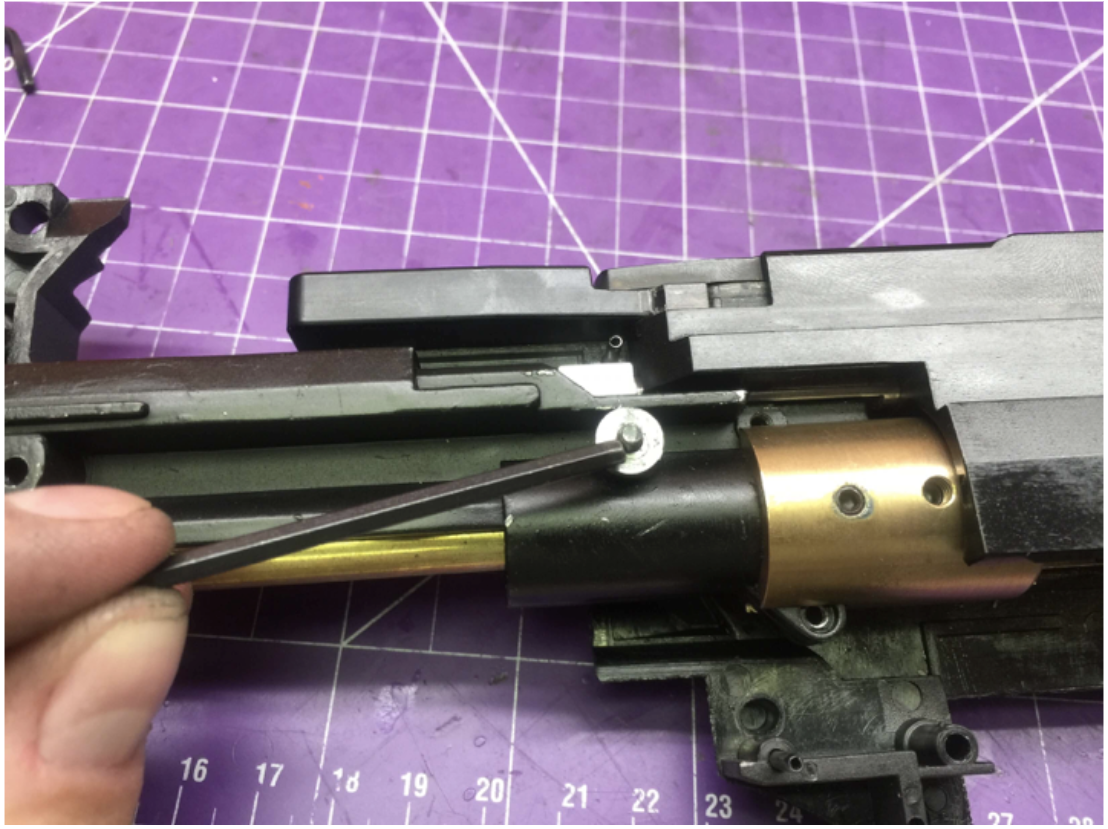
Put the hopup unit onto the outer barrel assembly. Tighten the screws on both sides.

Outer barrel assembly is now complete.
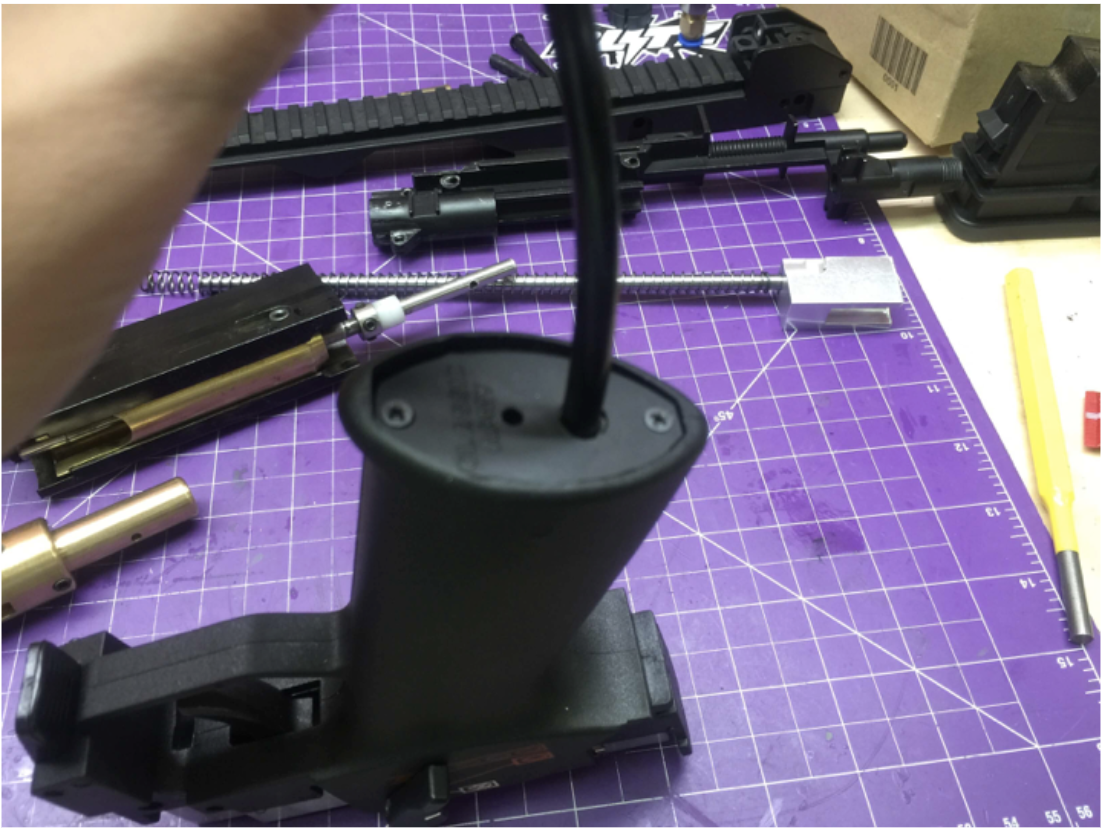
Put the recoil spring guide into the stock adaptor.
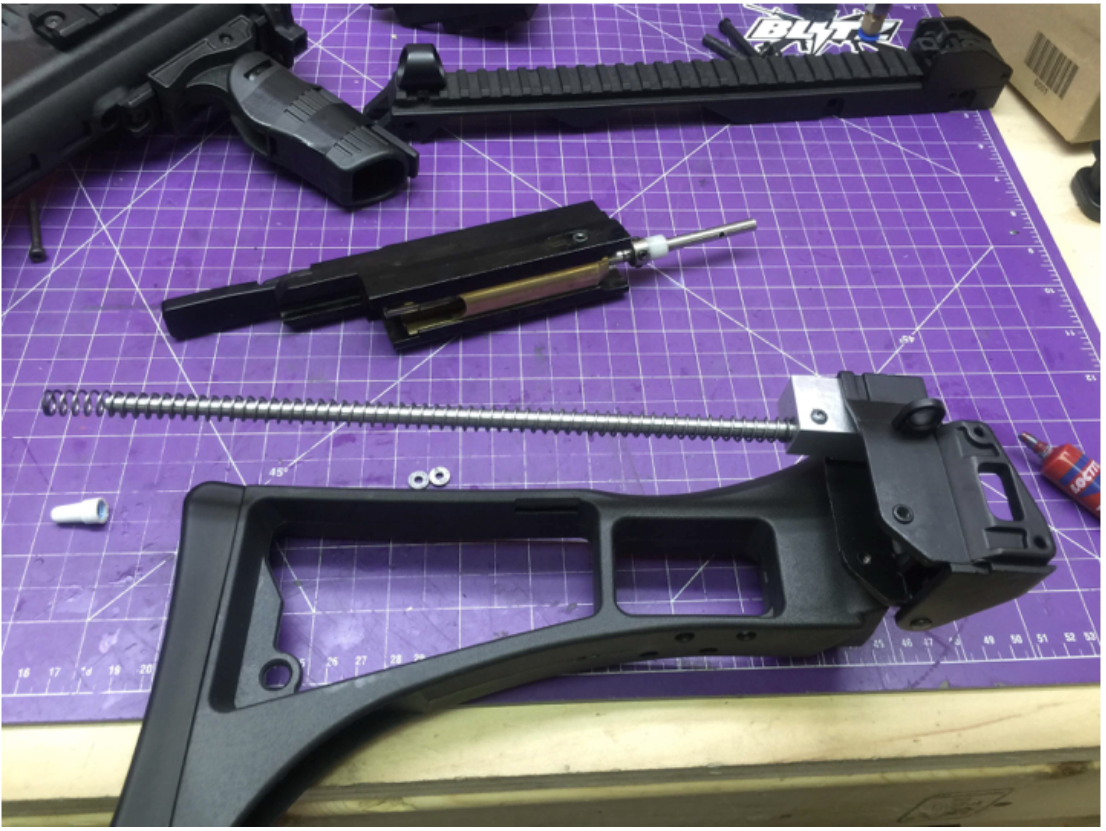
Put in the rear bolt.
Put the pistol grip back into the stock adaptor, along with the right side body shell.

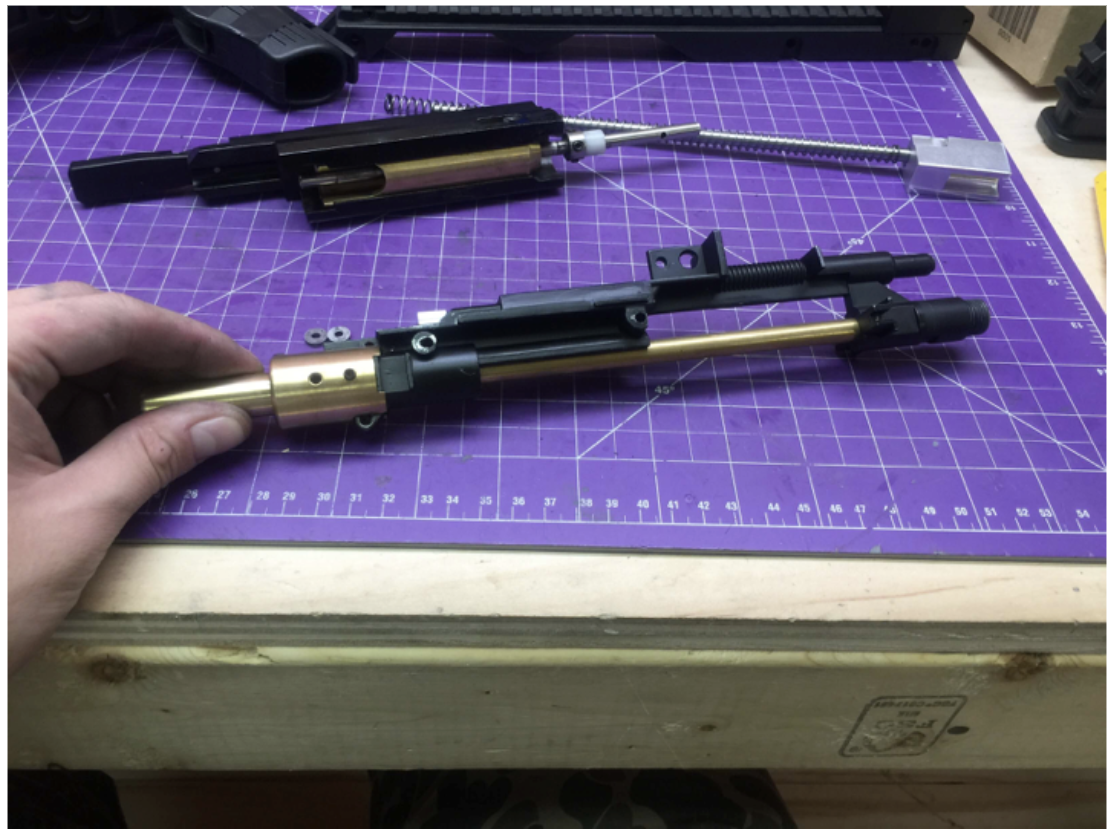
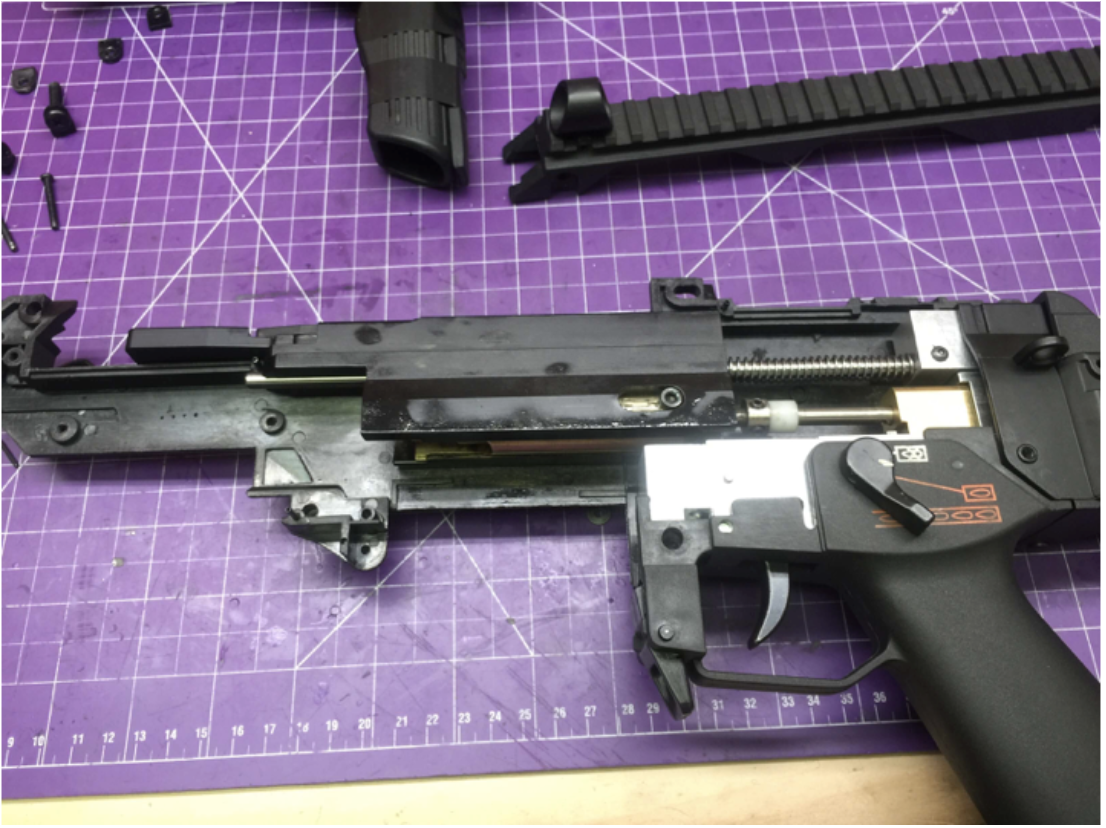
Put the bolt assembly onto the recoil spring and insert it into the body.
Put the two shims on both sides of the receiver screw holder.
Put the screw on.
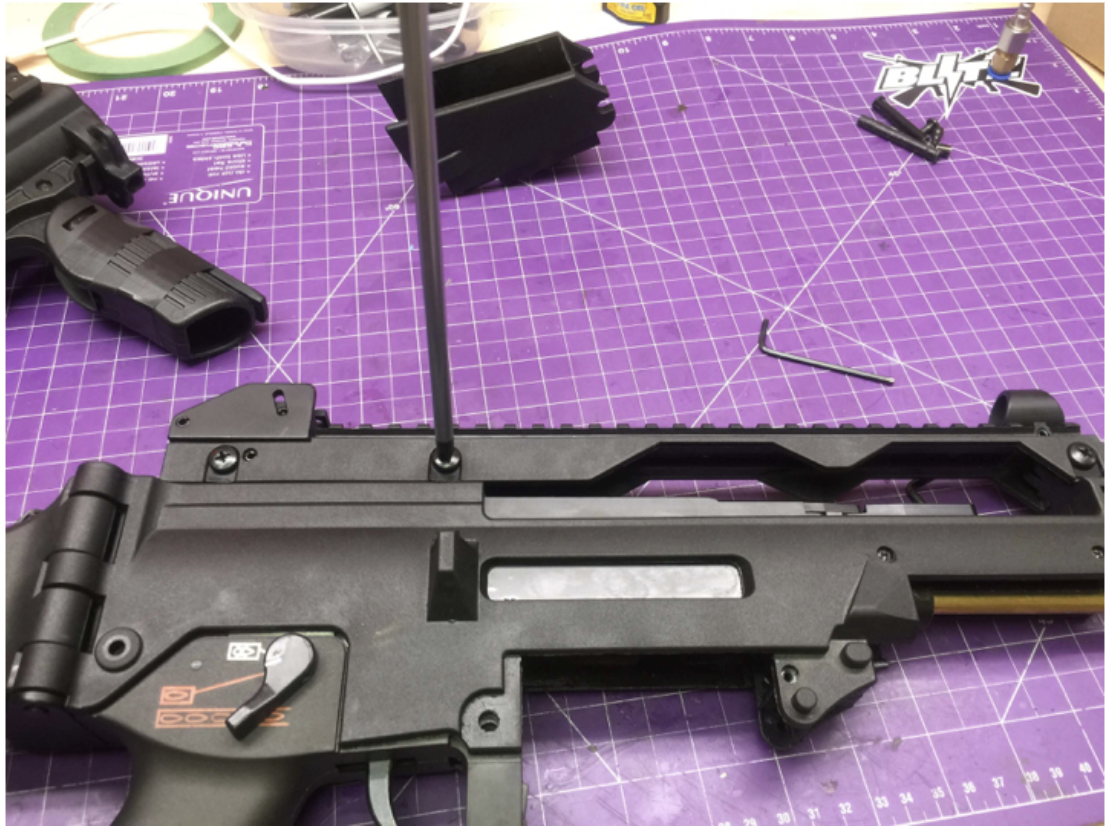
Close the body shell.
Tighten up all body screws.
Install the top rail back on.
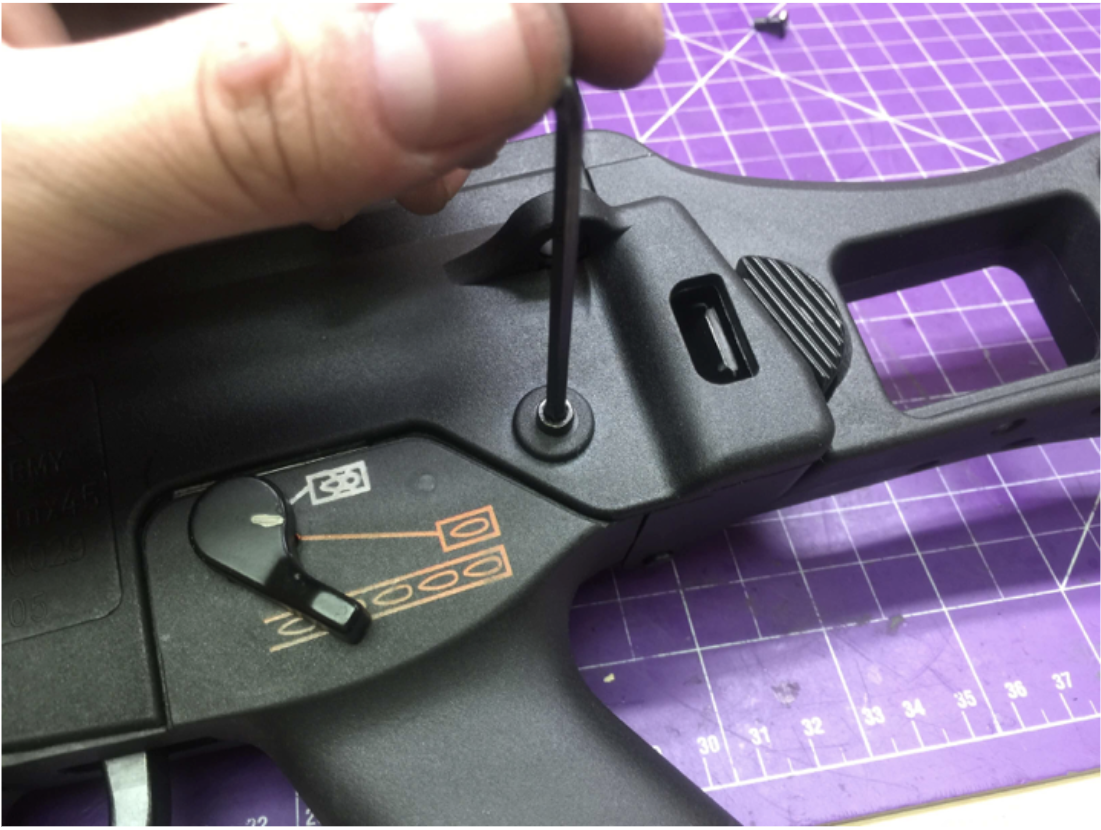
Put the rear body screws on.
Put the magwell back on. Tighten the body screw.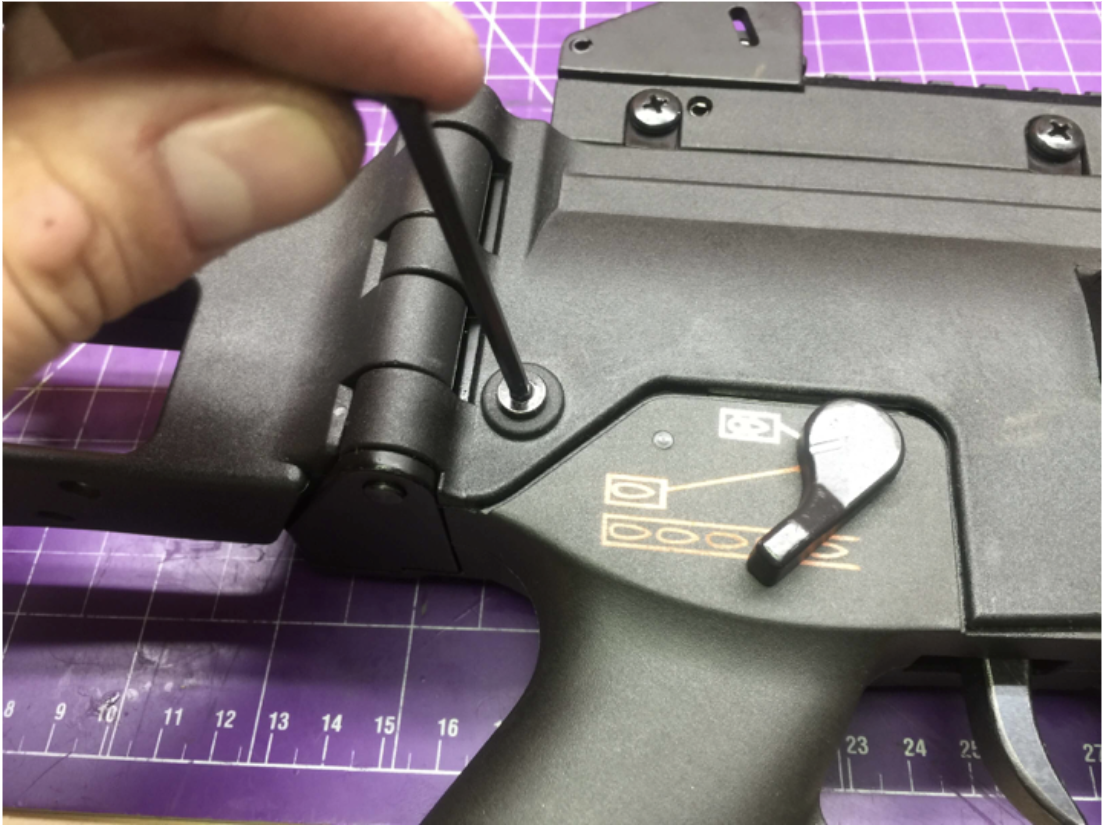
Put the front handguard on.
Daytona Gun G36 is now complete.