Ares M110 SASS /SR-25 Installation GuideUpdated 5 months ago
Daytona Gun HPA SR-25 (M110 SASS) Installation Guide
Supported model: Ares M110 SASS Full Stock
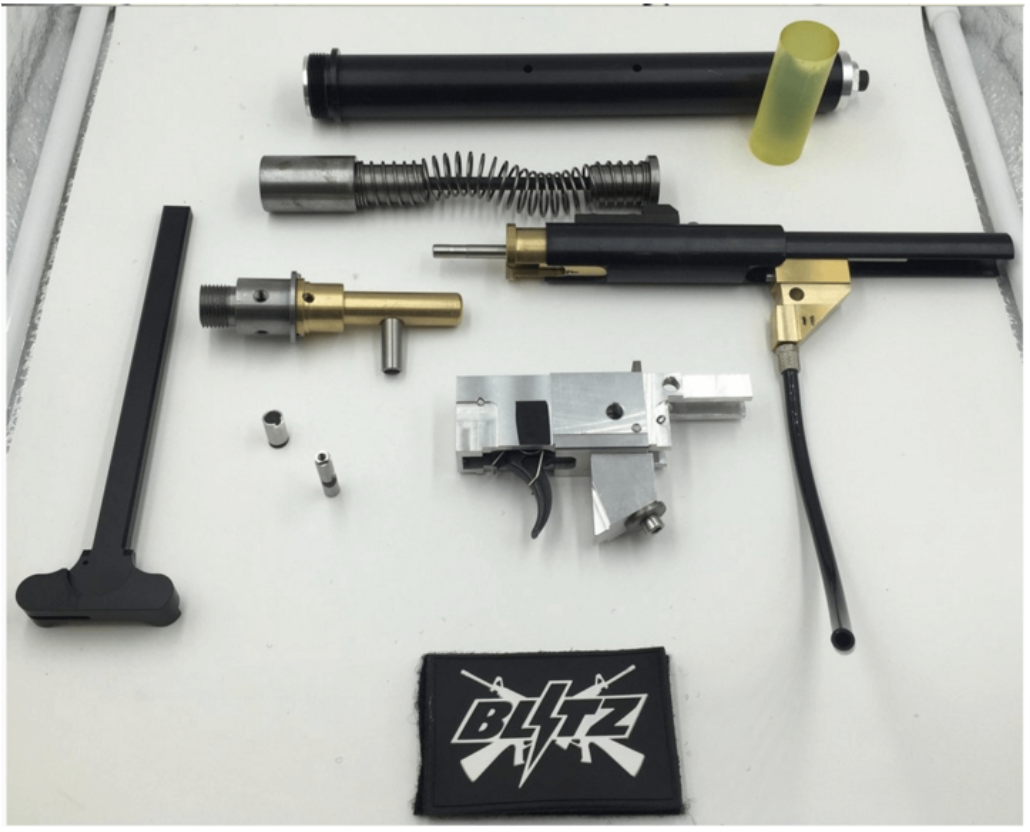
All parts from the kit.
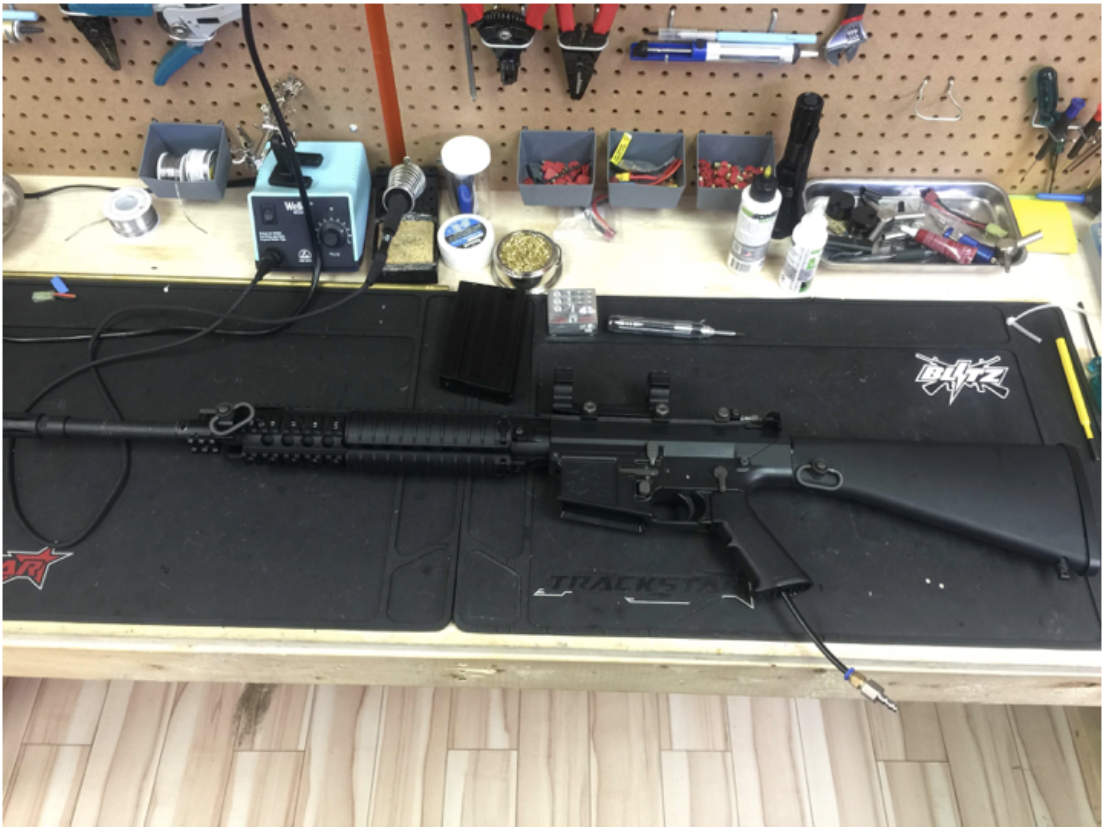
Take apart the upper and lower receiver and remove all AEG parts. Keep the fire selector and mag release.
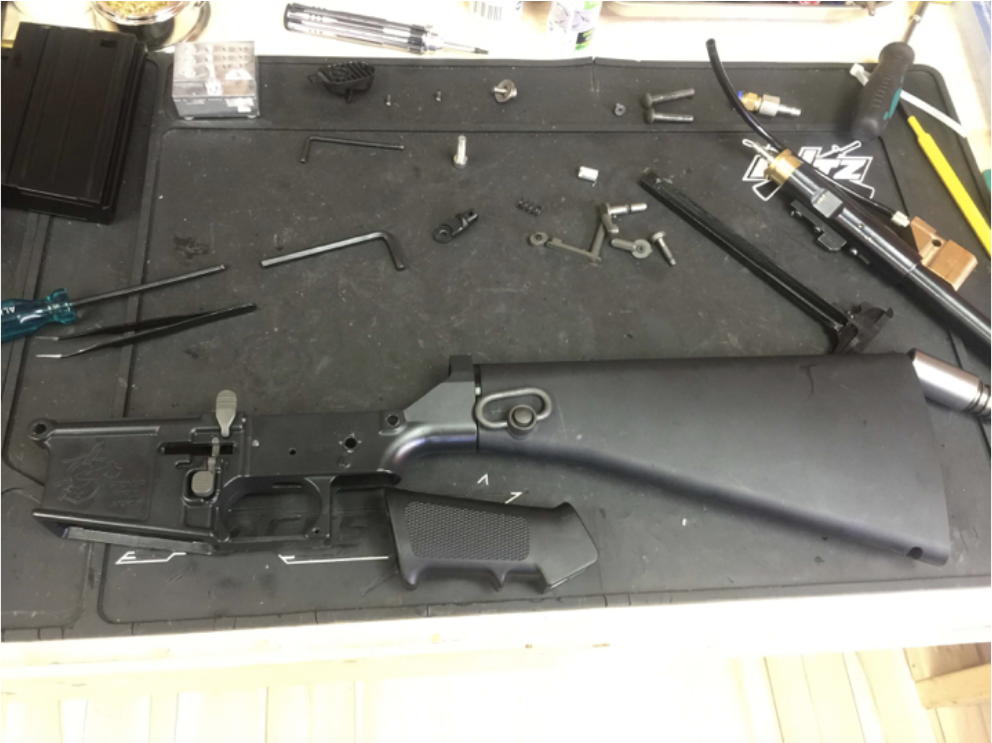
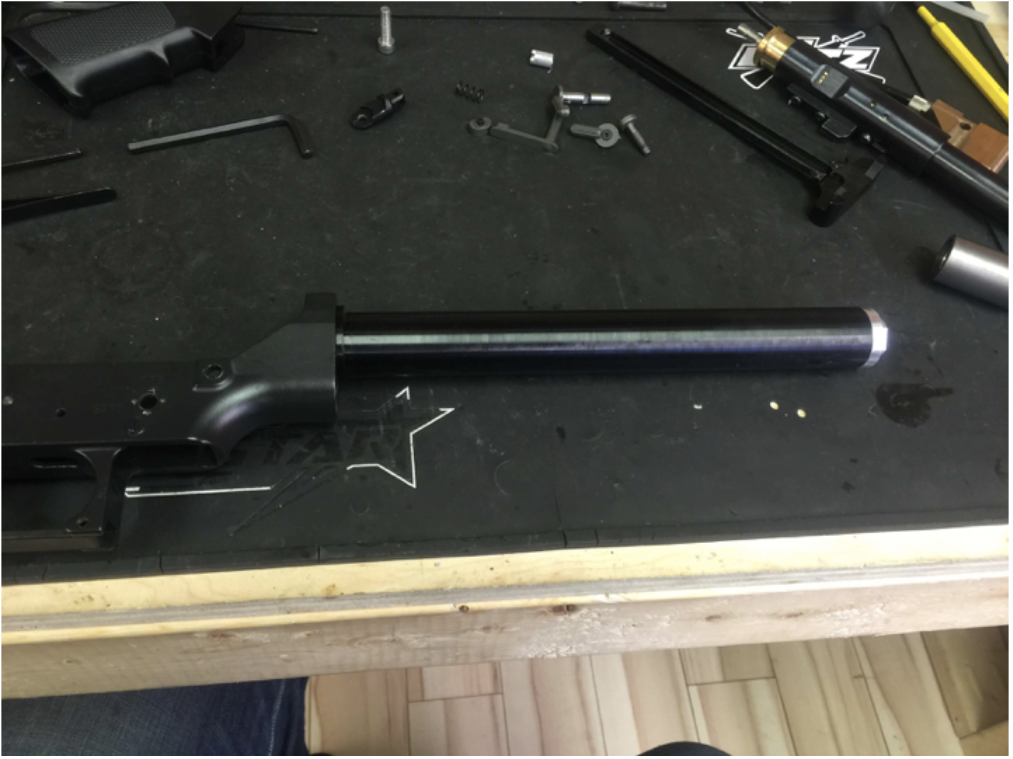
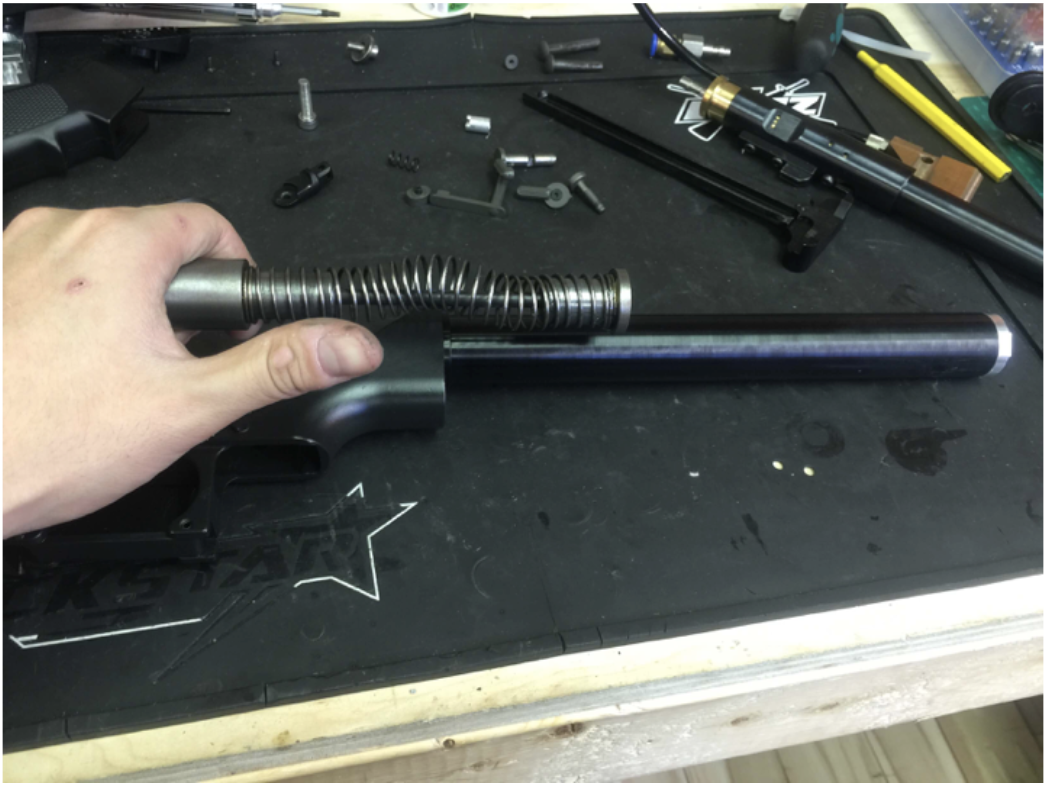
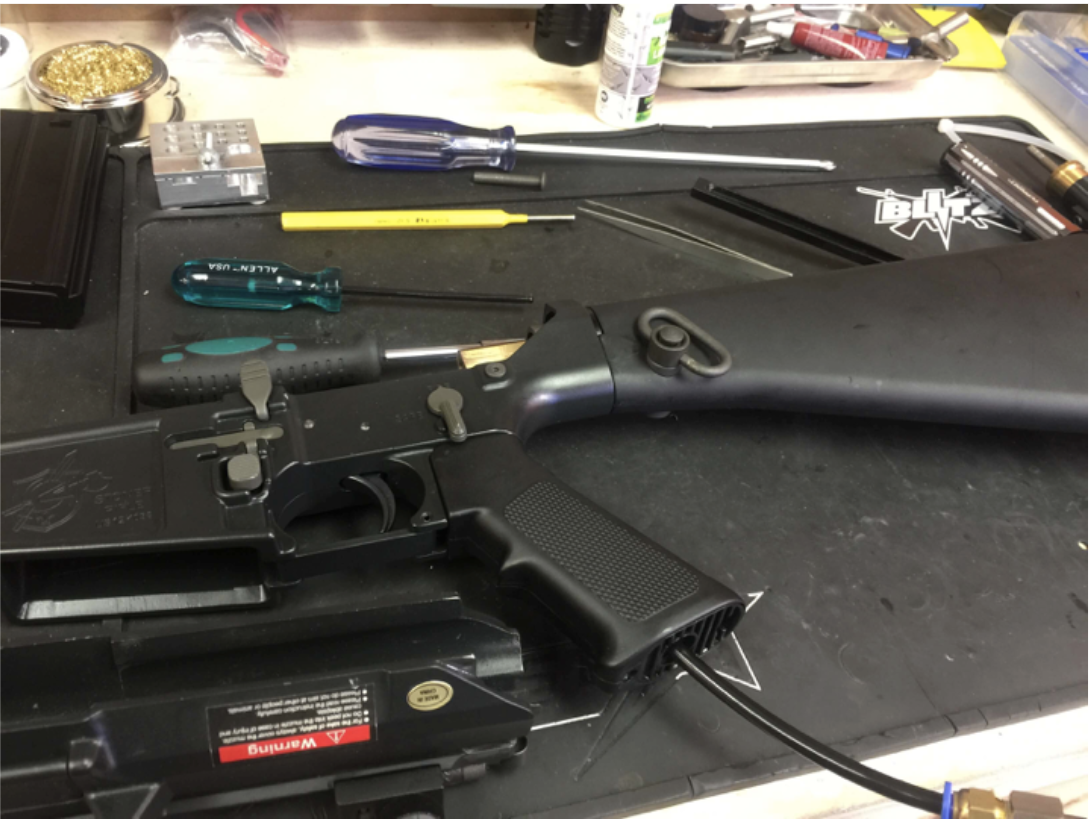
Remove the stock, unscrew the AEG buffer tube, and screw on the longer buffer tube that comes with the kit.
Make sure your recoil spring assembly goes in the correct direction.
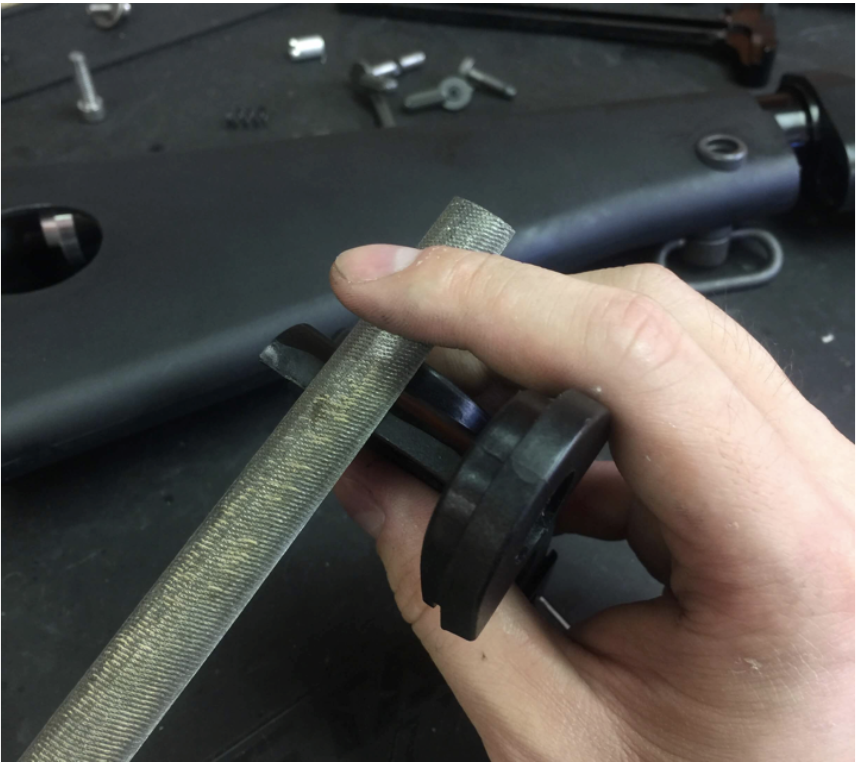
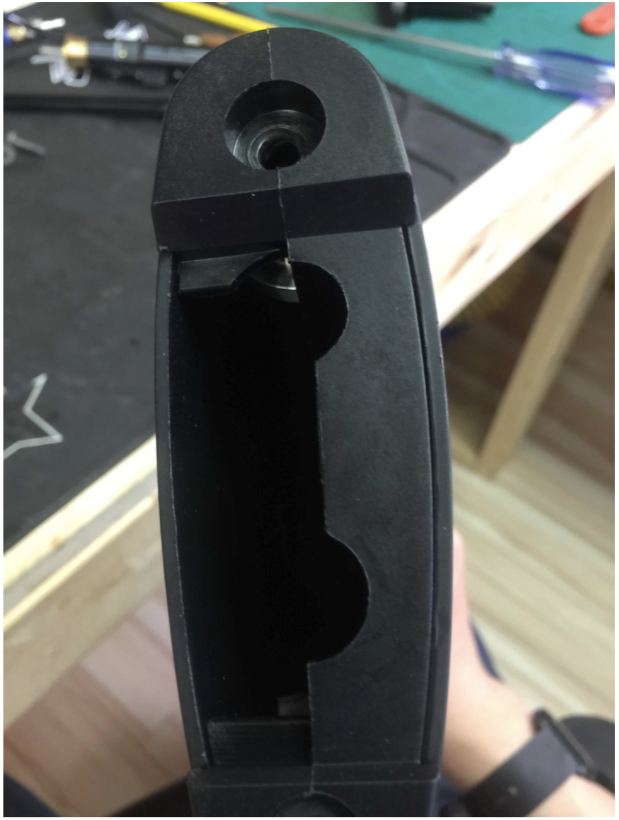
Put back the stock. File the necessary parts to allow the new buffer tube to fit in.
Use the new screw that comes with the kit and screw everything on.
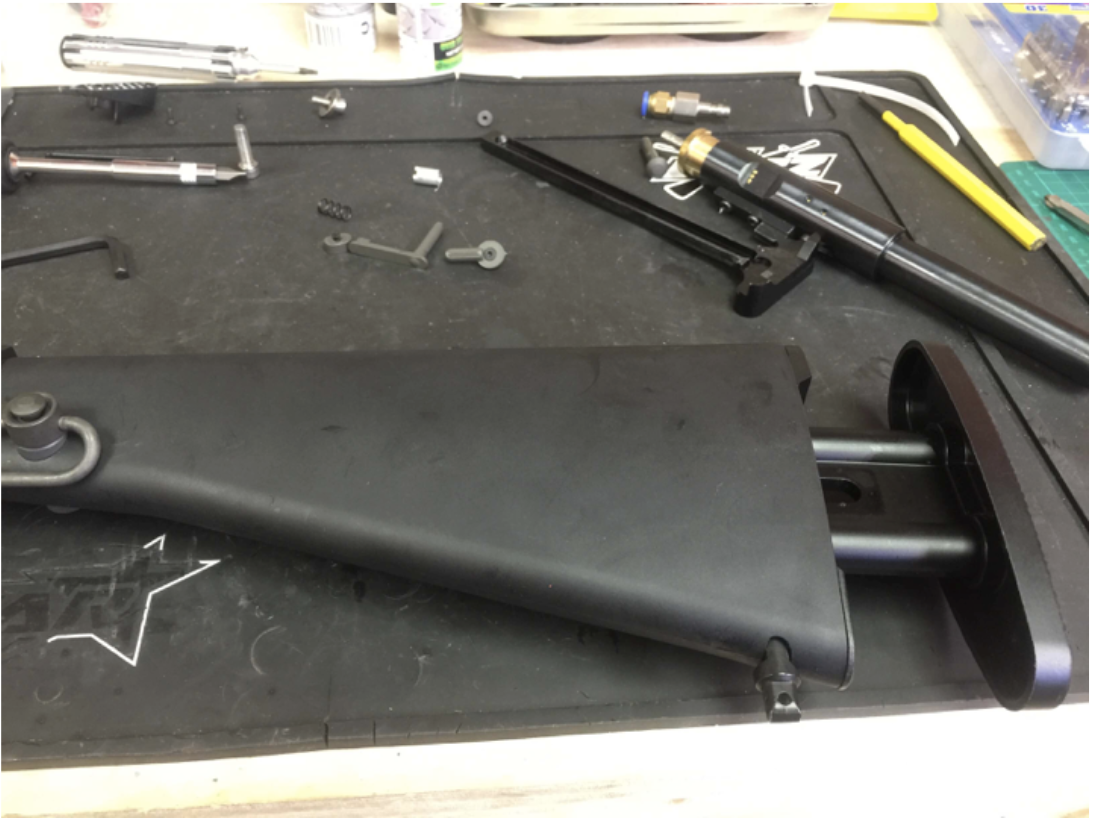
Put the whole stock back together.
Screw in the fire selector that comes with the kit on the right side fire selector switch.
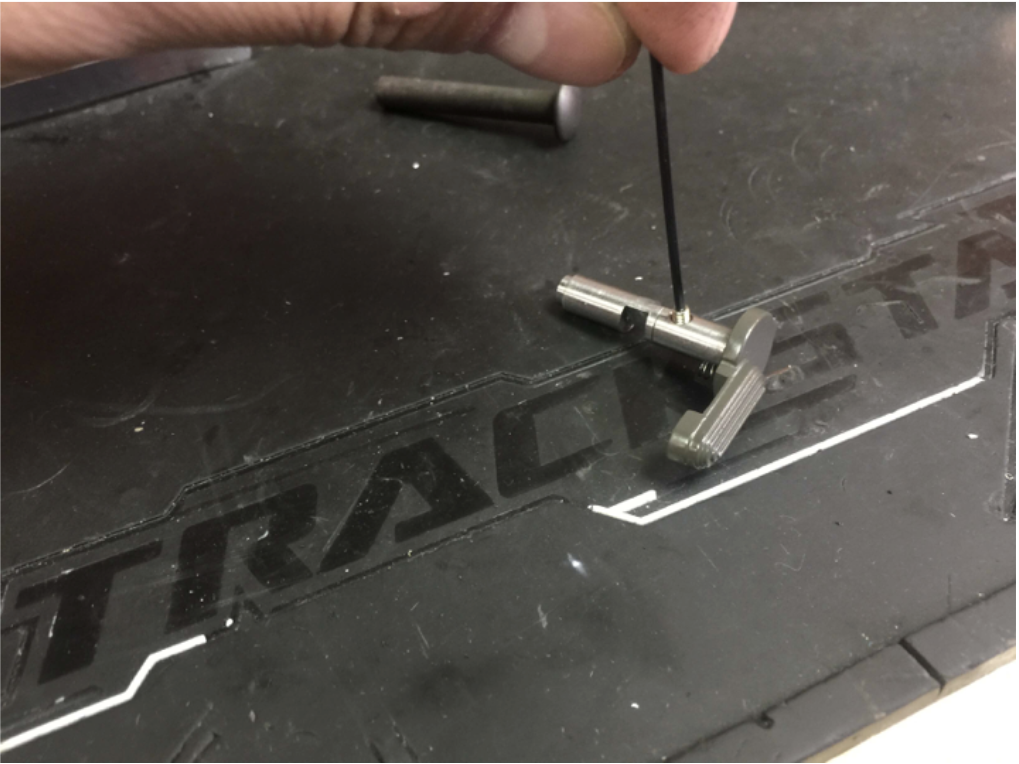
Trigger spring is no longer needed. Assemble the trigger box.
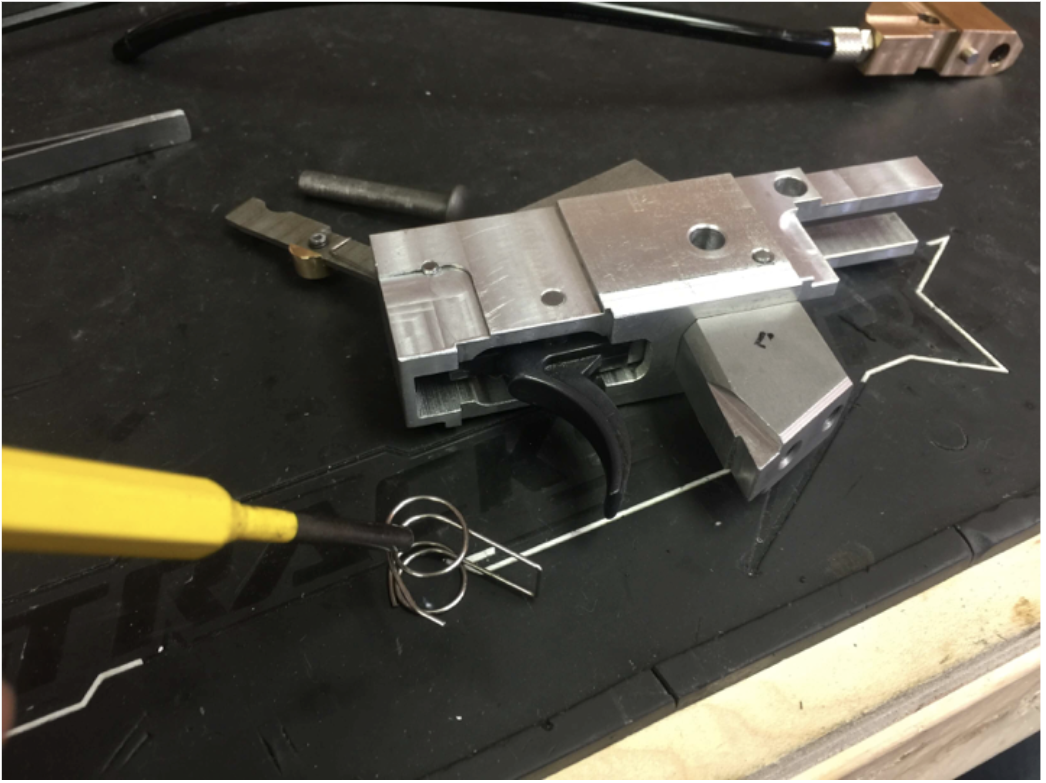
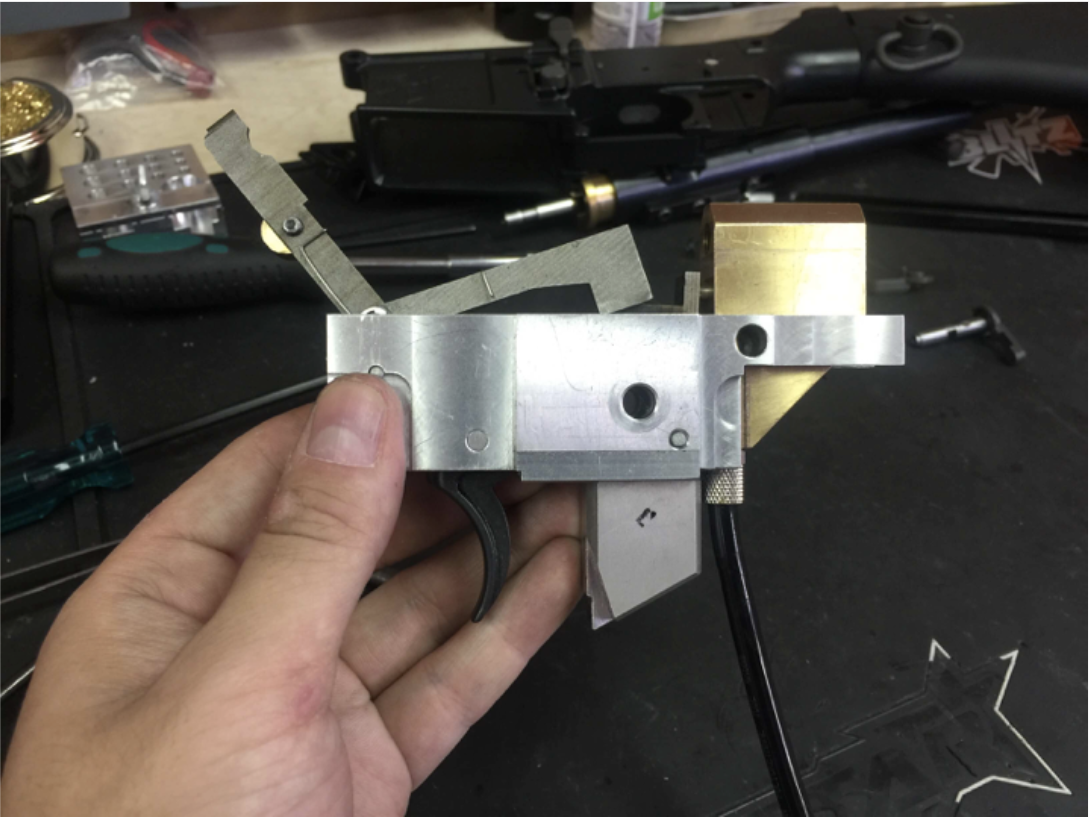
Slide the air valve from the rear onto the trigger box.
DO NOT OVERTIGHTEN THE AIR LINE FITTING. IT SHOULD BE FINGER TIGHT ONLY WITH A SMALL AMOUNT OF THREAD LOCK APPLIED TO THE THREADS. Overtightening may result in breaking the fitting. DGA will not be held responsible for fittings broken by overtightening.
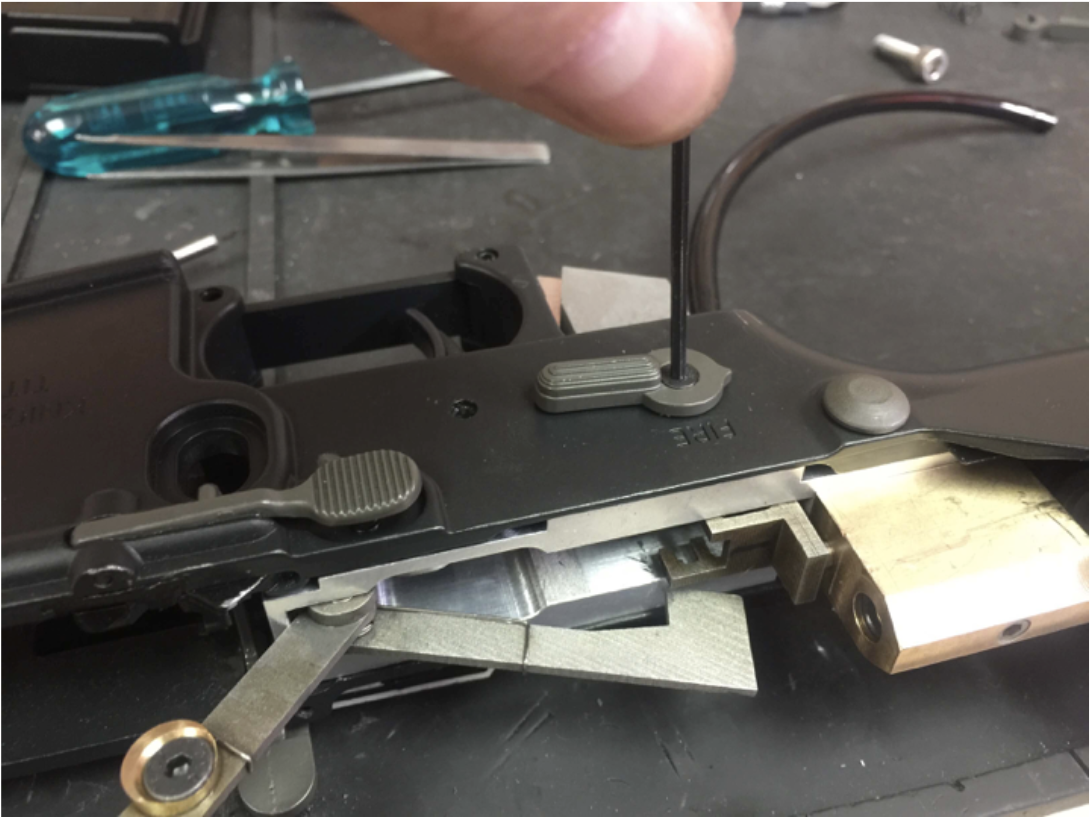
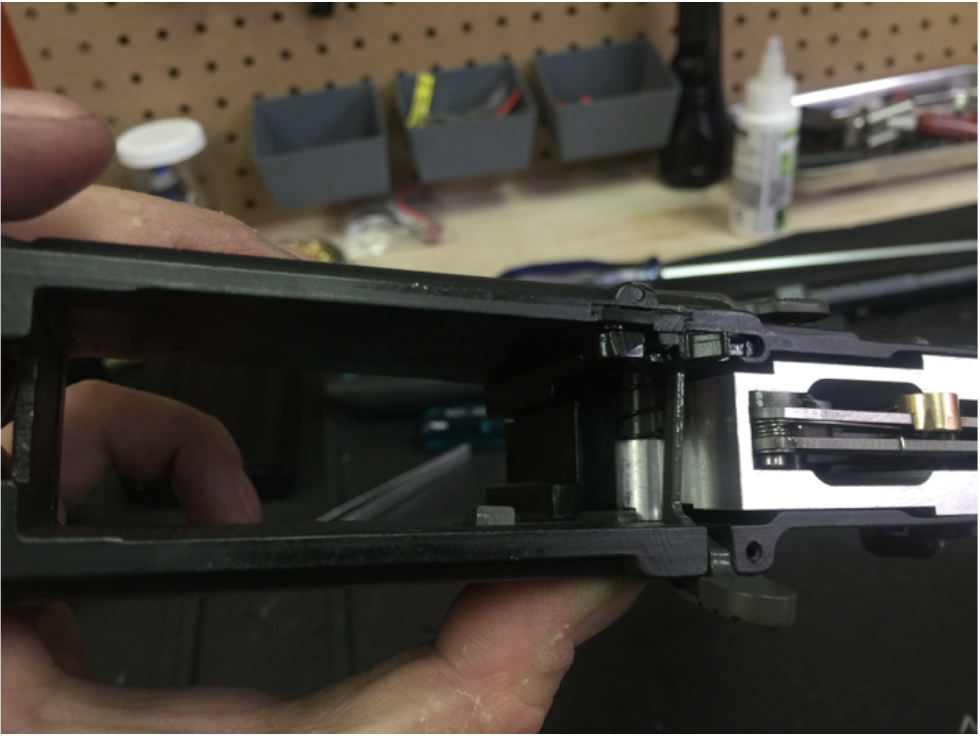
Put the trigger box into the lower receiver.
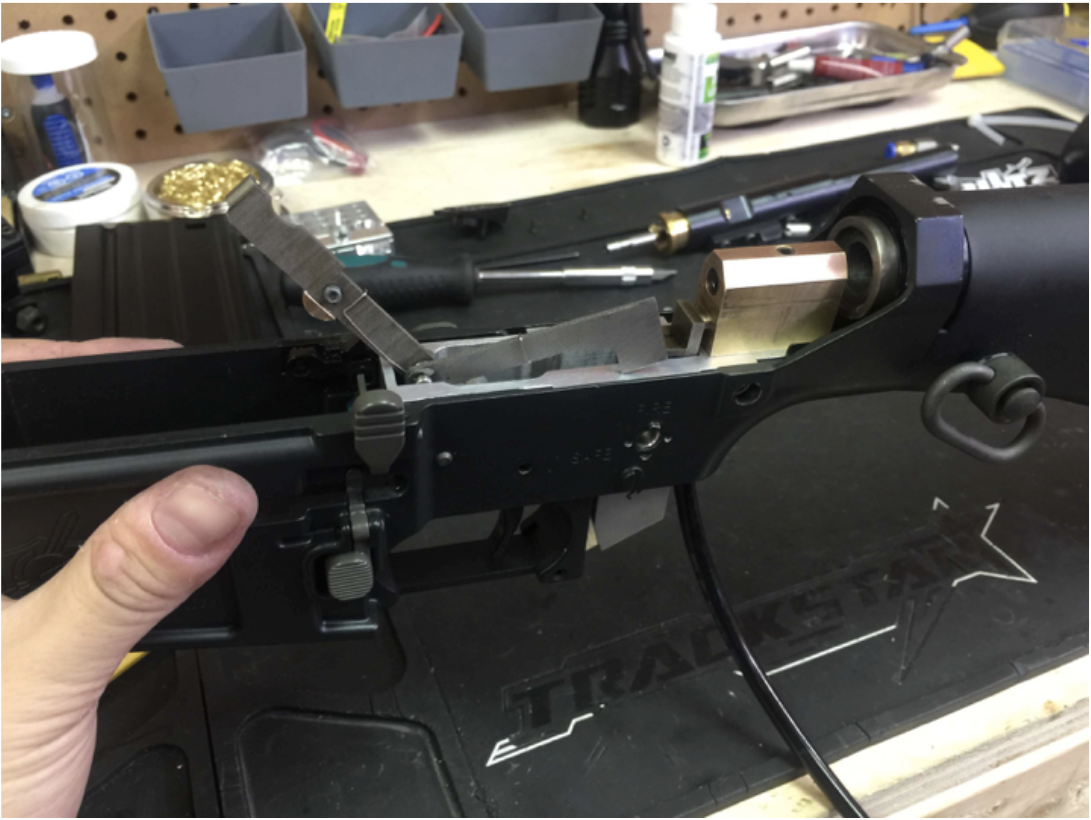
Put in the fire selector and screw on the right side switch. Put the rear body pin in.
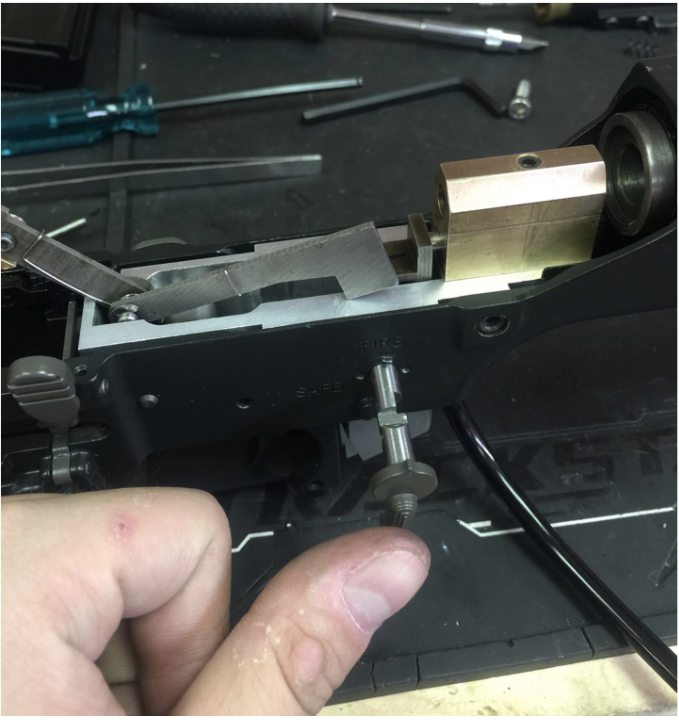
Screw on the right side fire selector switch.
Reinstall the mag release, remember to put on the small mag release spacer that comes with the kit.
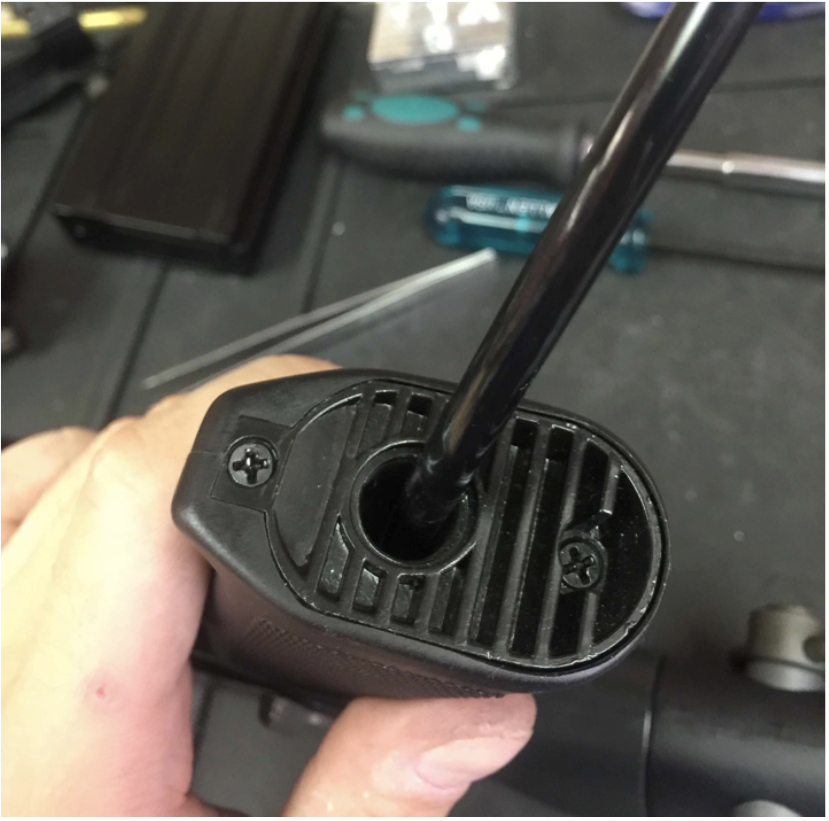
Let the air line come out from rear hole of pistol grip.
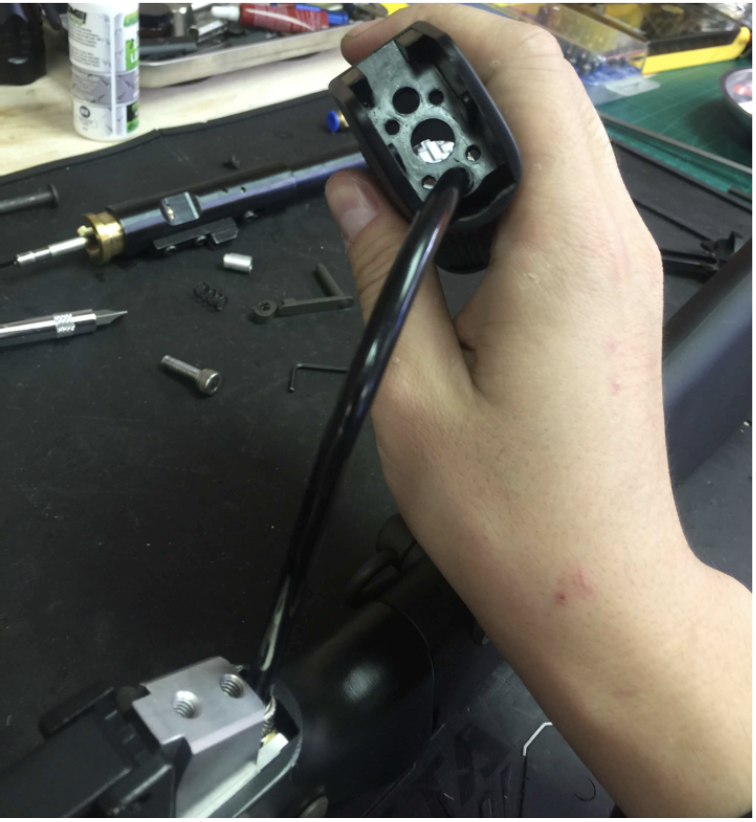
Use the screw and washer to tighten up the pistol grip onto the receiver.
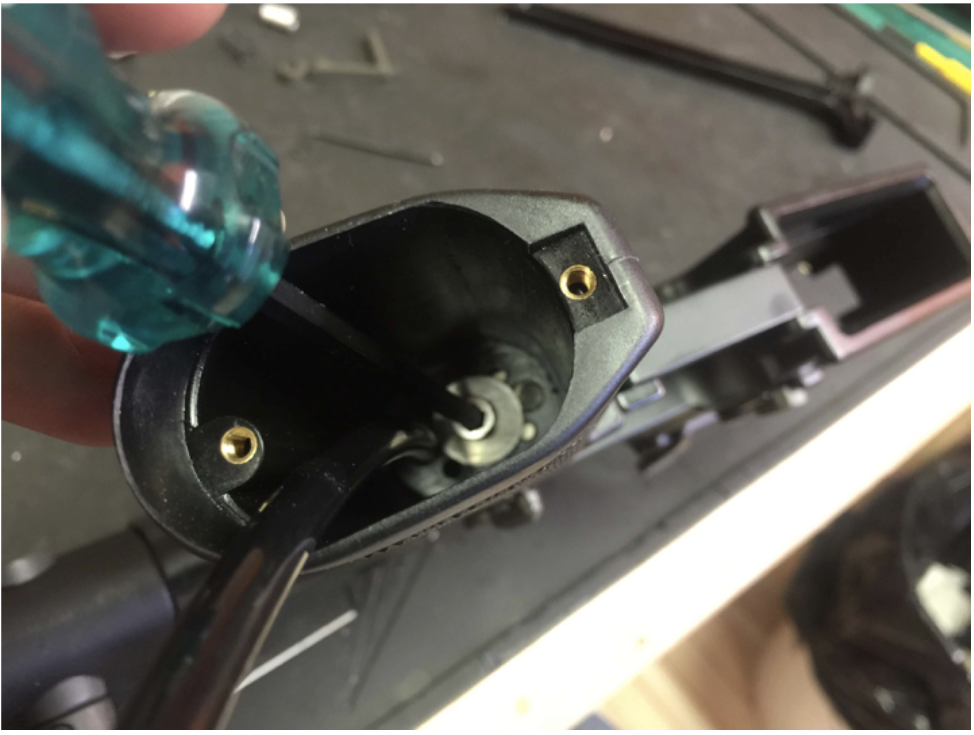
Remove the motor height adjustment screw and allow the air line to exit.
The lower receiver is finished.
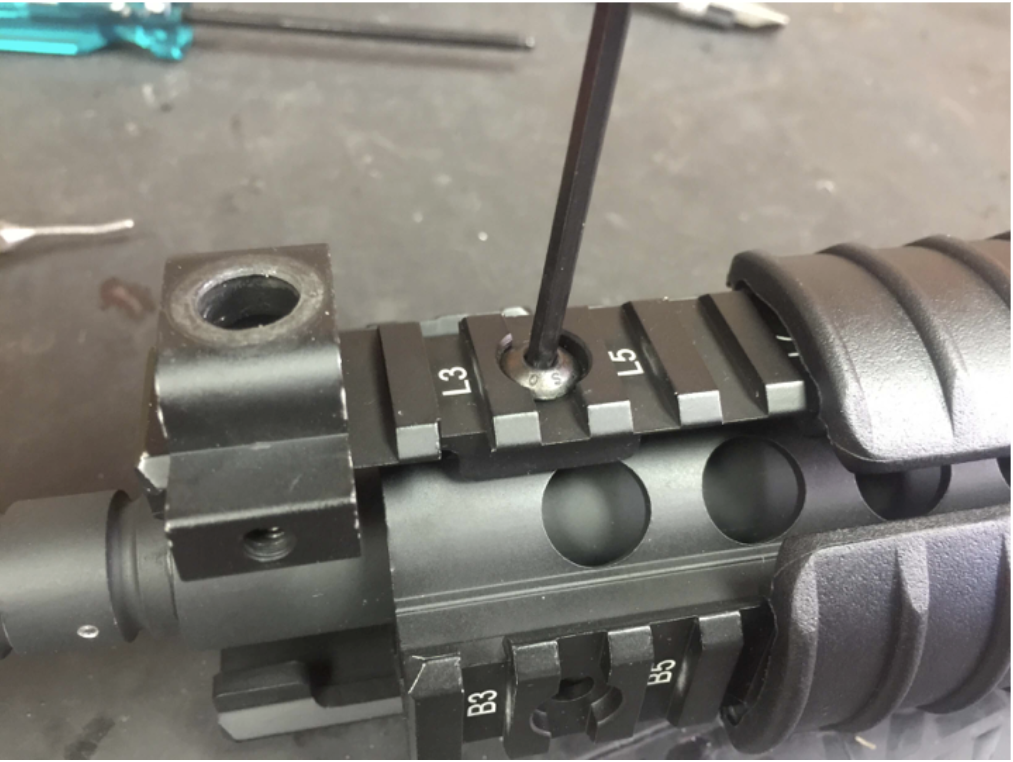
On the upper receiver, remove all screws on the rail to take off the rail system.

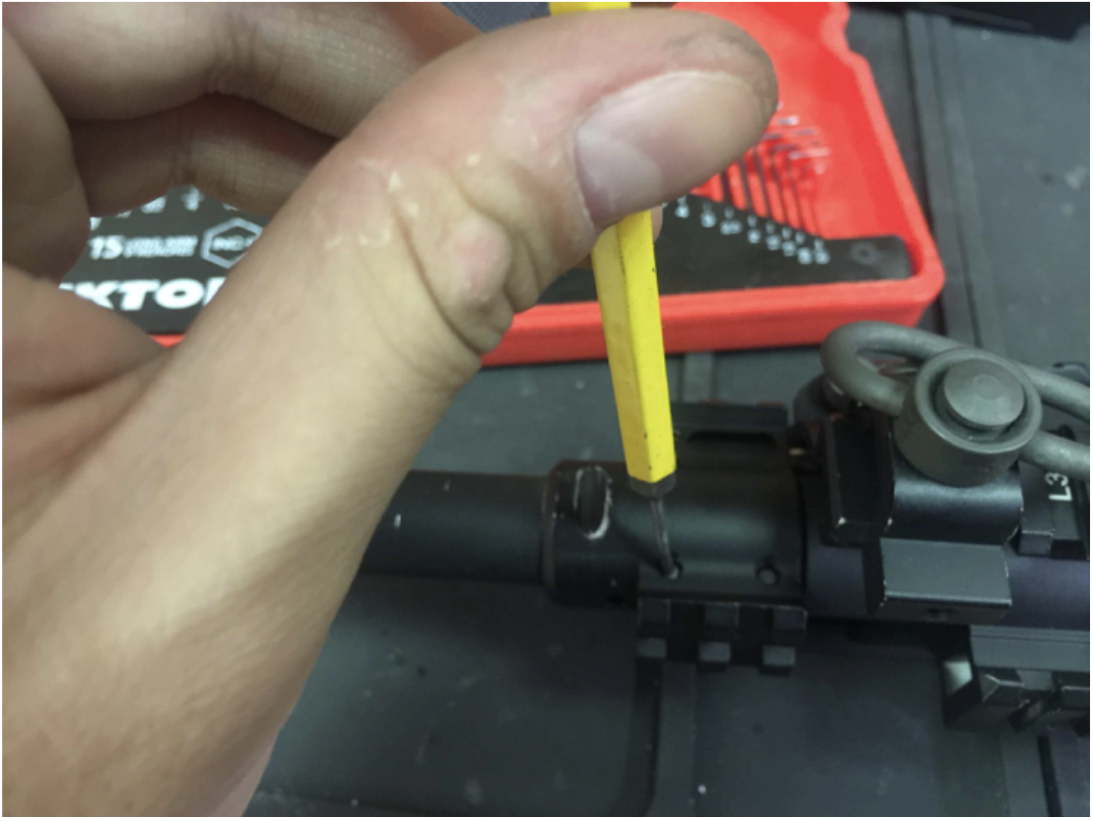
Punch out the pins on the front gas block and take it off.
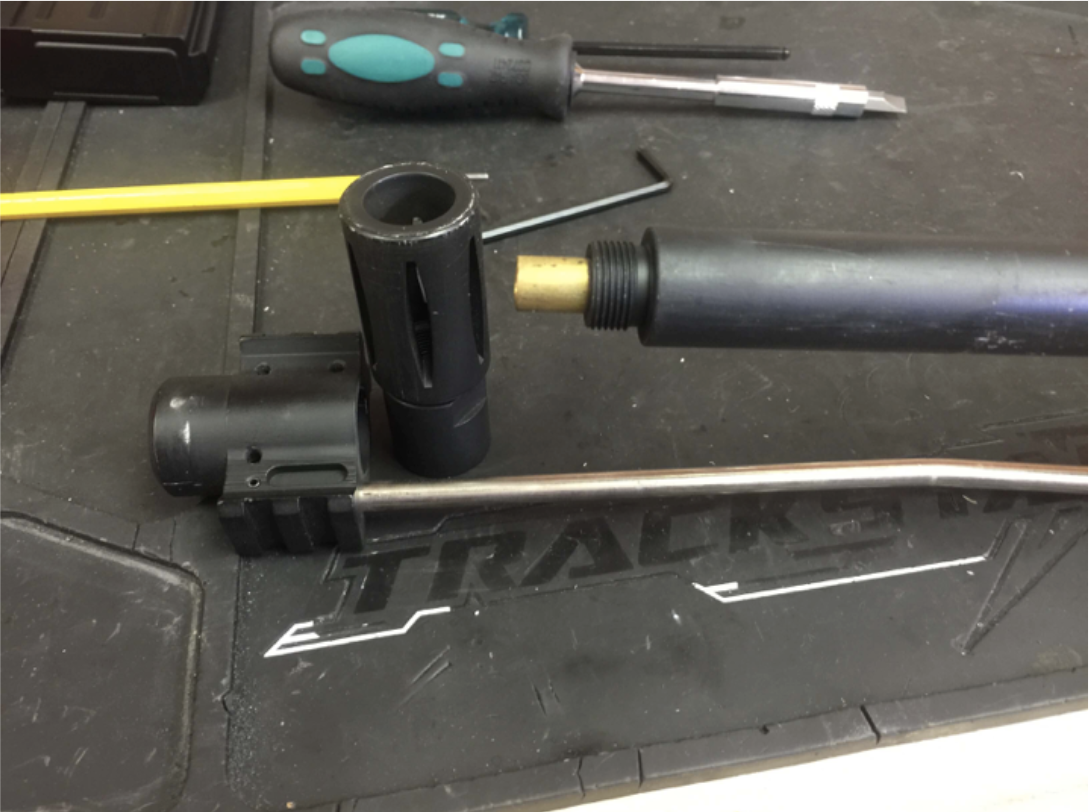
Take off the flash hider.
Front screws need to be removed as well for handguard removal.
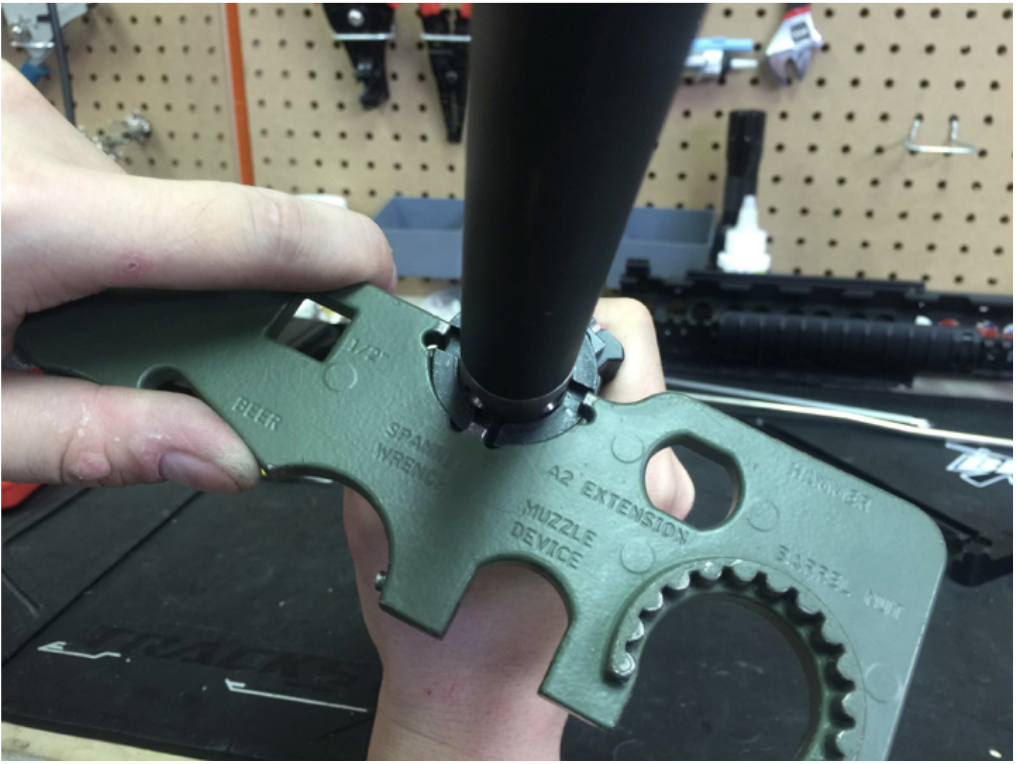
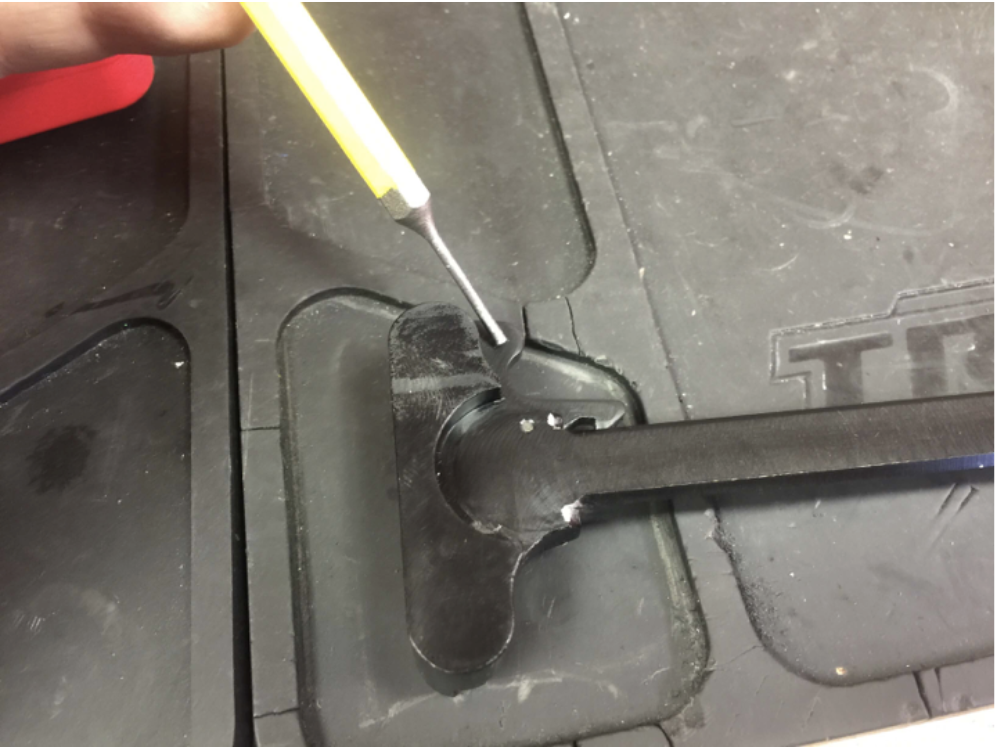
After taking off the handguard, use an AR wrench to unscrew the barrel nut.
Put your outer barrel assembly on a vise. Use soft metal to prevent scratch. Heat up the front part (marked below) with a heat gun (sometimes you may need a torch) then unscrew it. DO NOT OVERHEAT!
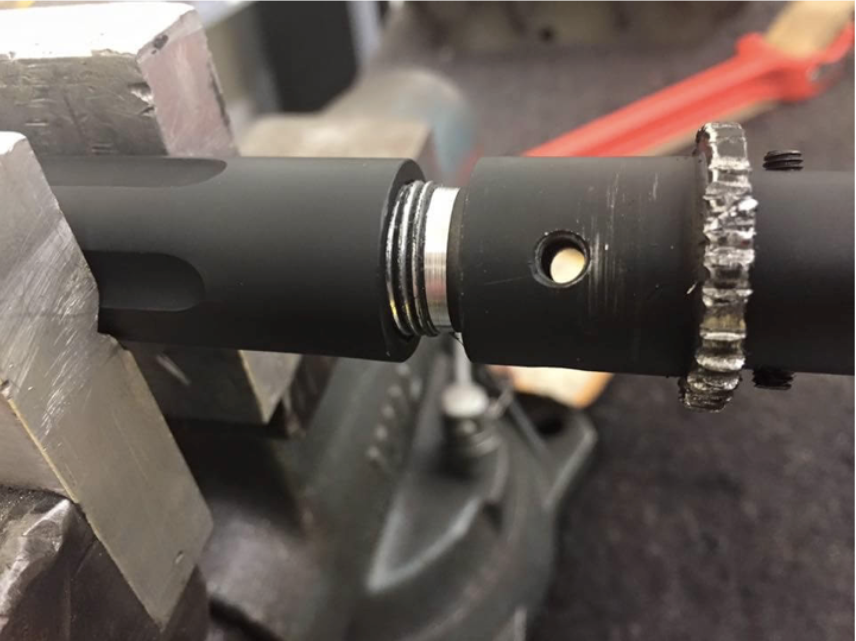
Clean the outer barrel thread.
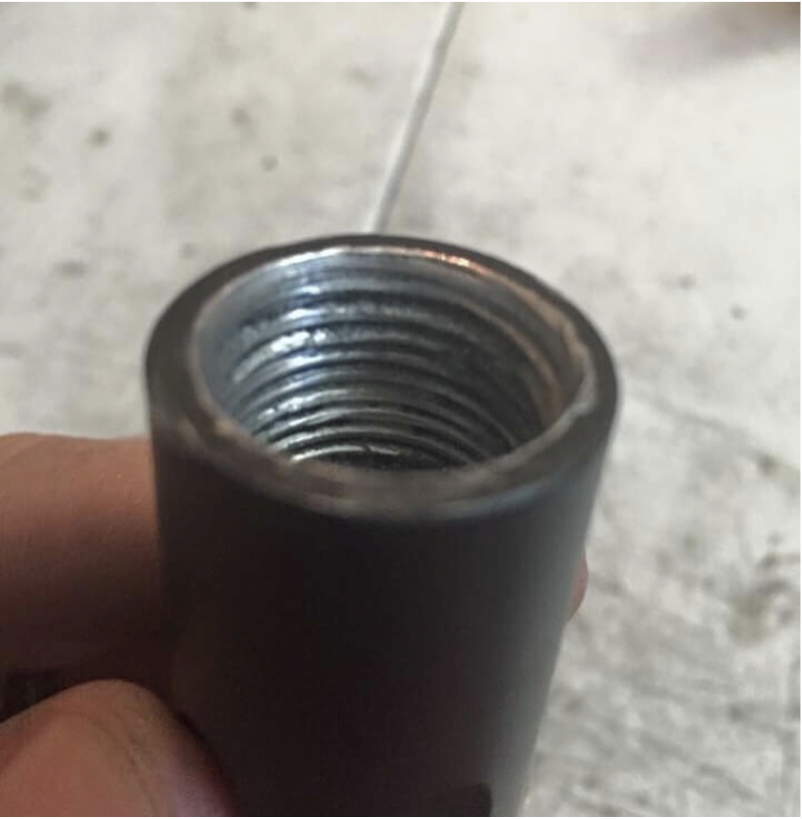
Use the barrel adaptor that comes with the kit and screw it on.
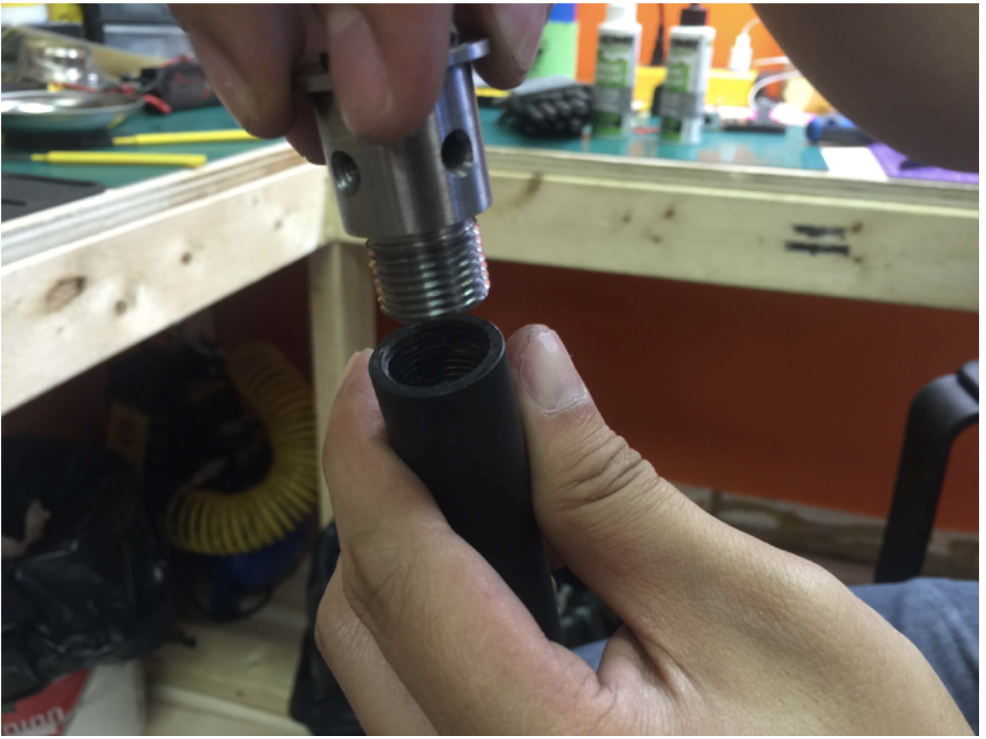
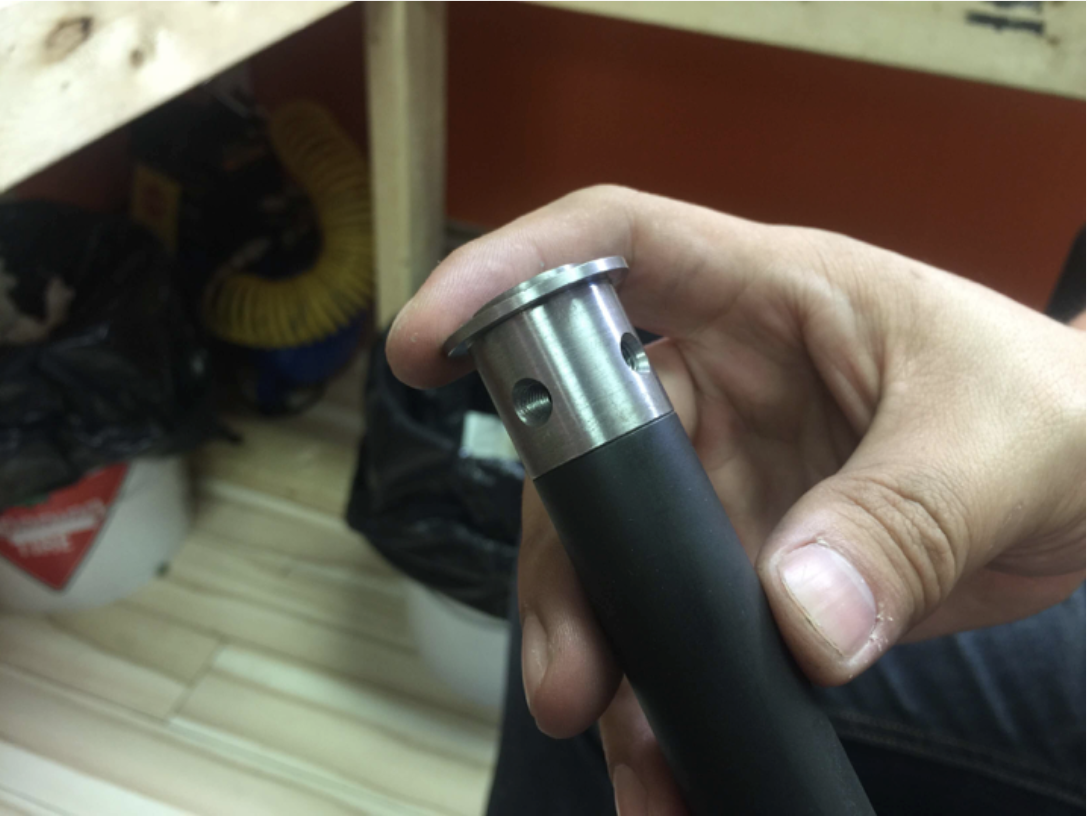
Make sure everything is flush.
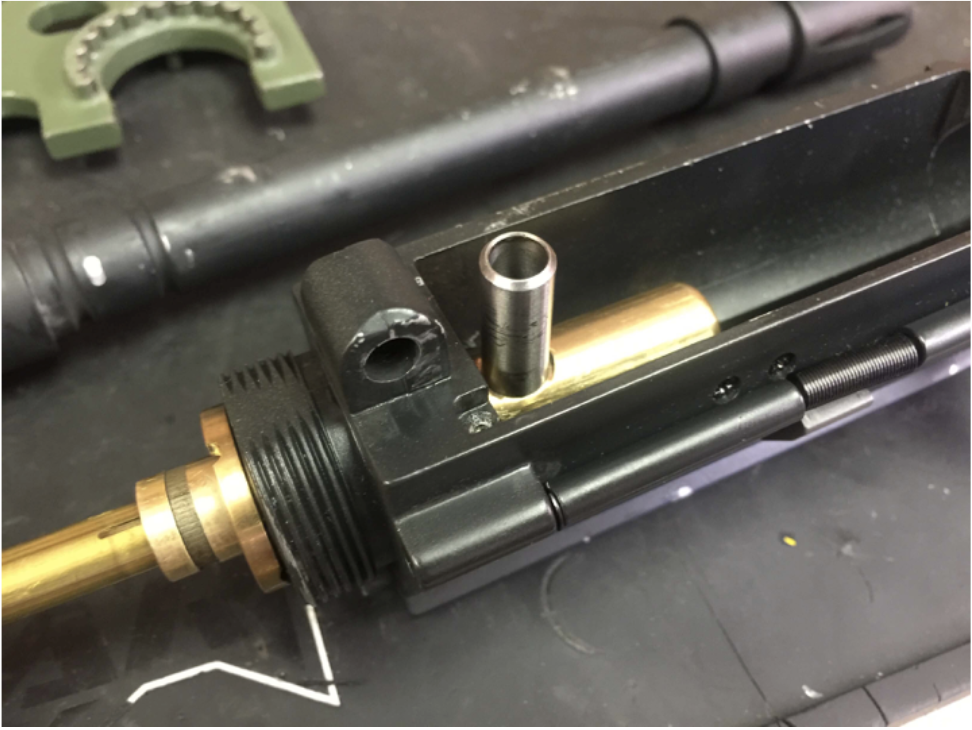
Take out the hopup unit and disassemble it. Take out the metal C-clip.
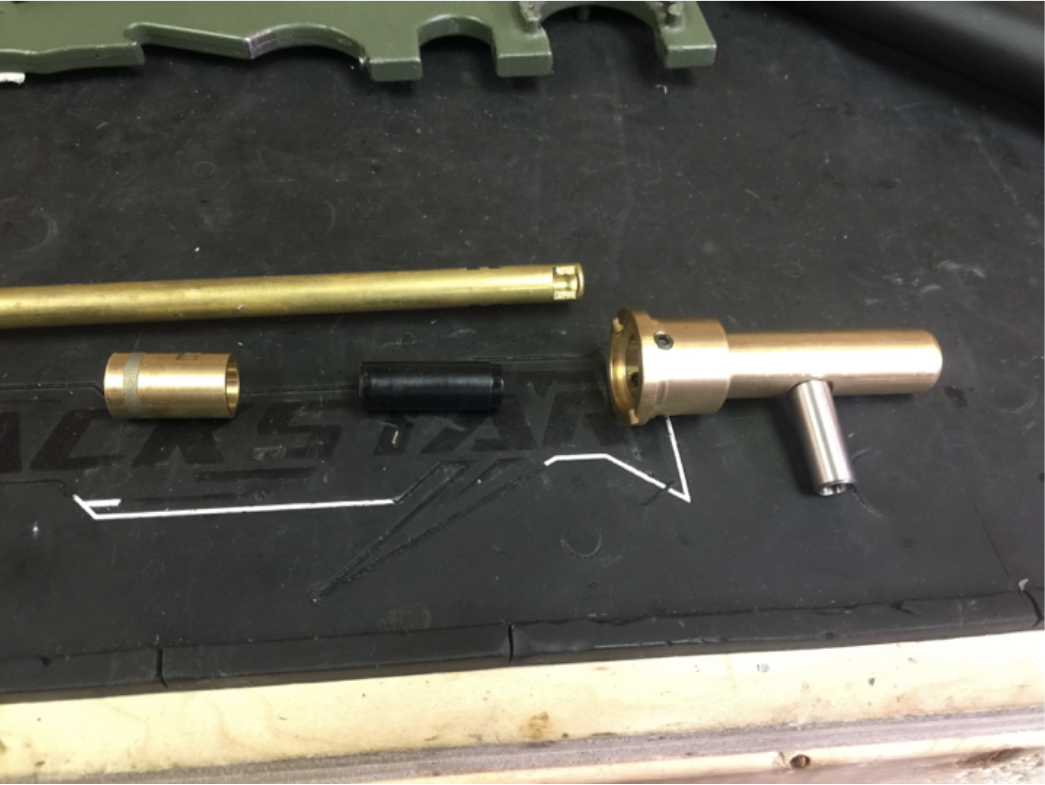
Put the hopup bucking onto the inner barrel, and slide on the barrel tube. Watch for the direction.

Put the c-clip on.
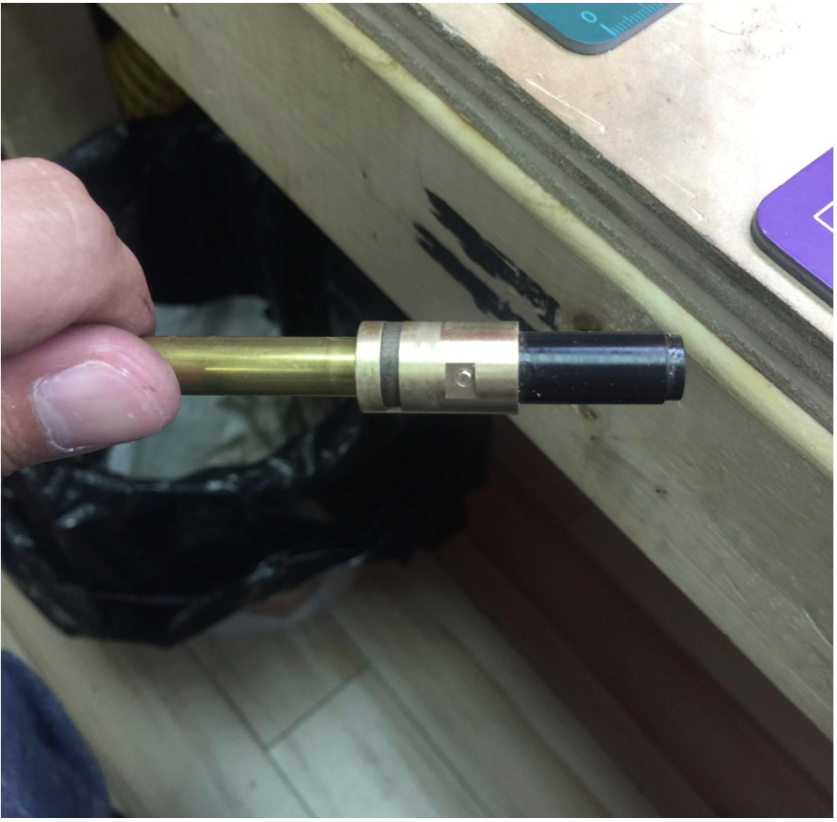
Put the hopup unit on.
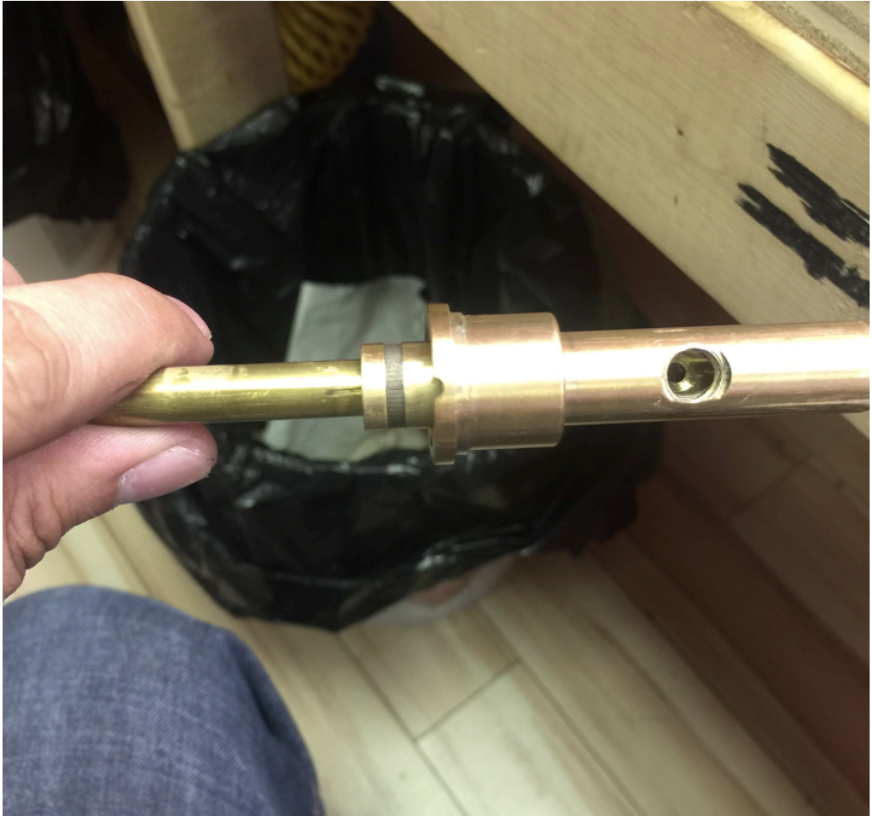
Tighten up the two screws on both sides (apply Loctite).
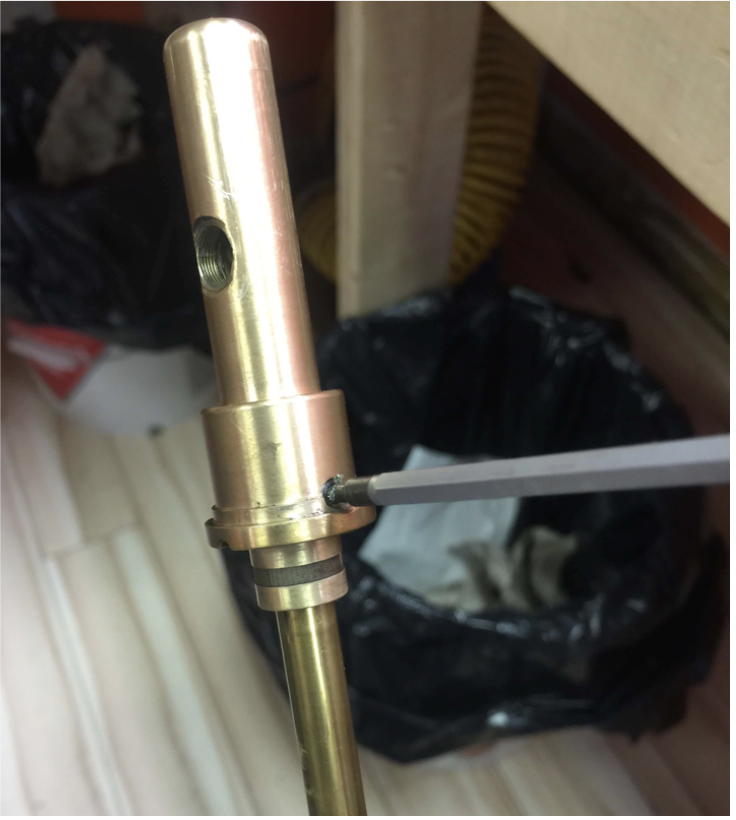
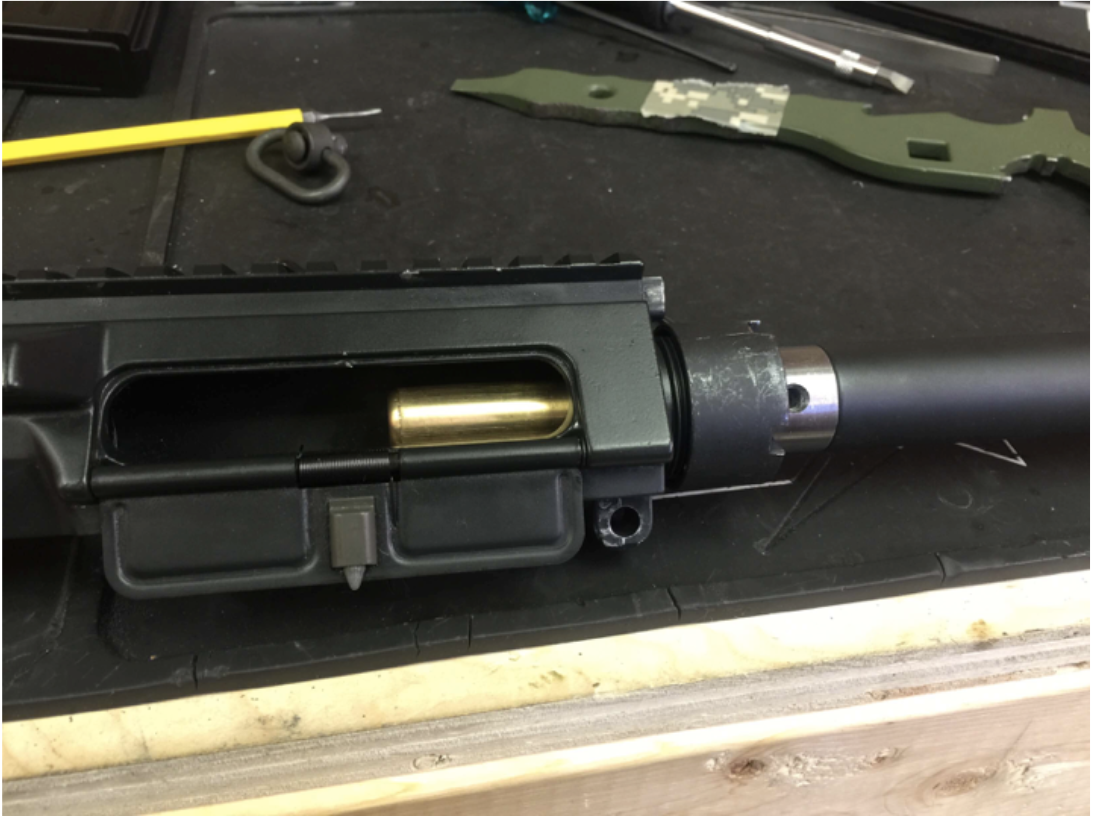
Put the whole hopup assembly into the upper receiver.
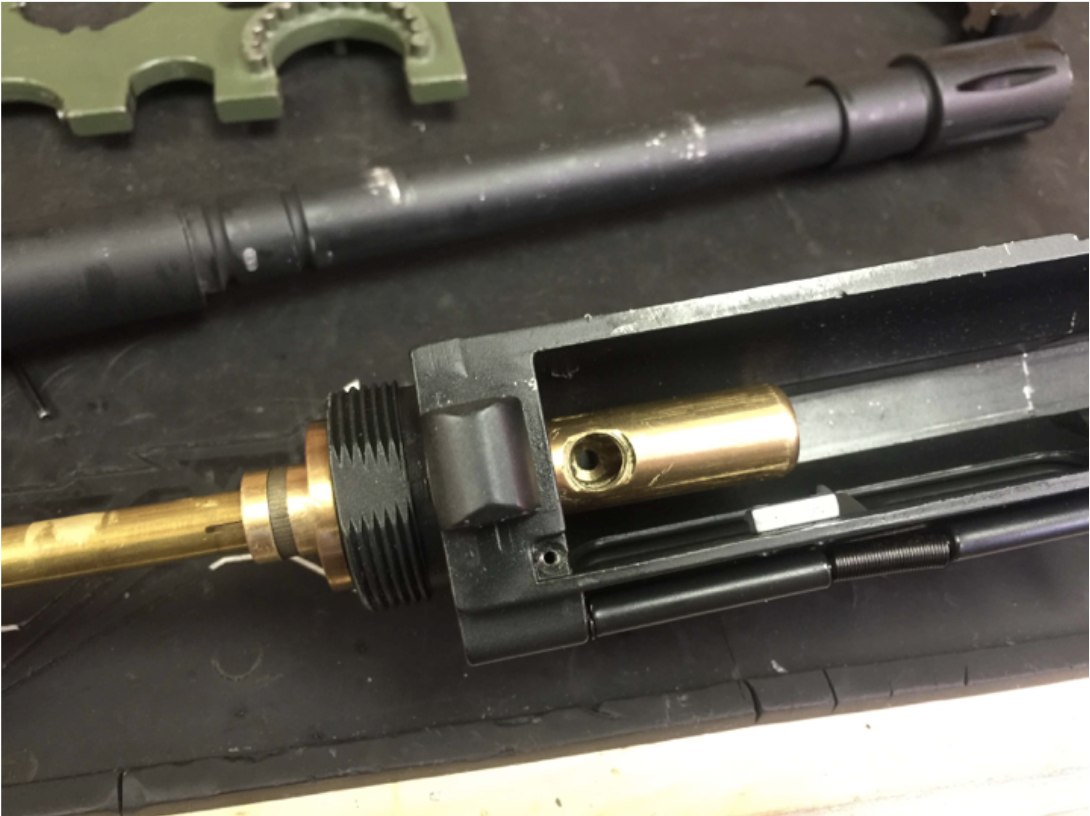
Screw on the feeding tube and align the whole unit (important, make sure to test with a mag for perfect alignment).
Put back the outer barrel and barrel nub.
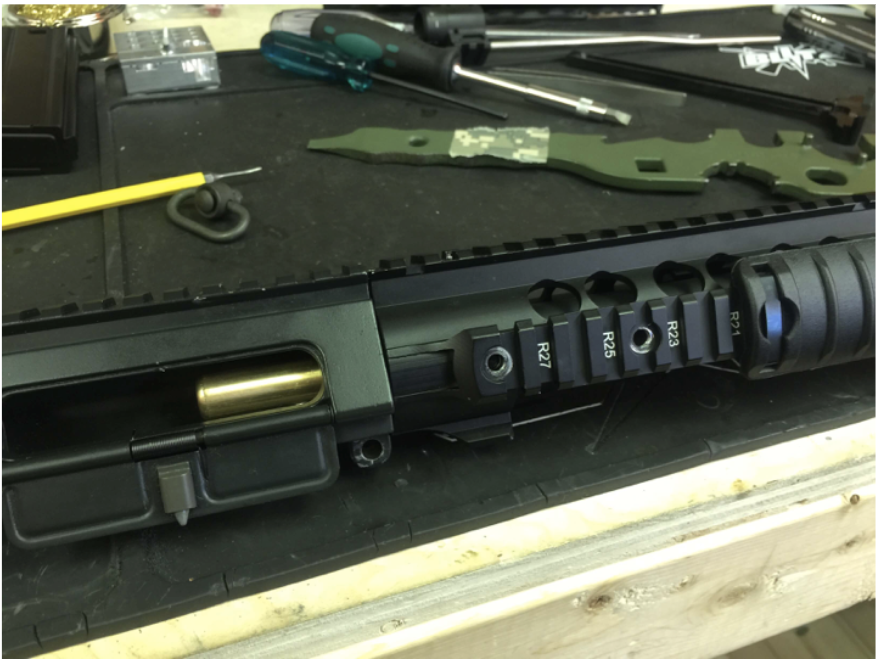
Put the handguard back.
Measure twice to get the exact location of the hopup adjustment screw, and drill a hole through it (without the hopup unit in).
Put everything back. The upper receiver is almost done.

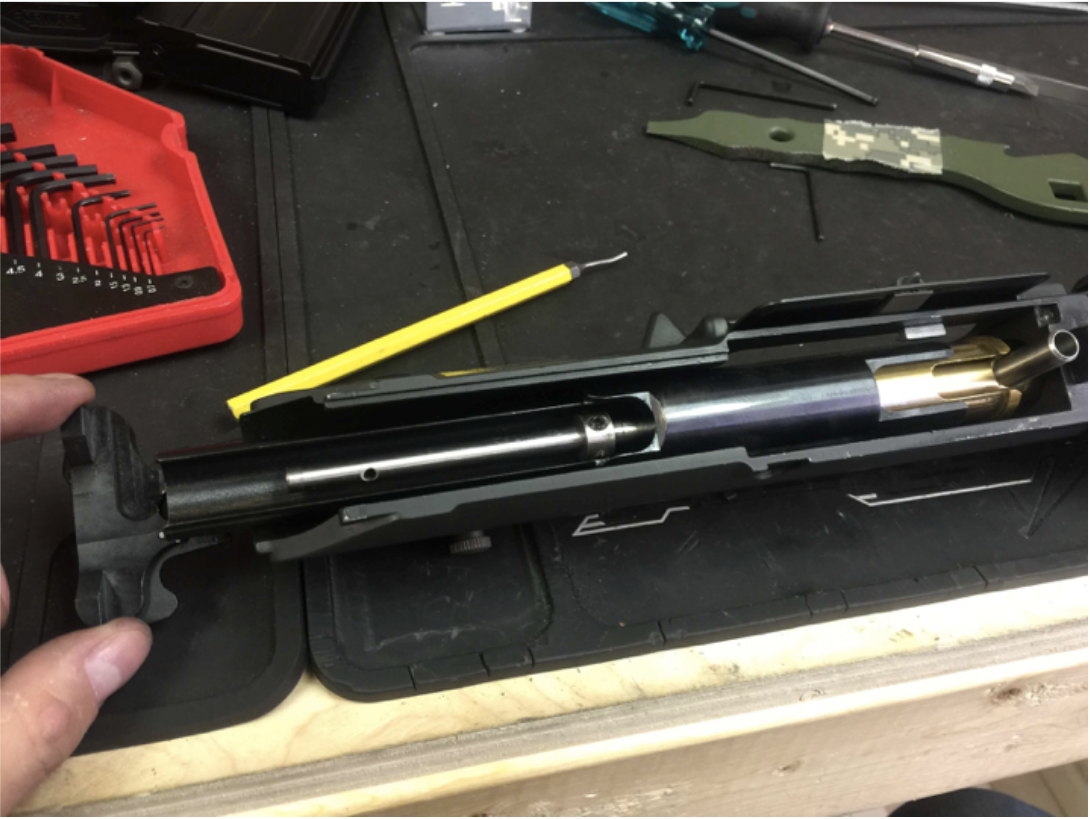
Reuse the latch on the stock charging handle and put it onto the new charging handle.
Put the charging handle along with the bolt assembly back.
Close the receivers and test fire.
