A&K/Matrix PKM & Raptor PKP Installation GuideUpdated 5 months ago
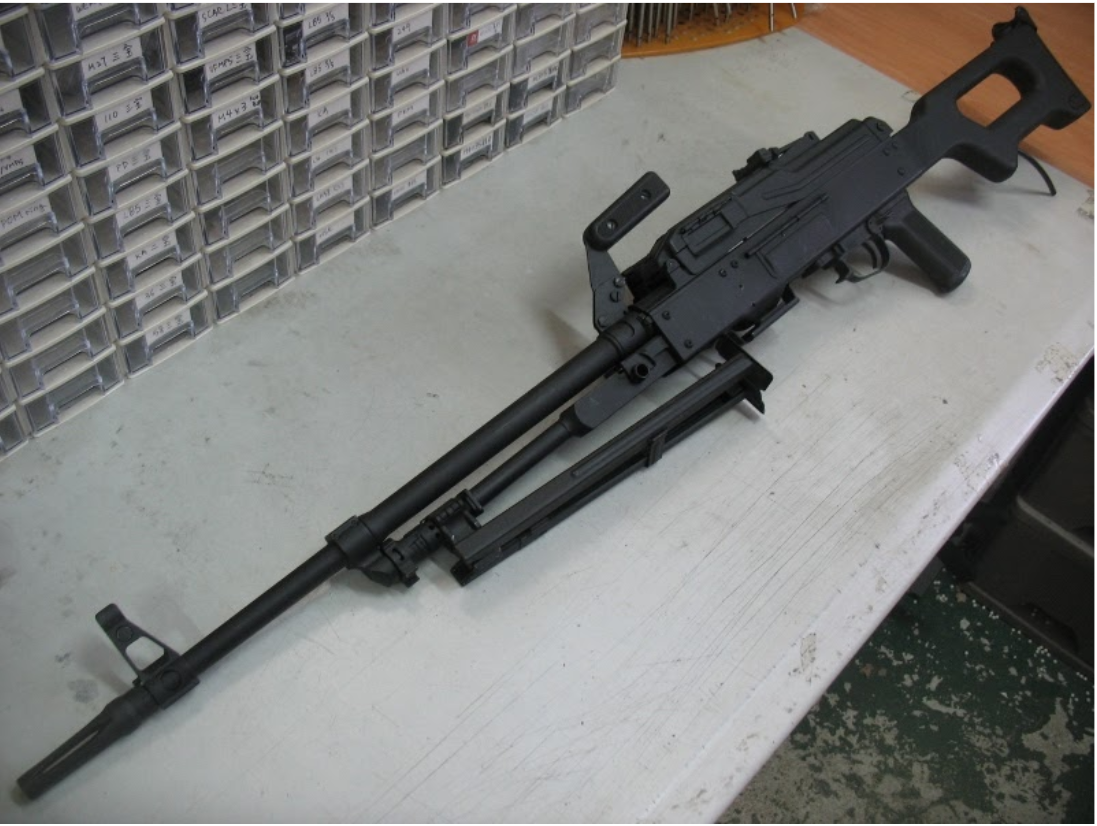
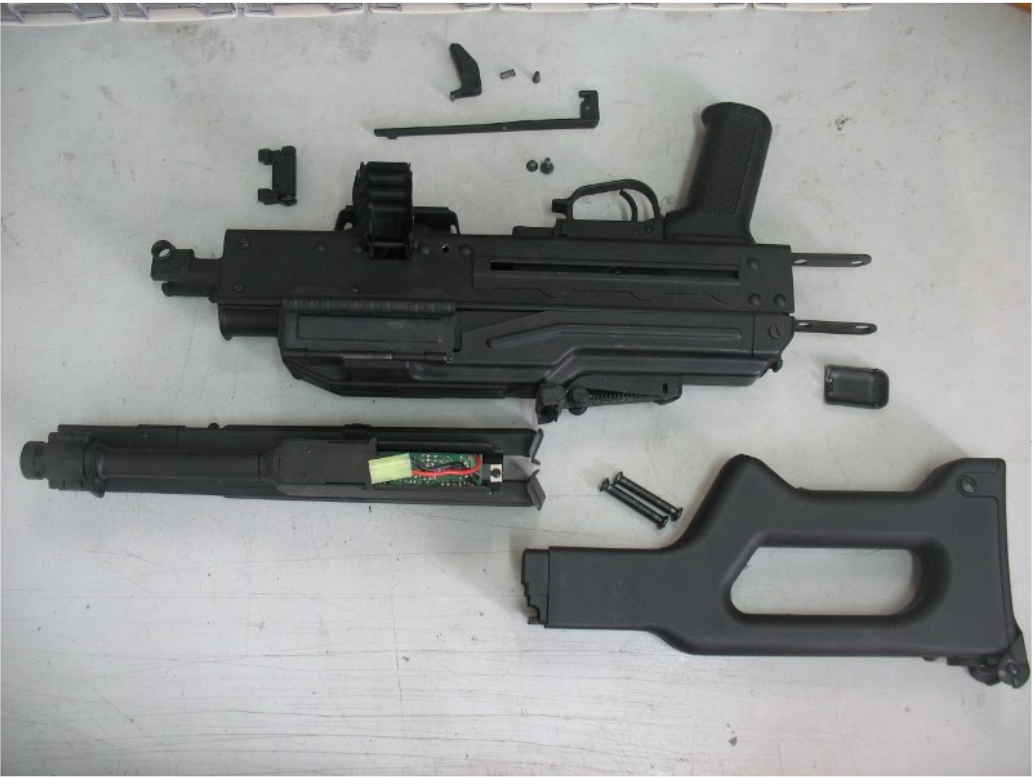
1. This is the DG PKM kit for A&K AEG PKM
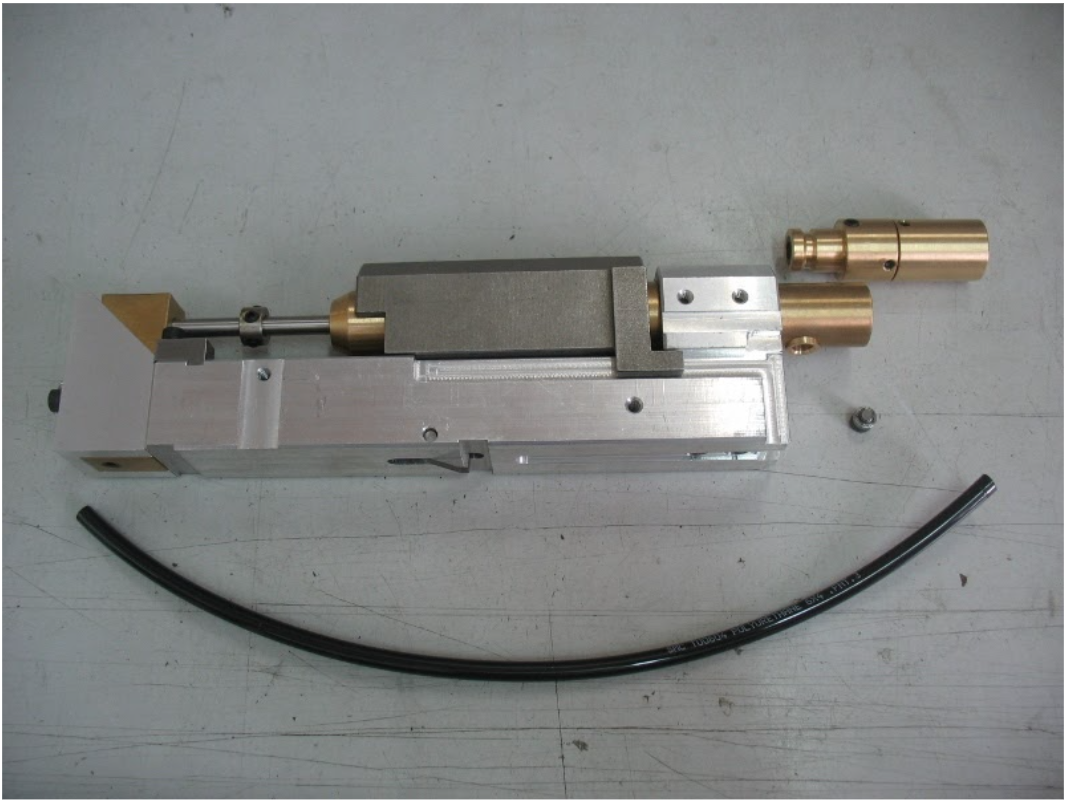
2. Assemble the inner barrel group just like other DG models

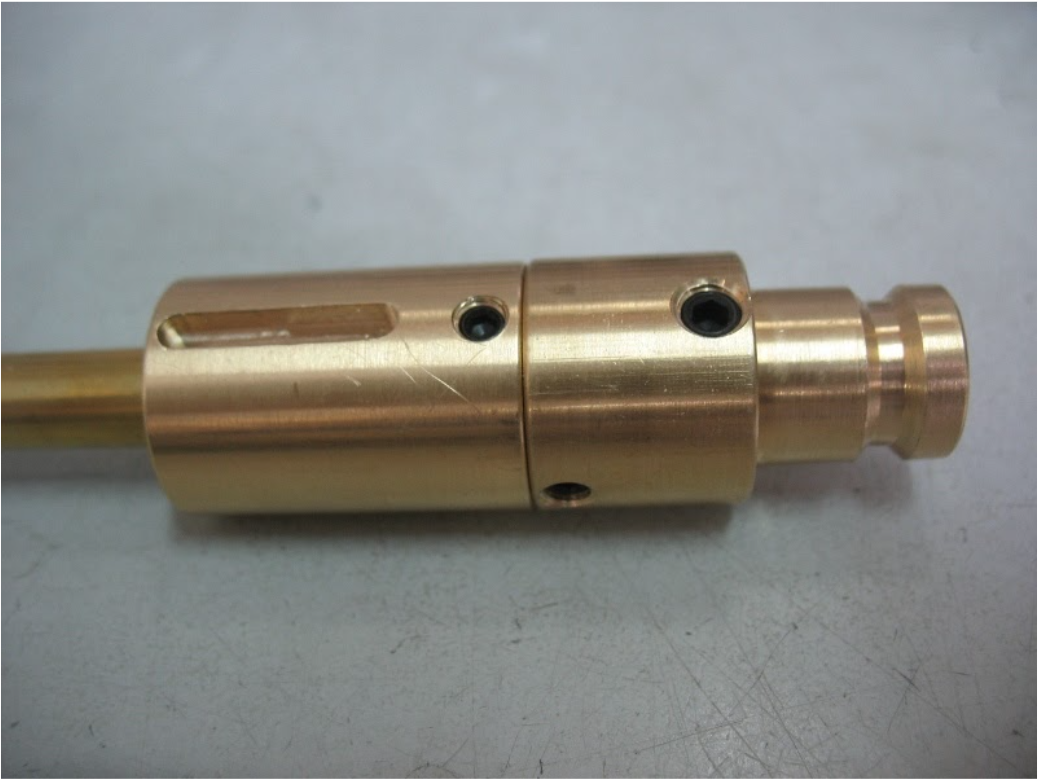
3. Line up the front brass bolt and tighten up all the setscrews
4. Remove all AEG parts from the outer barrel except the spring and the screw, and prepare to put back the inner barrel group
5. Put the inner barrel group inside the outer barrel with the original spring and lock it up. The inner barrel set will have some movement now
6. Barrel group is now complete
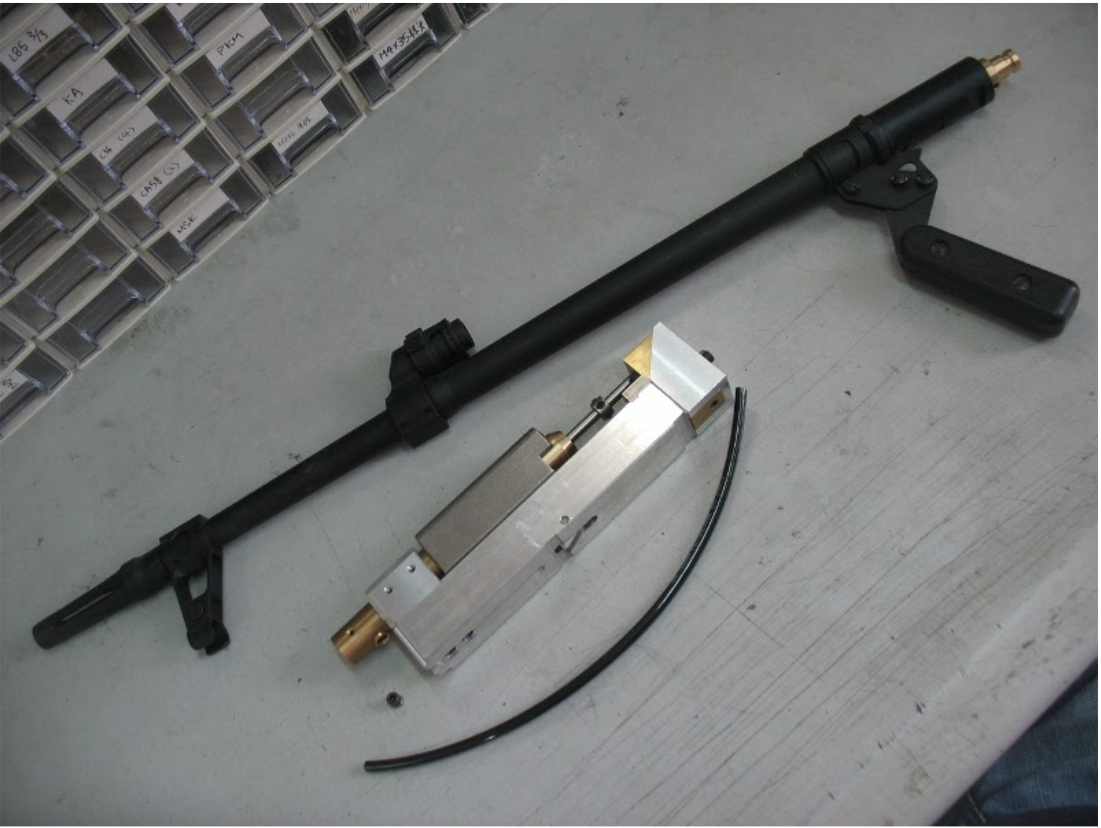
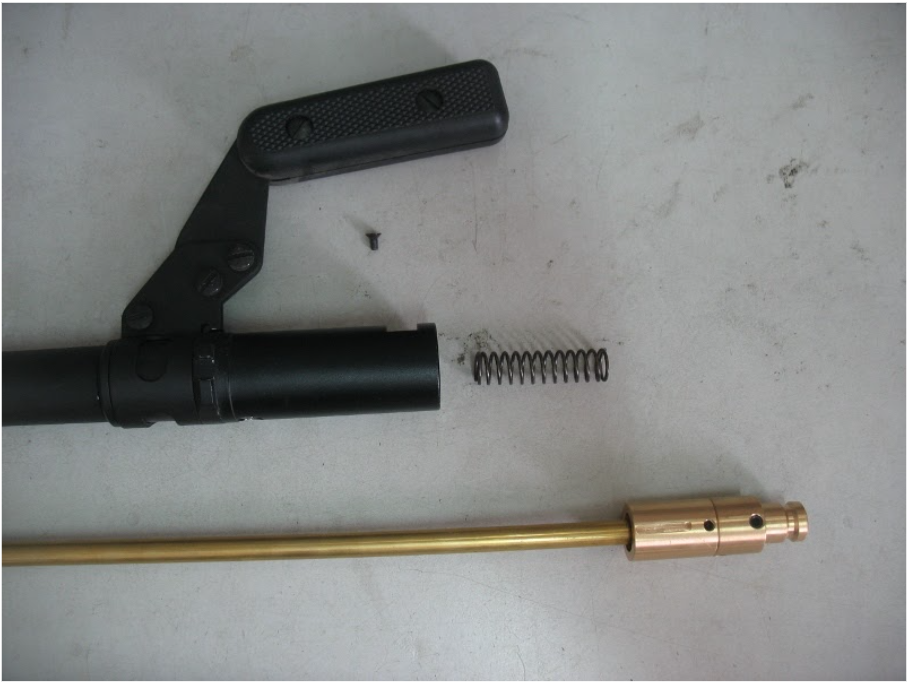
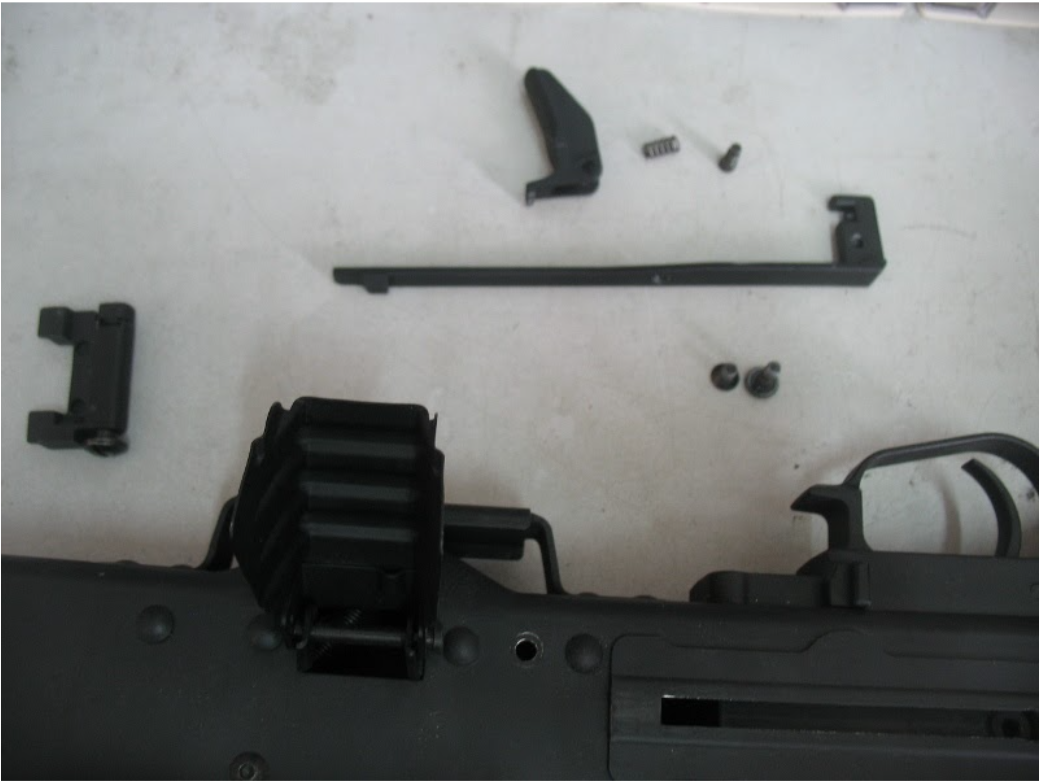
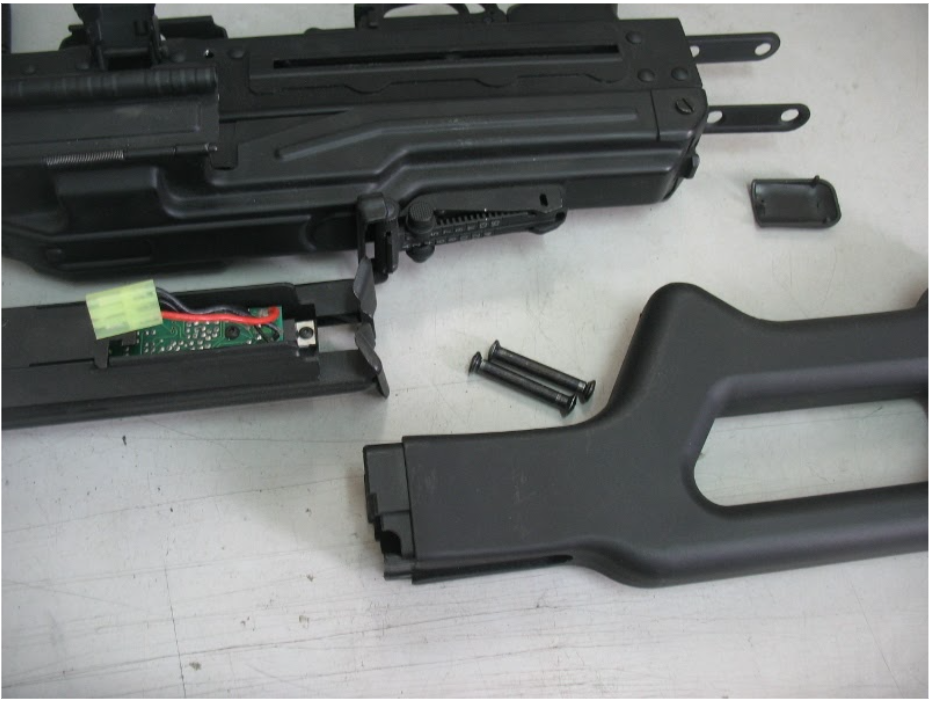
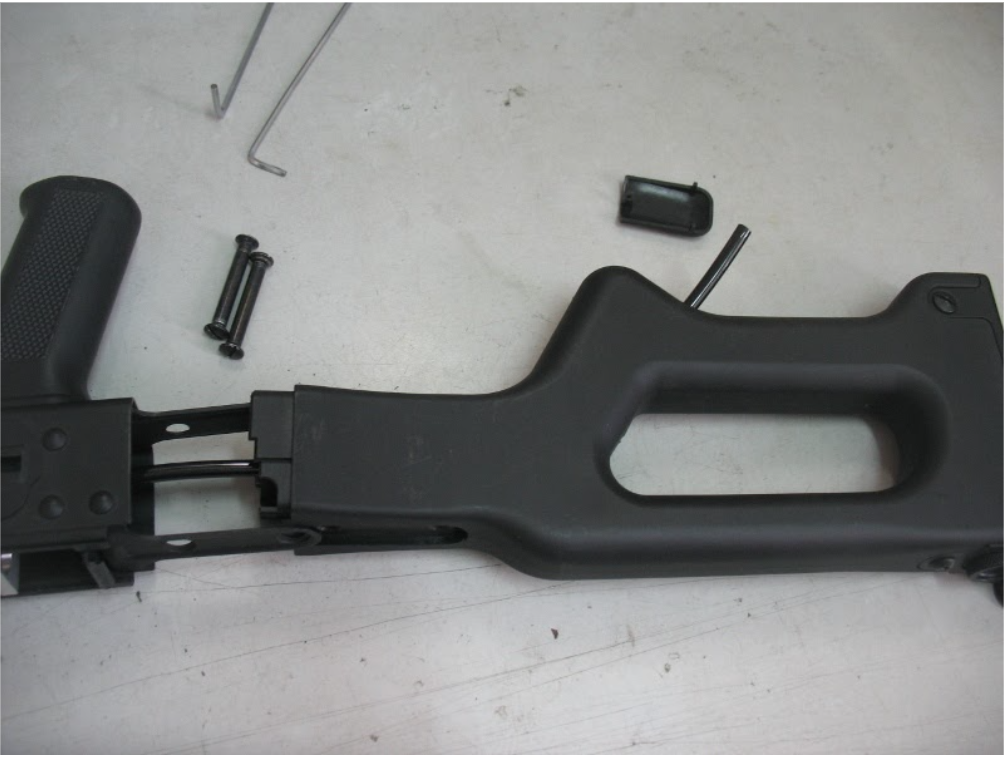
7. Remove AEG parts and keep the parts shown in the photo
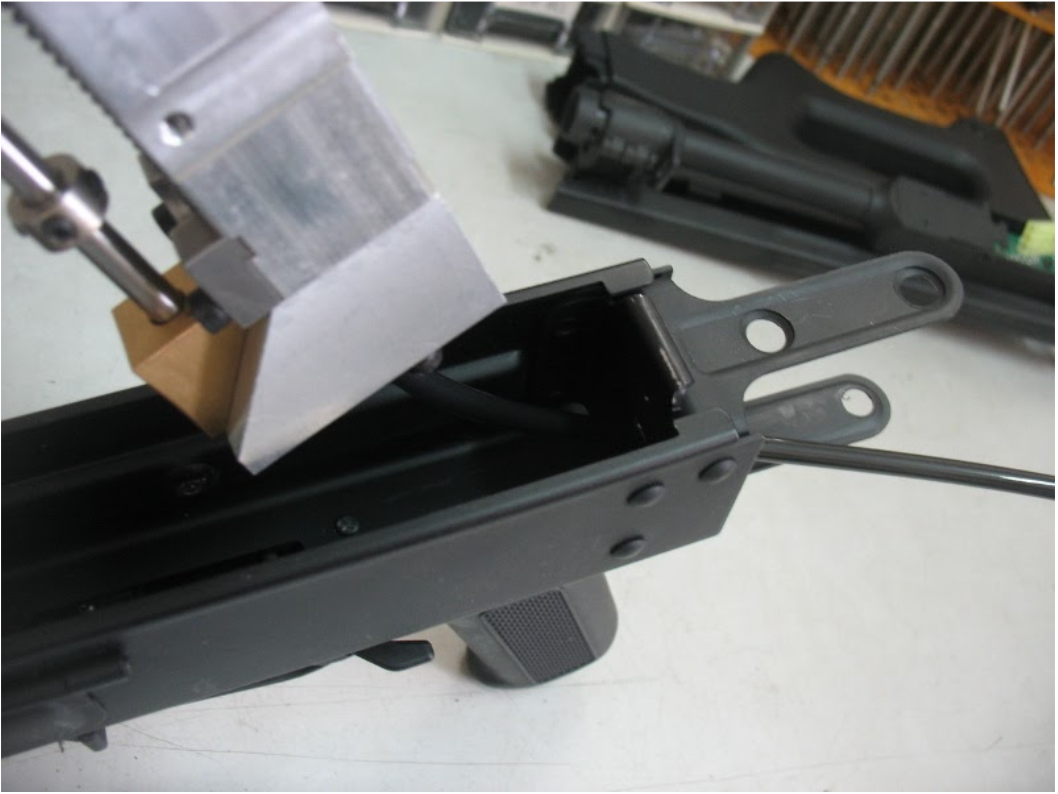
8. Disassemble the charging handle set for tapping M4 threads
9. Some AEG parts can be left inside the bipod (shown in the picture). Remove the bottom cover from the buttstock so the tubing can be threaded through
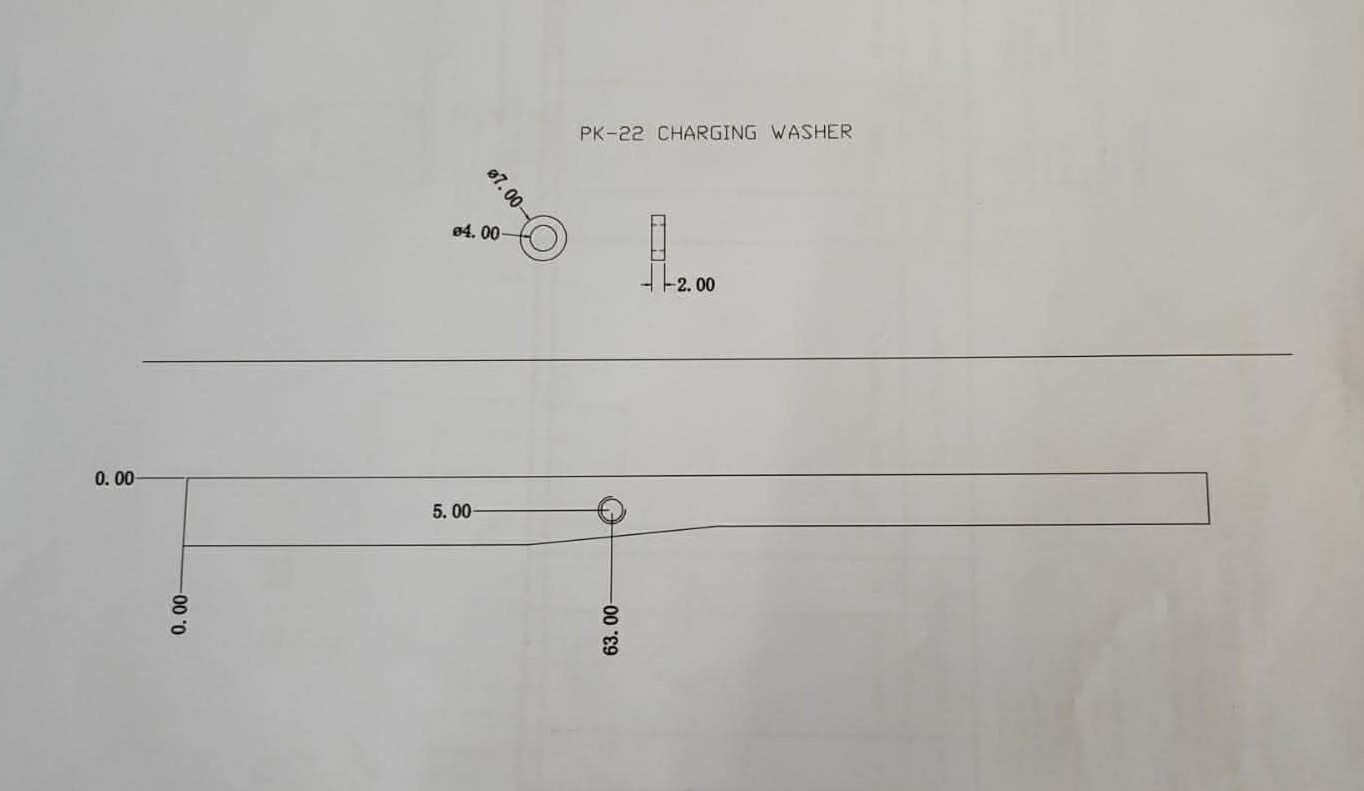
10. Drill and tap M4 threads on the charging handle

**If your donor does not have a hole predrilled from the factory, use this diagram as a location guide for creating and tapping a new hole.**
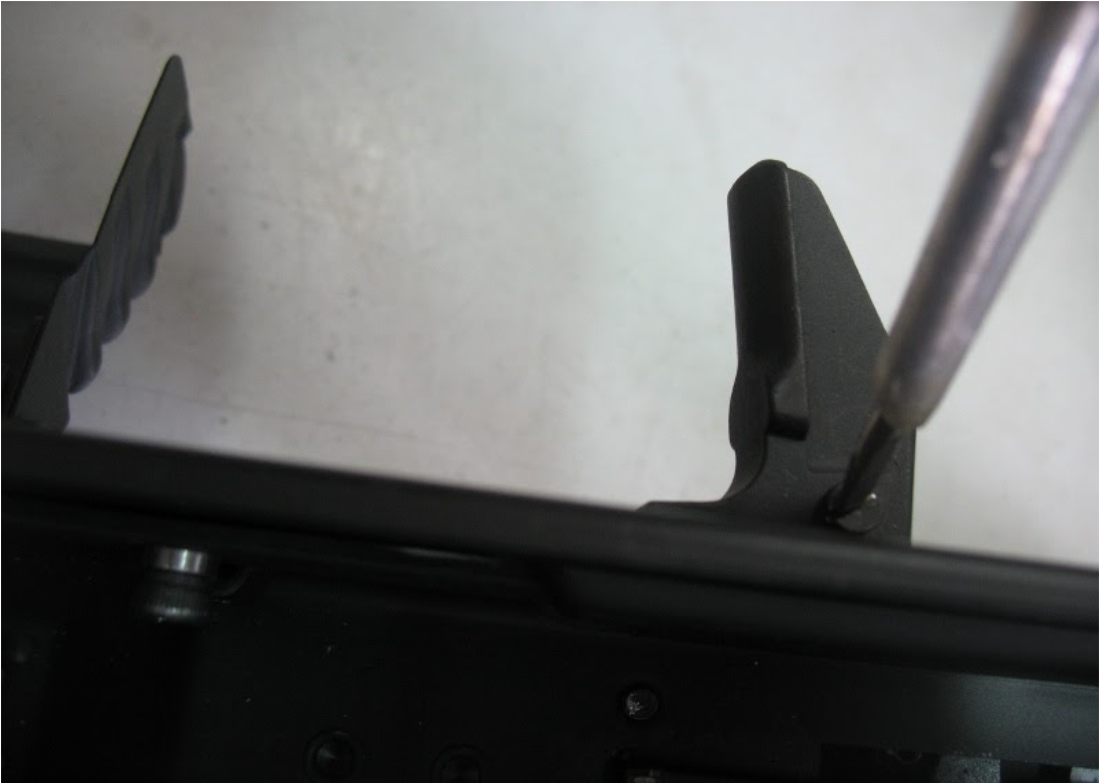
11. Put back the charging handle and put on the DG charging nut
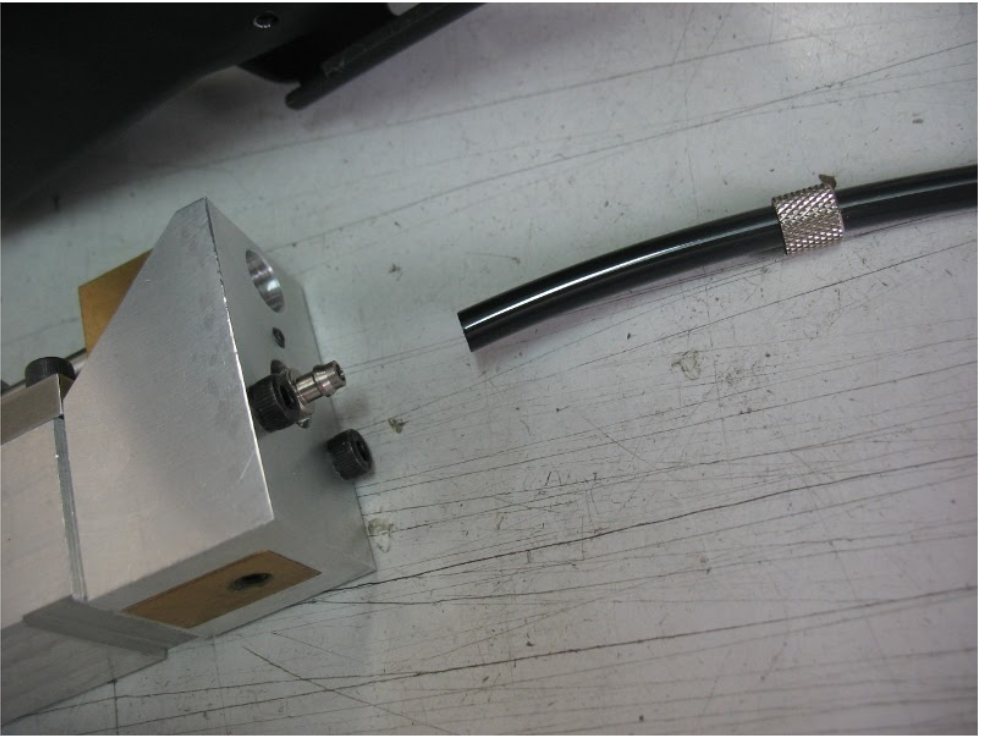
2. Unscrew the cap at the rear end of the DG kit to link up the tubing, and then lock the cap again
13. Put the DG kit inside the PKM body. The tubing needs to exit from the rear hole on the PKM body
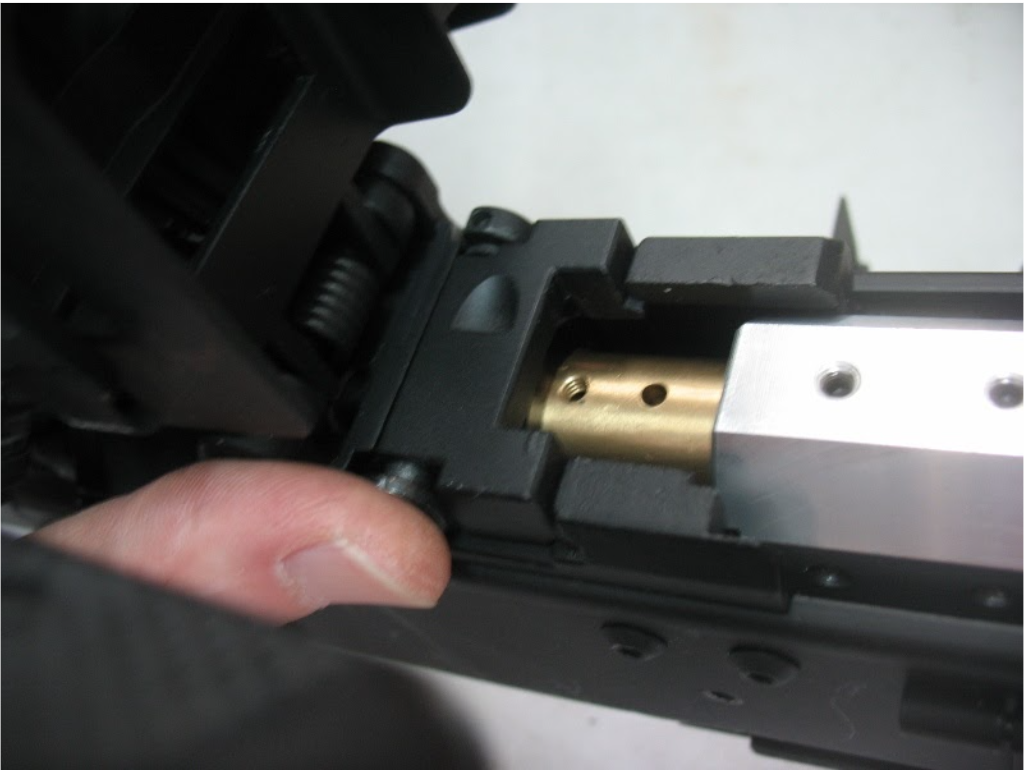
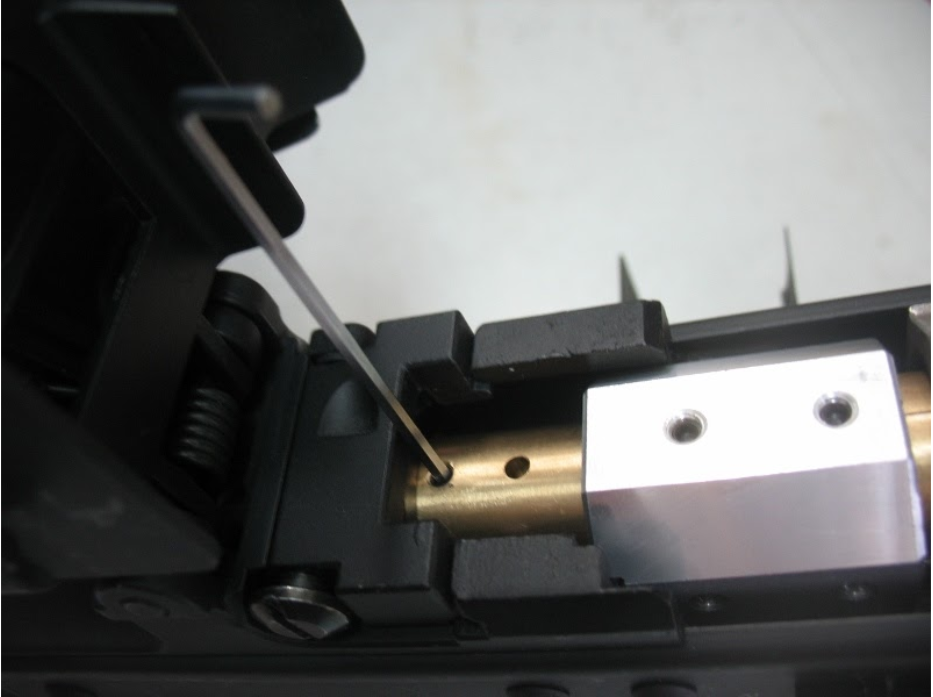
14. After dropping in the kit, hold the inner shaft at the bolt tank rear position and push forward the kit gently
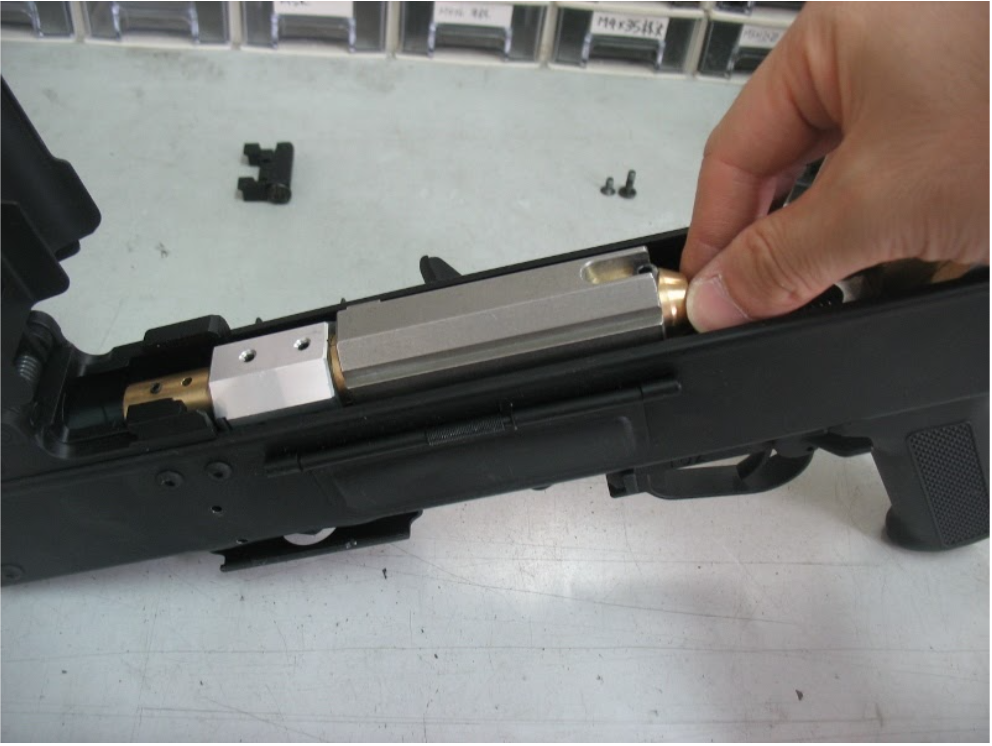
15. With proper fitment the kit will sit correctly, and you should see the 2 side holes perfectly aligned
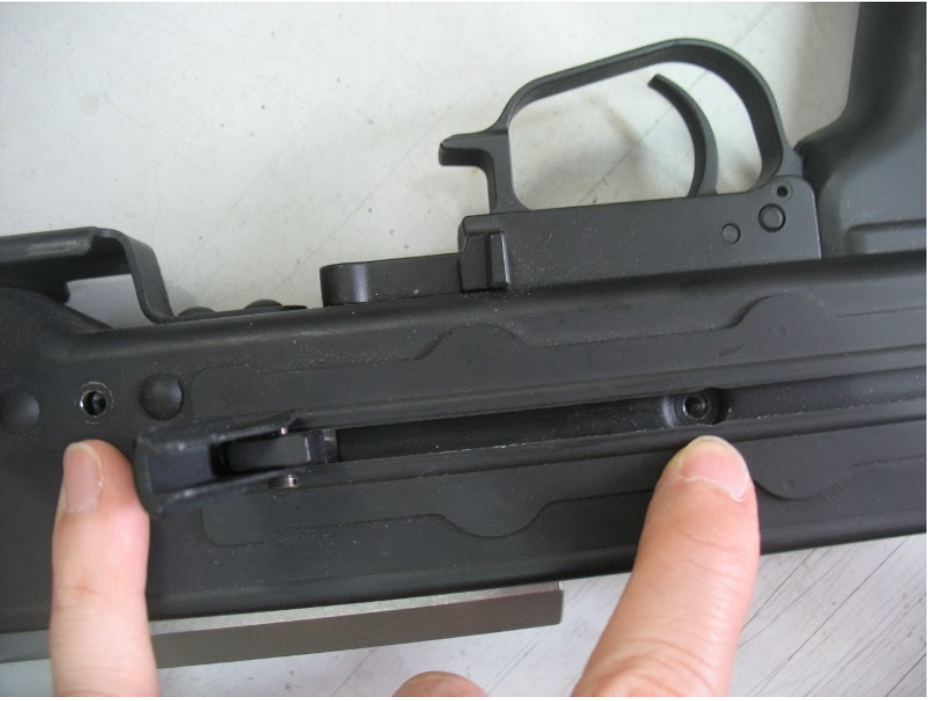
16. Use the original screws to loosely secure the kit
17. Remove the bottom cover of the buttstock and thread the tubing out, then assemble the buttstock
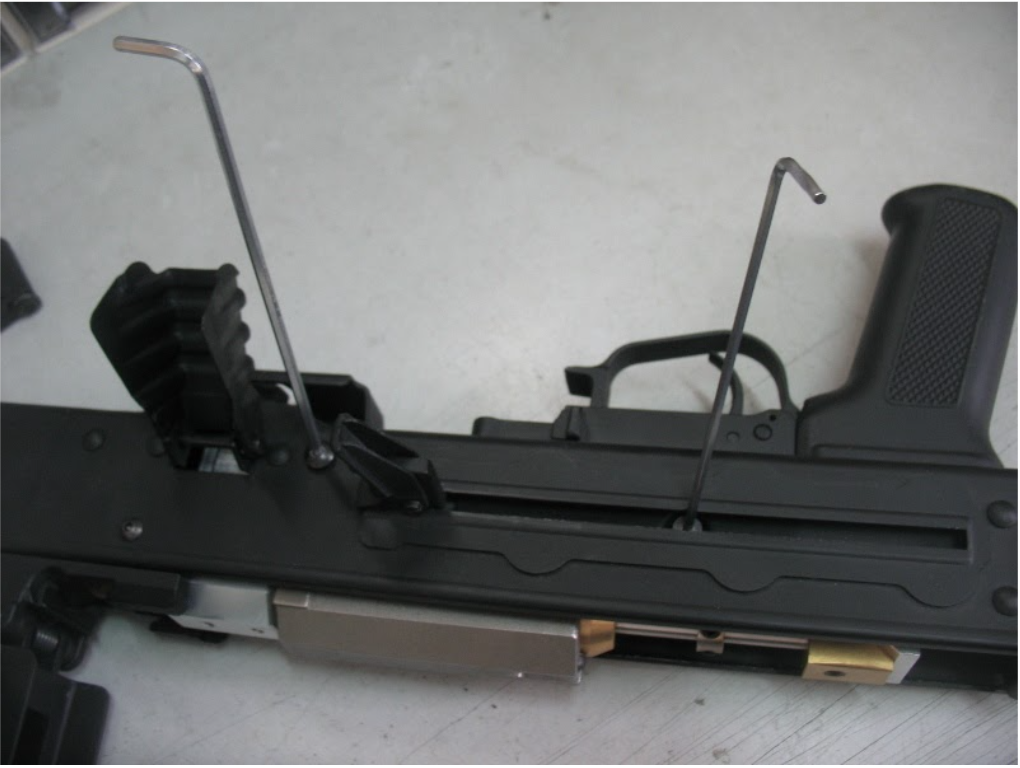
18. Because there is tubing inside, the long screw may have a hard time going in. A rod can be used to guide the screw to the correct position
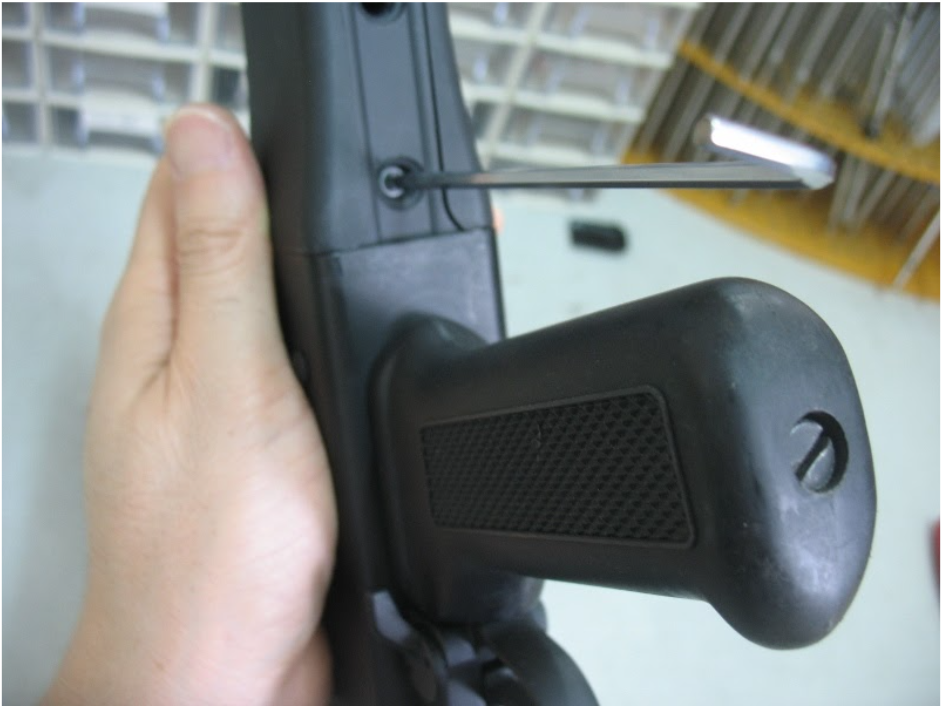
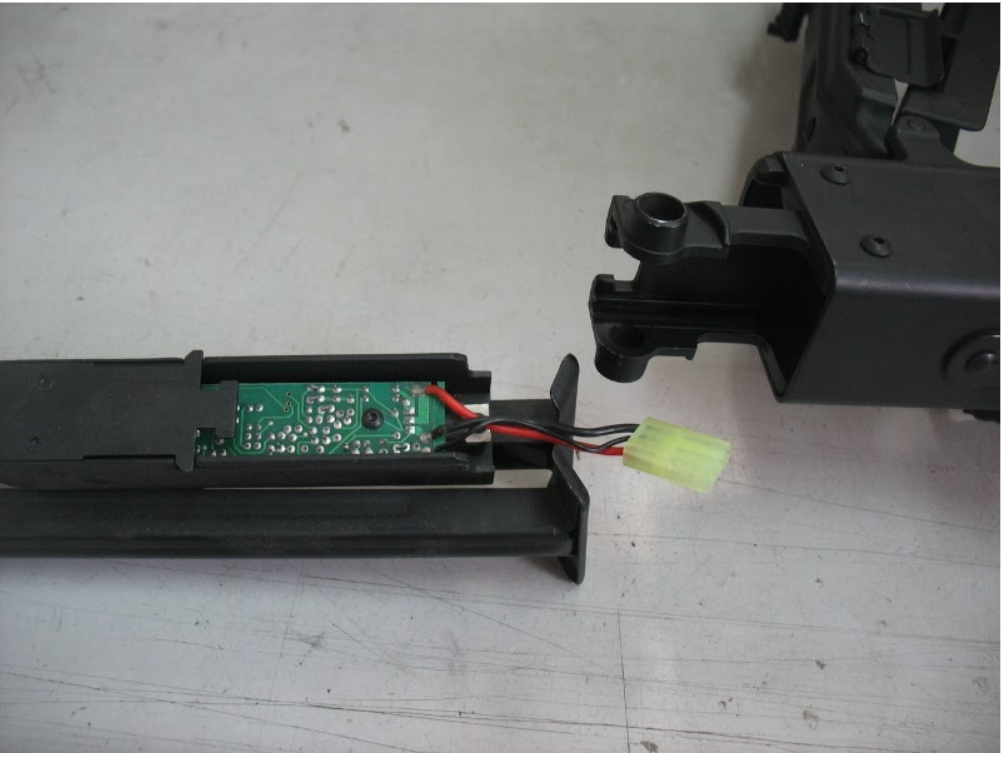
19. Tighten up the 2 screws of the stock, either from the top or from the bottom
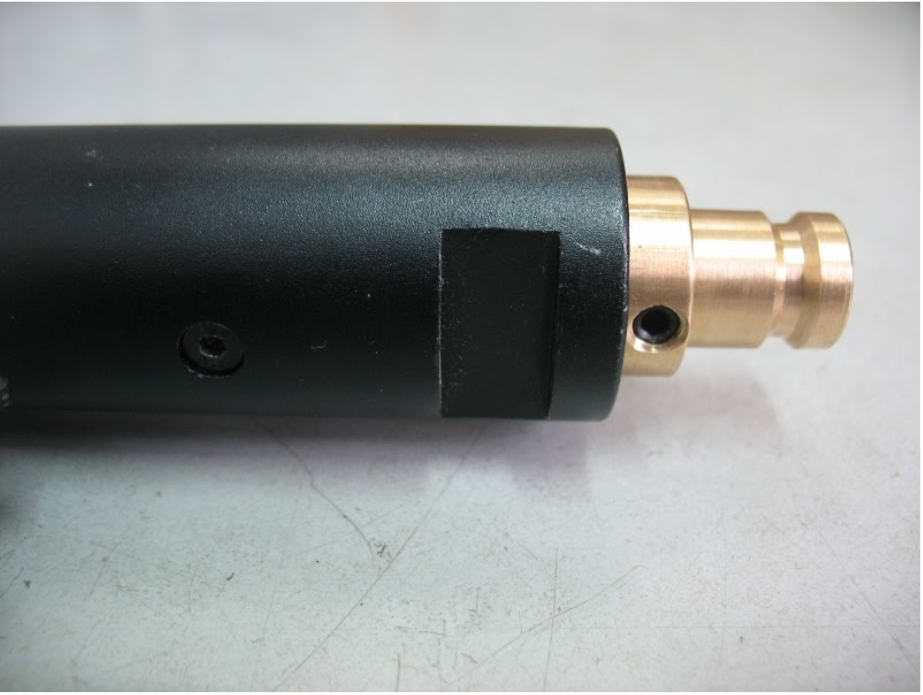
20. Slide the bipod set inside the PKM body. The AEG ROF controller shown can be left there attached
21. Now put on the barrel
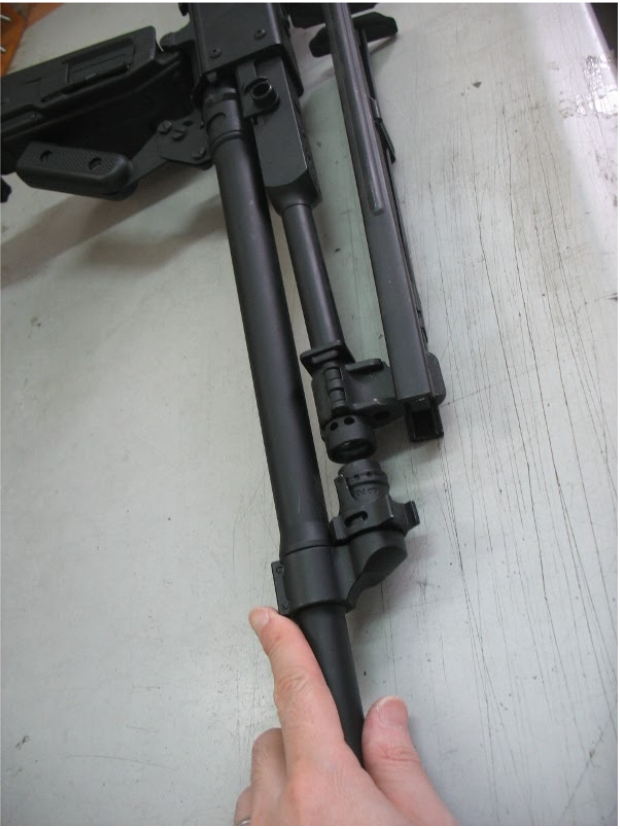
22. Slide in the original locking block to lock up the barrel
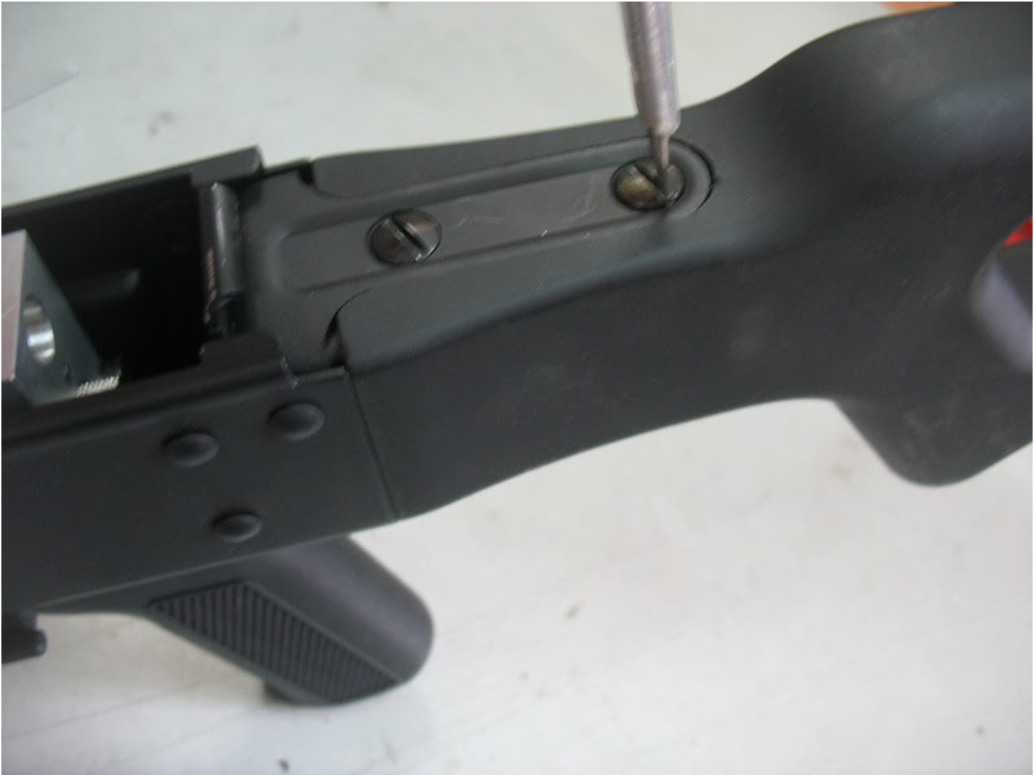
23. Tighten the screw to secure
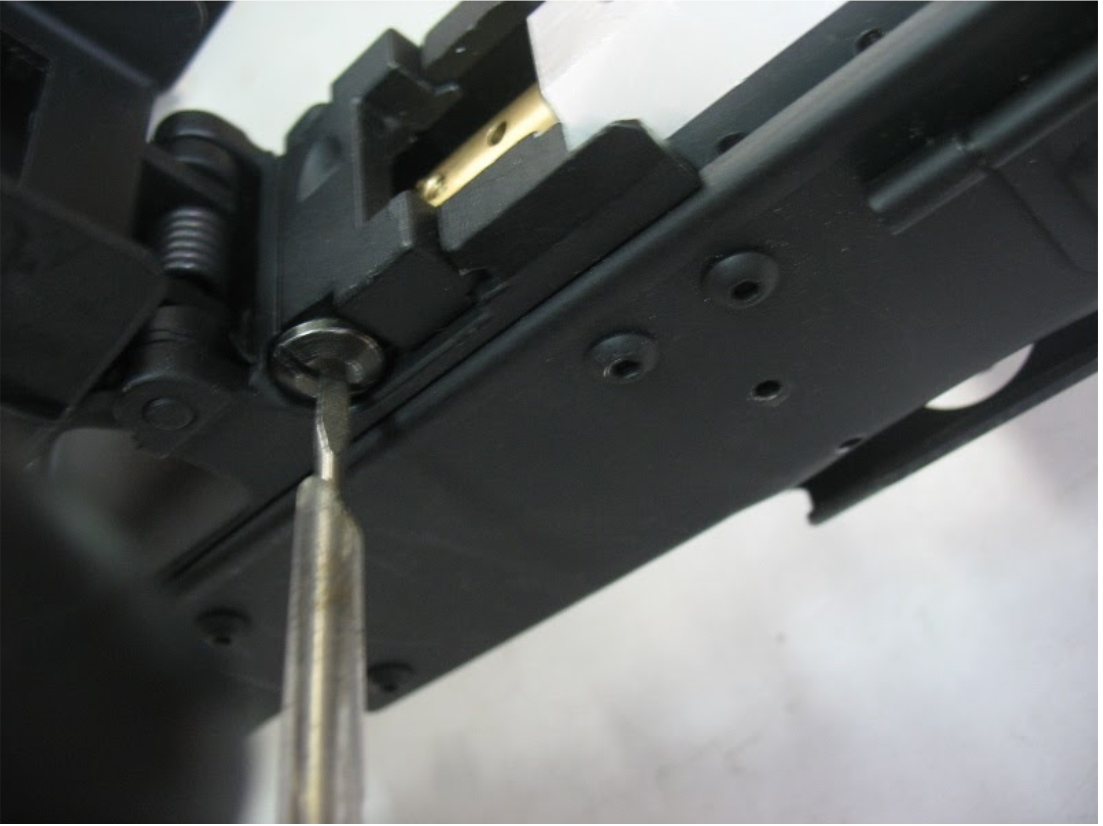
24. Insert the M4 setscrew to lock the barrel and the kit. Do not overtighten
25. Now tighten the side screws

26. The DG PKM is done