A&K M60/MK43 Installation GuideUpdated 5 months ago
A&K M60/MK43 Installation Guide
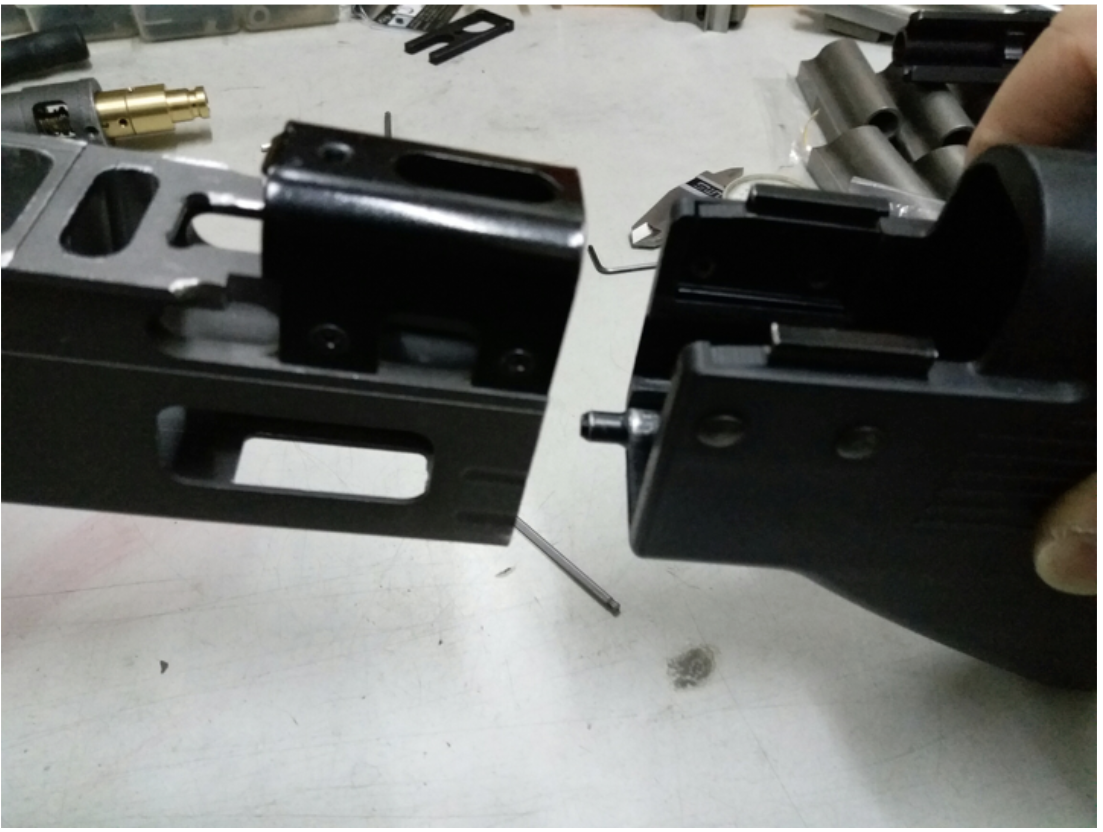
Do not remove the loading spring tube. Make sure it sits properly and securely.
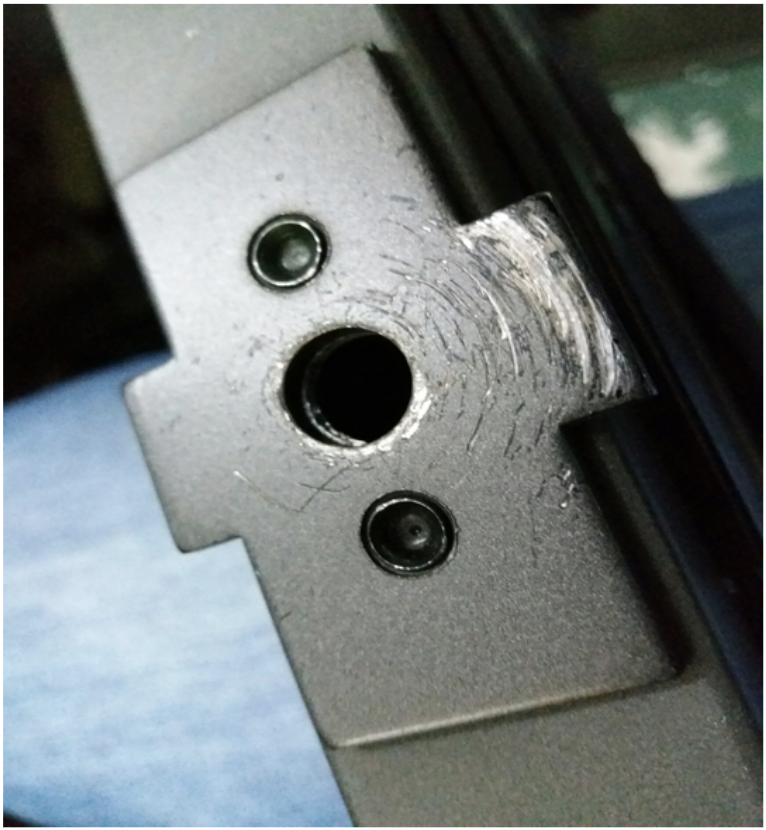
Drill a hole at the rear of the receiver to allow the air line to go through.
The airline is 6mm OD, so drilling a 7mm or wider hole is recommended.
If you plan to use the Daytona Gun in-Grip Line (DGIL), the hole has to be wider than 9mm OD.
Reassemble the hopup unit with an AEG inner barrel.
Make sure it is aligned properly and the c-clip is locked in securely.
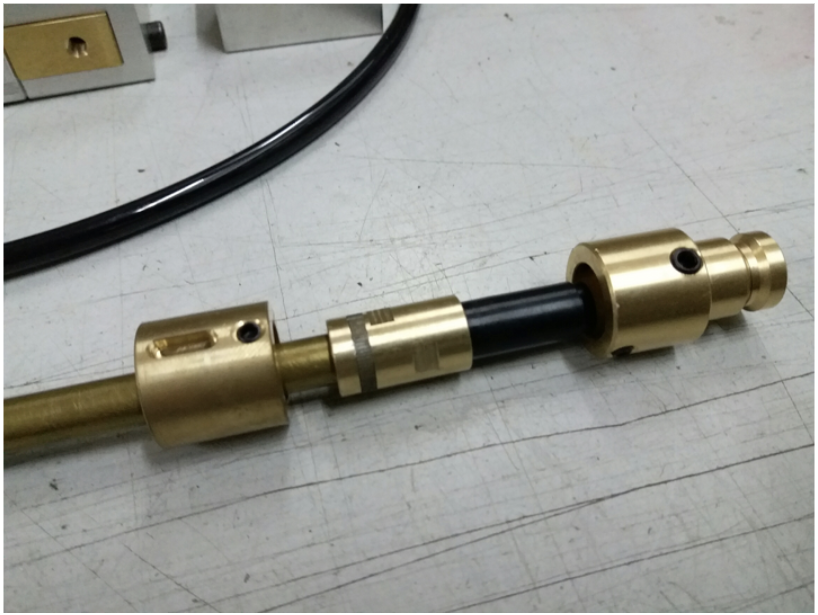
There is a slot near the front brass part. It can be facing up or down. Its purpose is to lock with the outer barrel, which also holds 3 tension springs together.

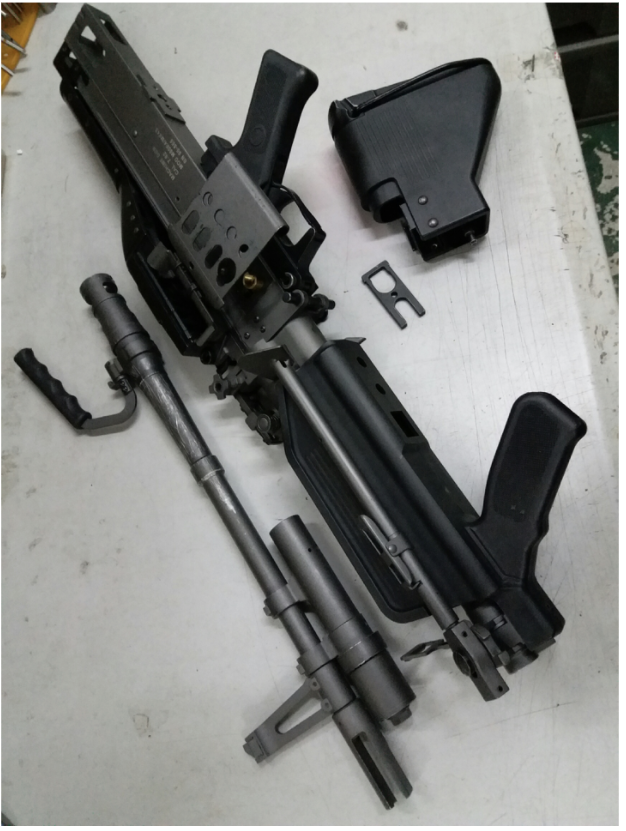
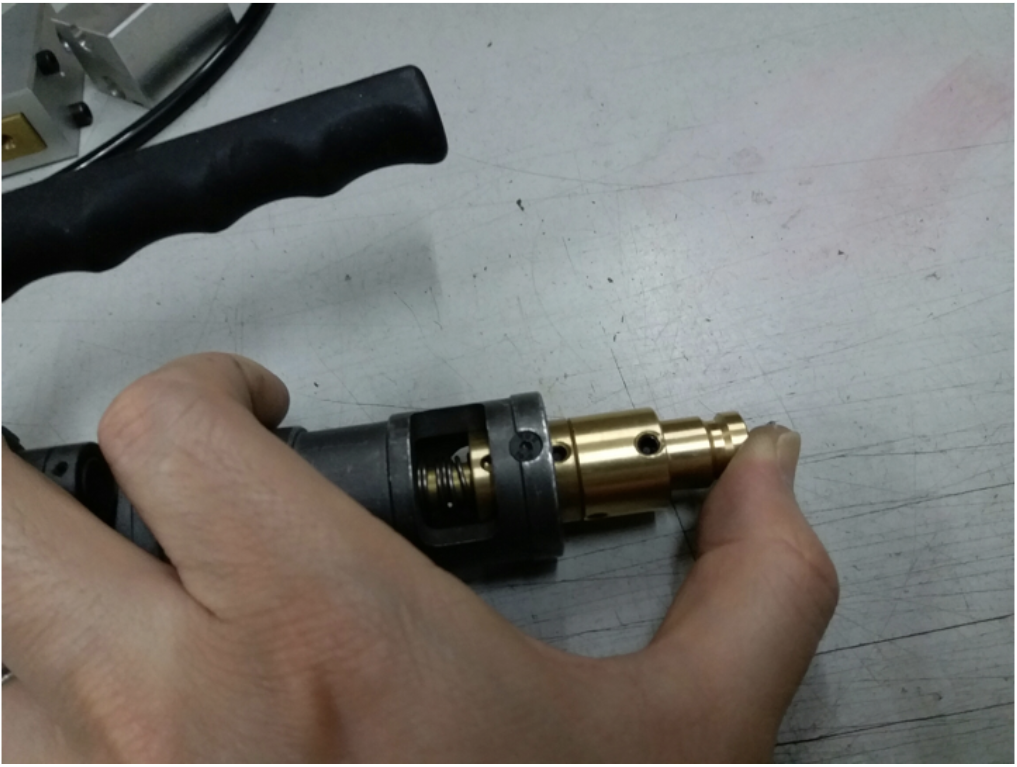
Hopup assembly and inner barrel can now be put back into the outer barrel.
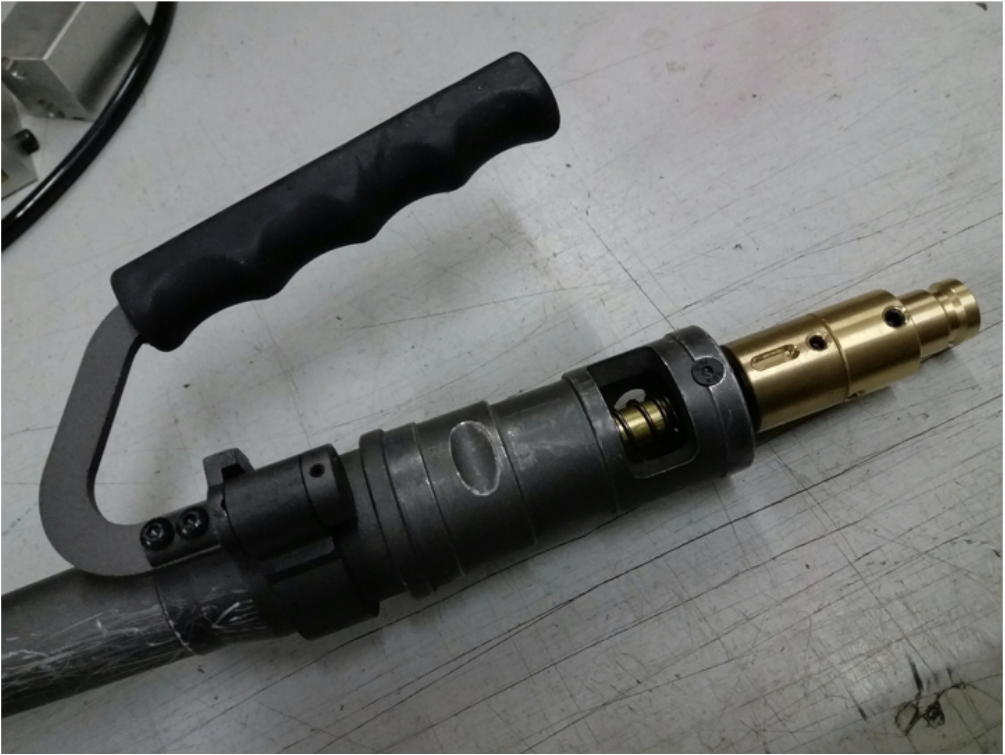 Tighten up the A&K original screw on the outer barrel. Either top or bottom is fine. Try pushing the hopup into the outer barrel. If there is moderate tension, then the barrel assembly is completed.
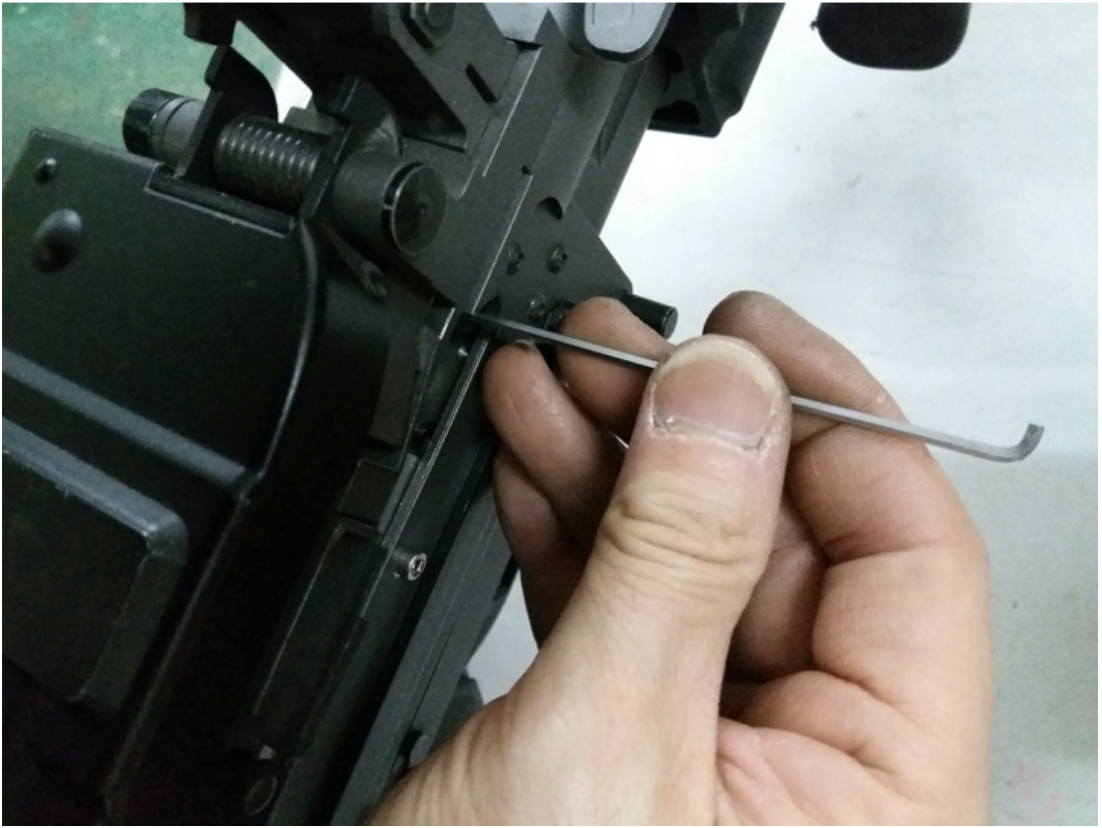
 Remove 2pc M3 screws from the DG kit at the chamber on both sides, and then drop in the kit into the body. Normally the kit can be dropped in smoothly. Push it to the front and align it with the feeding tube.
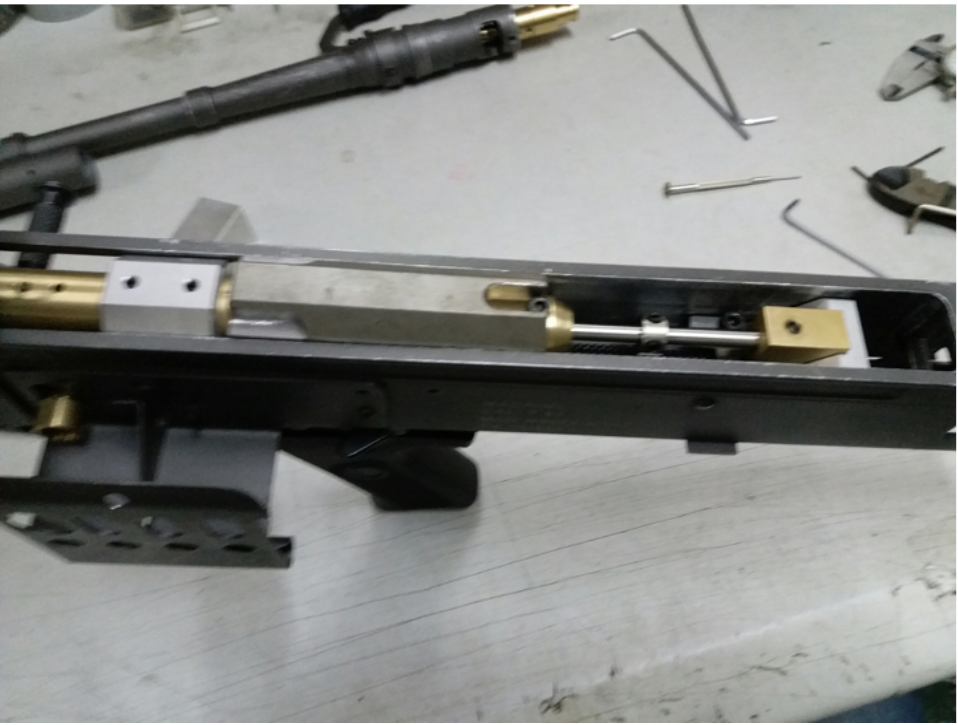
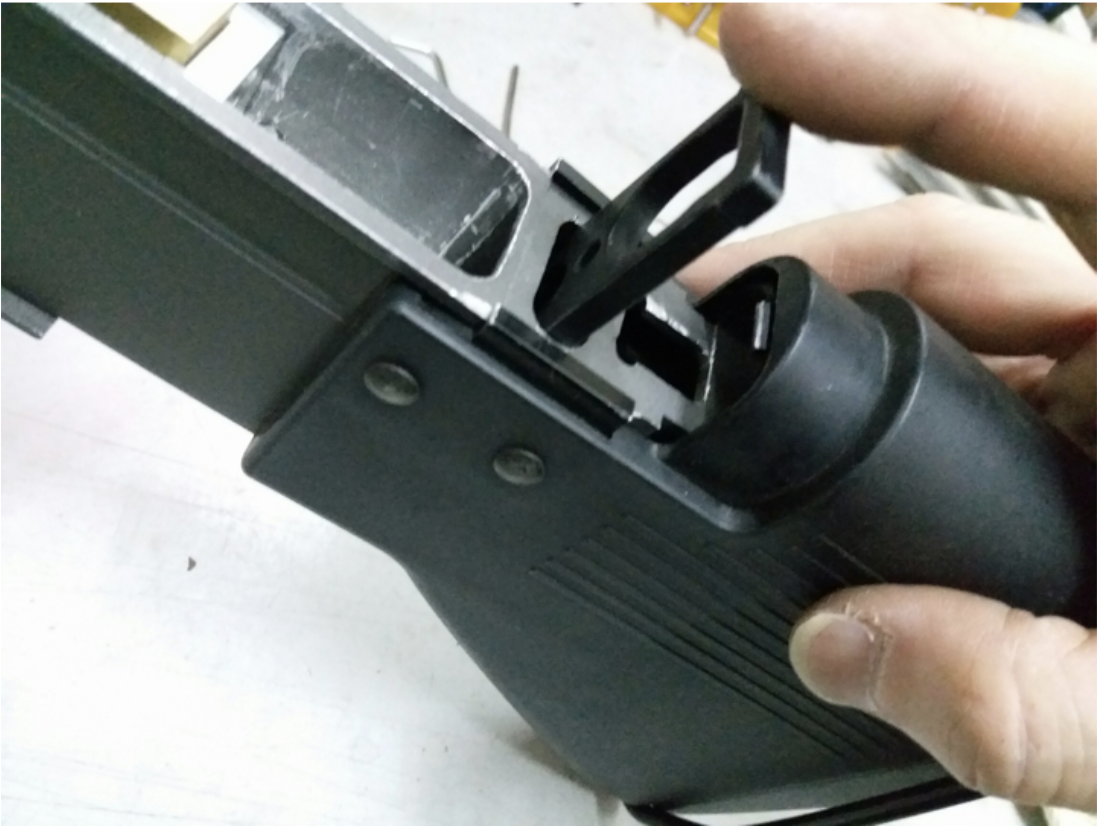
Insert this block into the body from the back of the receiver (stock), as shown.

Install the stock back onto the receiver. The entire stock assembly should provide enough force to press the metal block and the DG kit together rigidly.
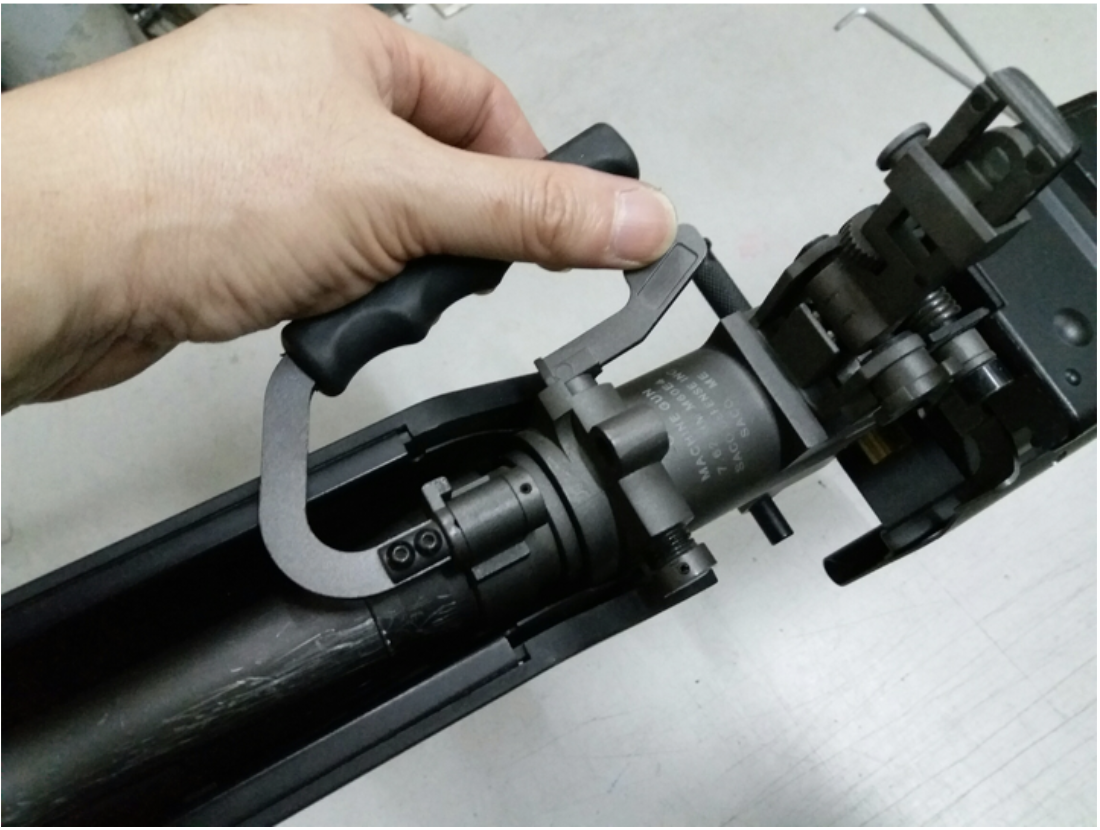
Put back this clamp.
Close the top cover. The outer barrel set should be able to be pushed into the receiver now.

Secure the outer barrel.
Tighten up the M3 screws on both sides.
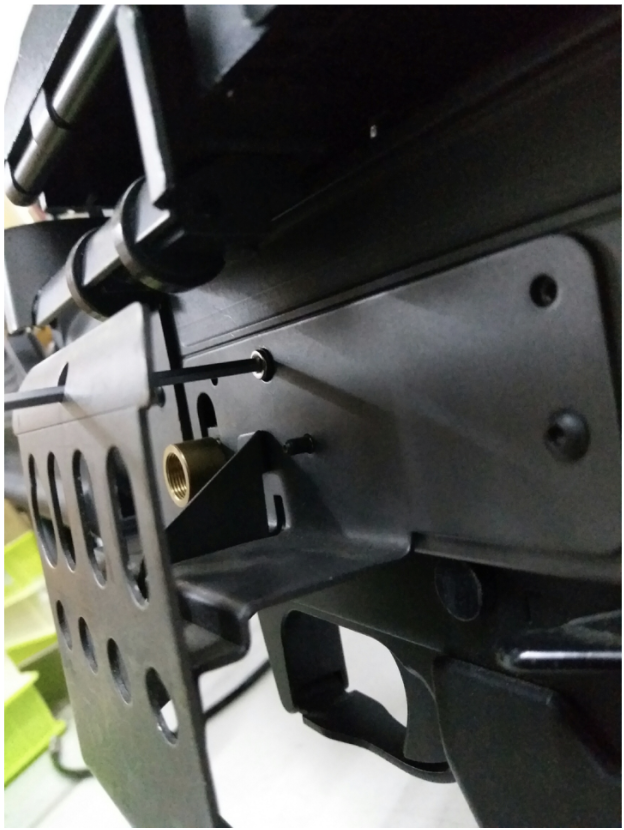
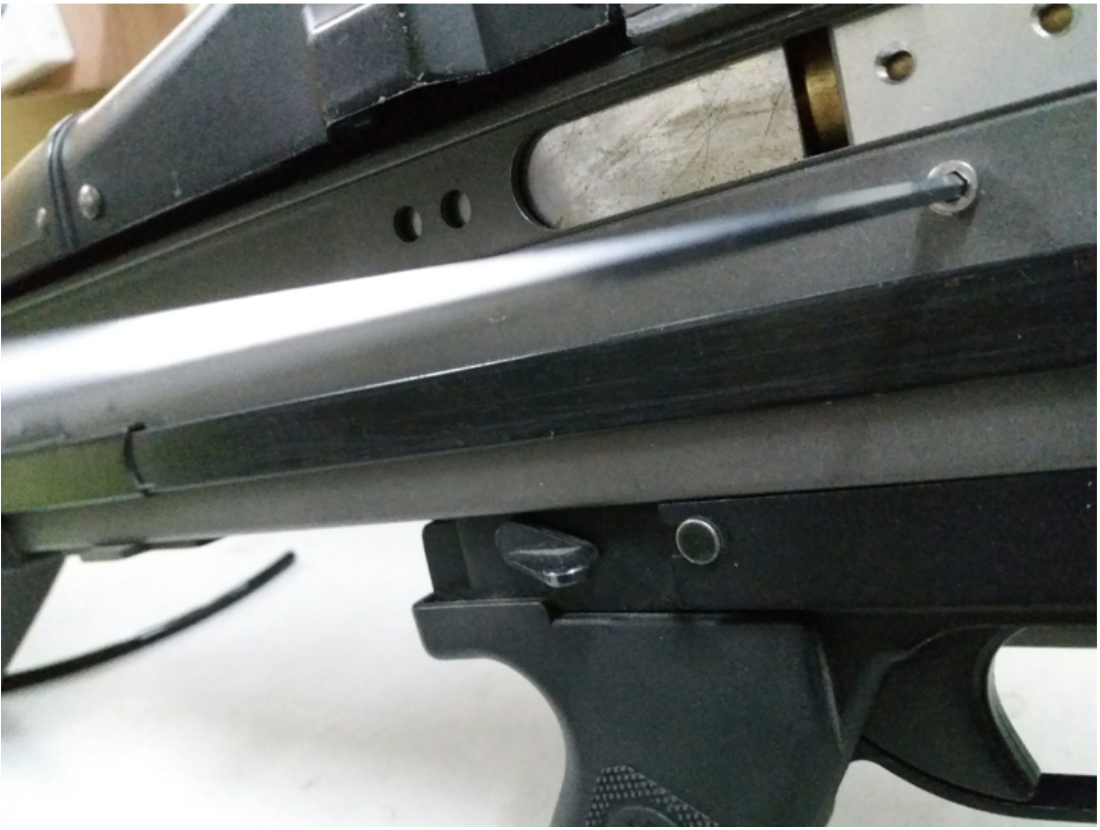
Secure the hopup assembly with the receiver to prevent the barrel from slipping off.
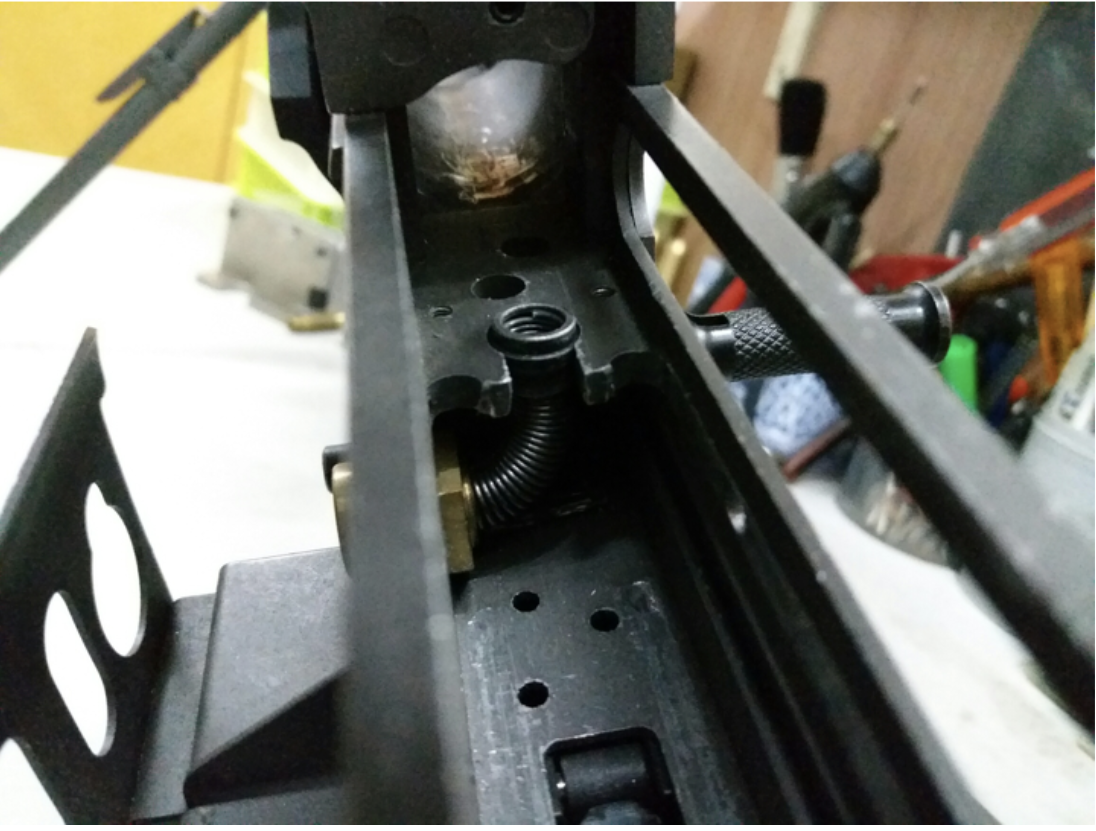
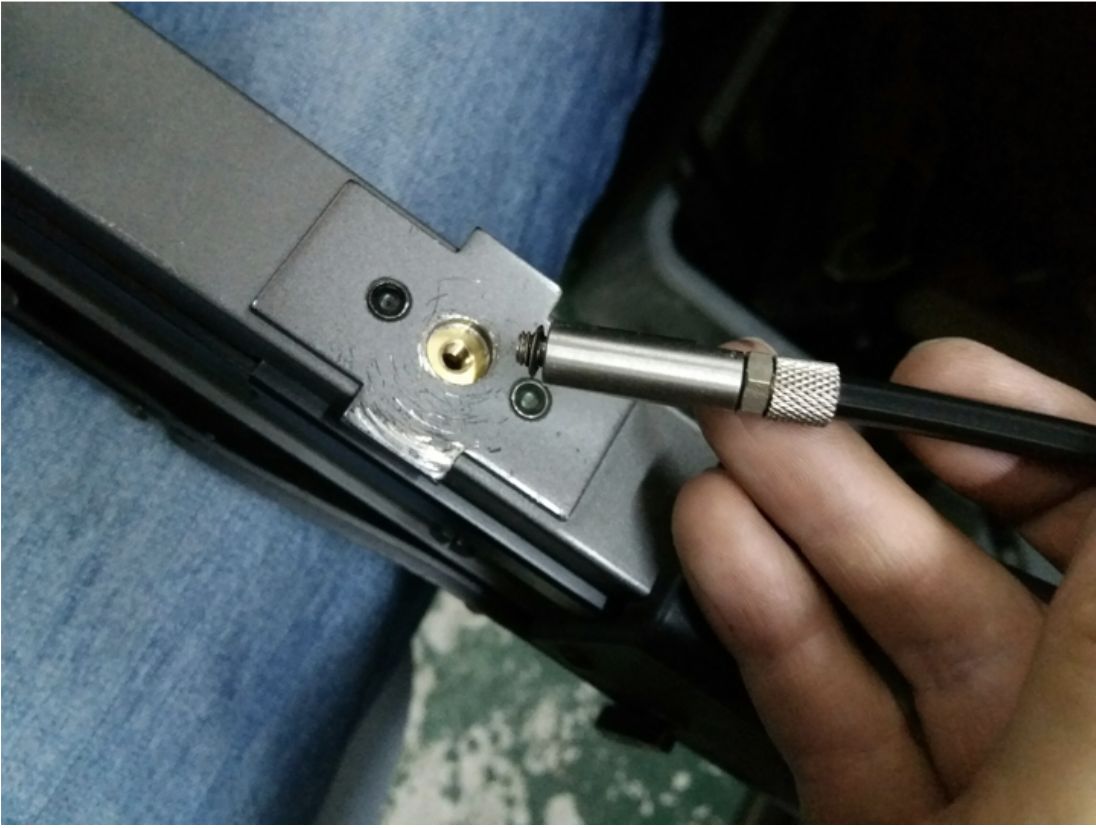
 Install the air line.
DO NOT OVERTIGHTEN THE AIR LINE FITTING. IT SHOULD BE FINGER TIGHT ONLY WITH A SMALL AMOUNT OF THREAD LOCK APPLIED TO THE THREADS. Overtightening may result in breaking the fitting. DGA will not be held responsible for fittings broken by overtightening.
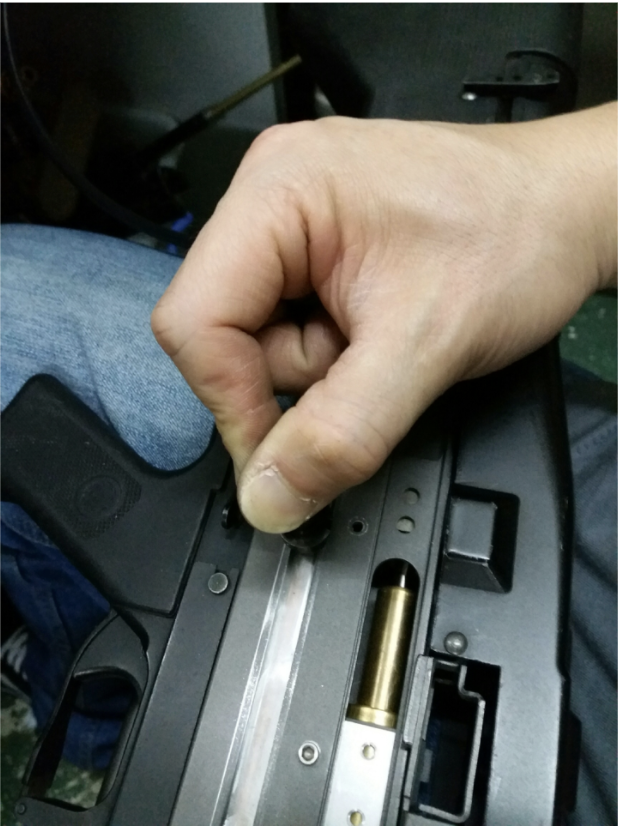
Try charging the handle to see if it works properly. If it jams, then double-check your installation to make sure everything is properly aligned.
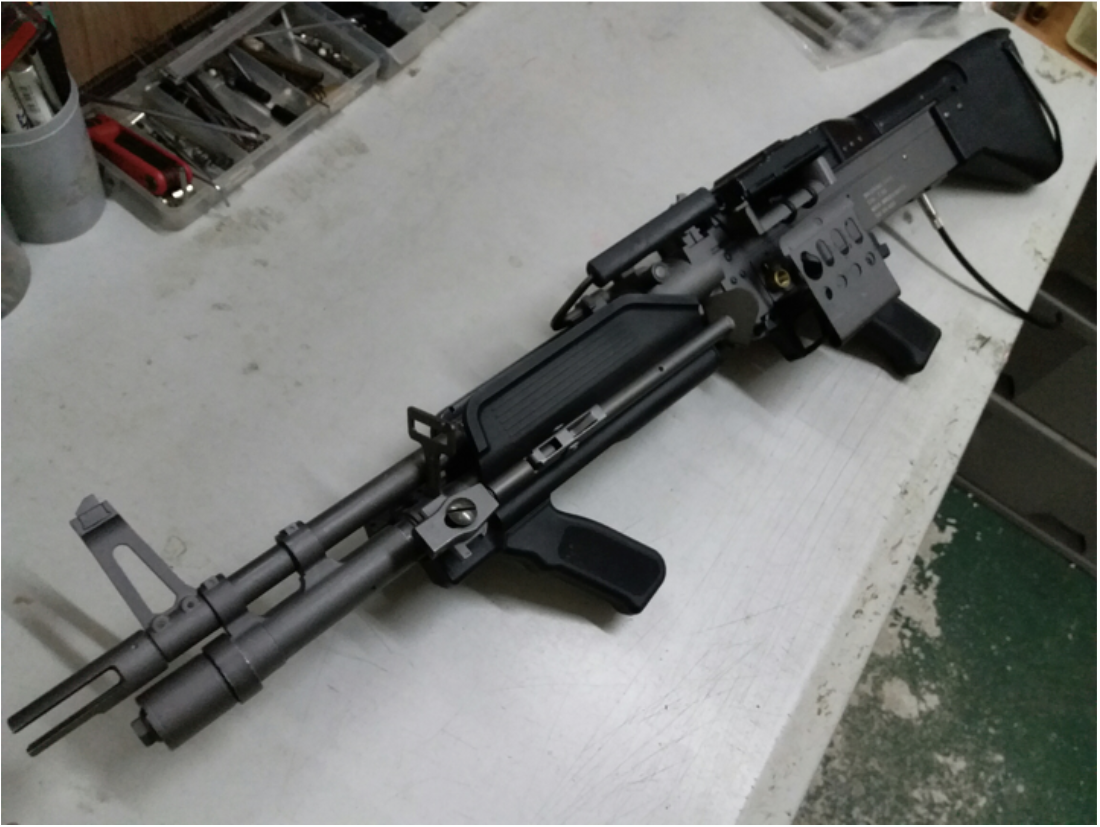
Complete Daytona Gun M60.