A&K / CA M249 / MK46 Installation GuideUpdated 5 months ago
Daytona M249 Kit Installation Guide
Donor Body:
- CA/A&K Spec M249/MK46
Required parts:
- Entire barrel group
- Entire receiver and stock
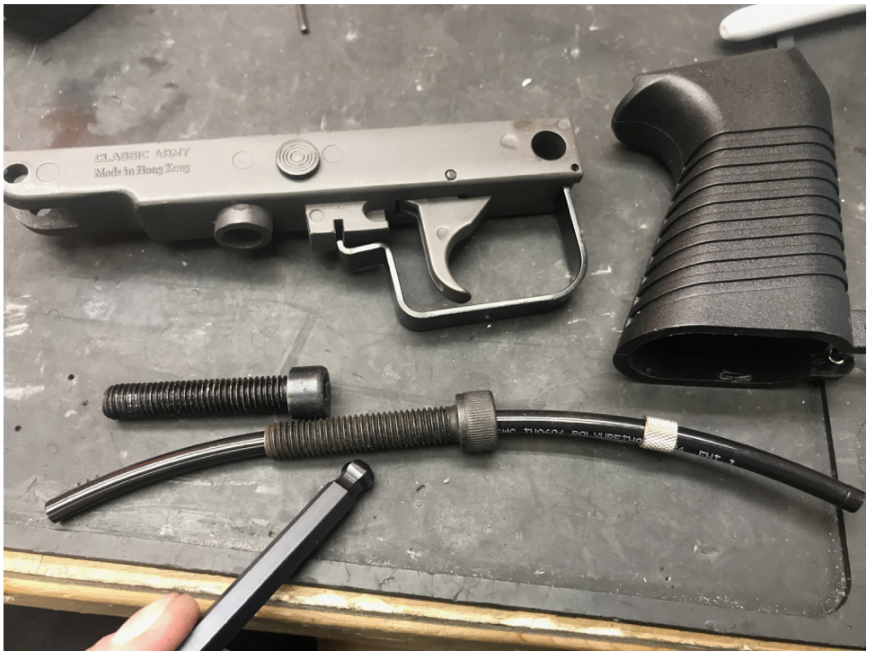
- Entire pistol grip group
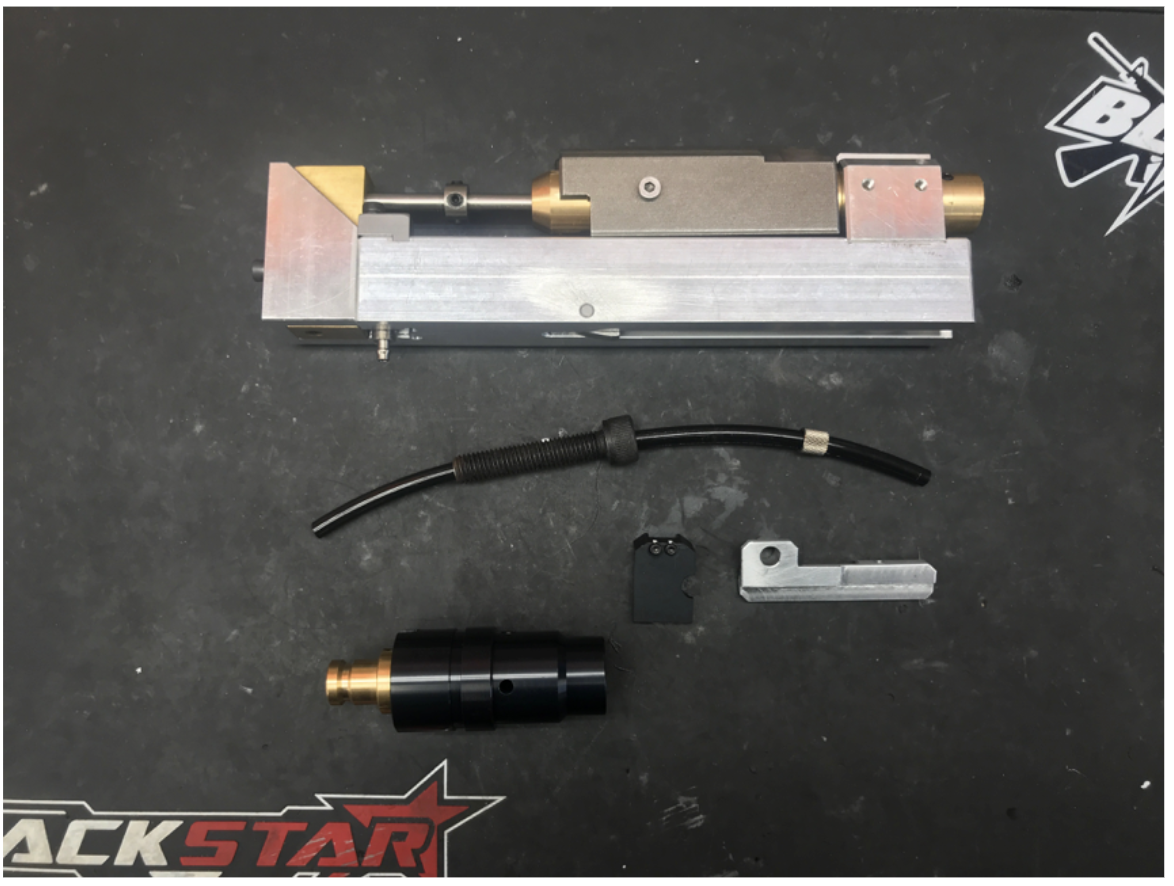
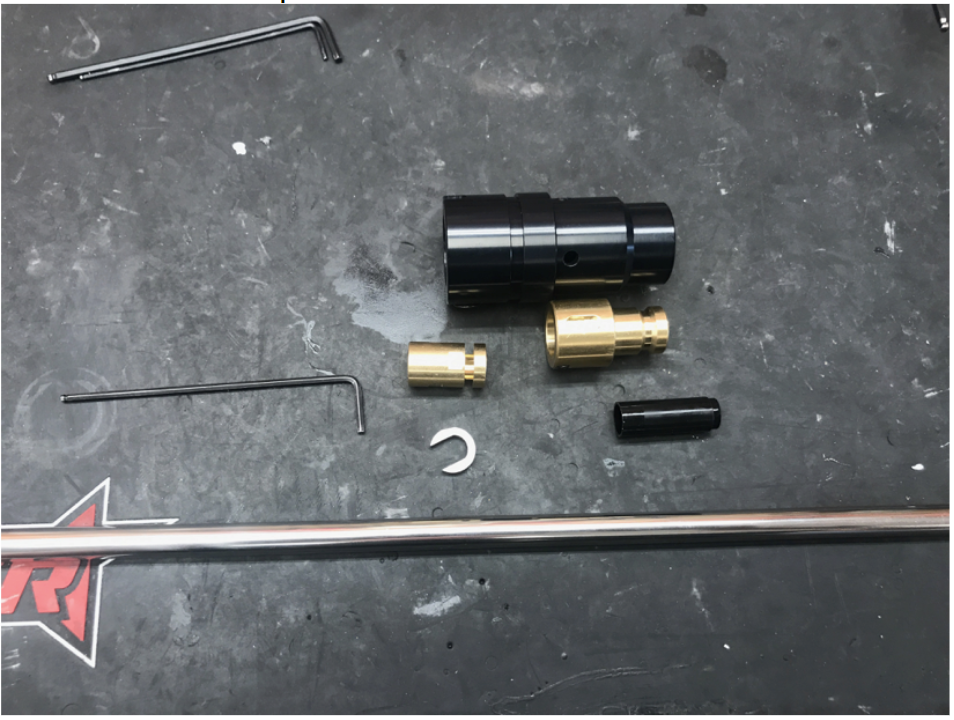
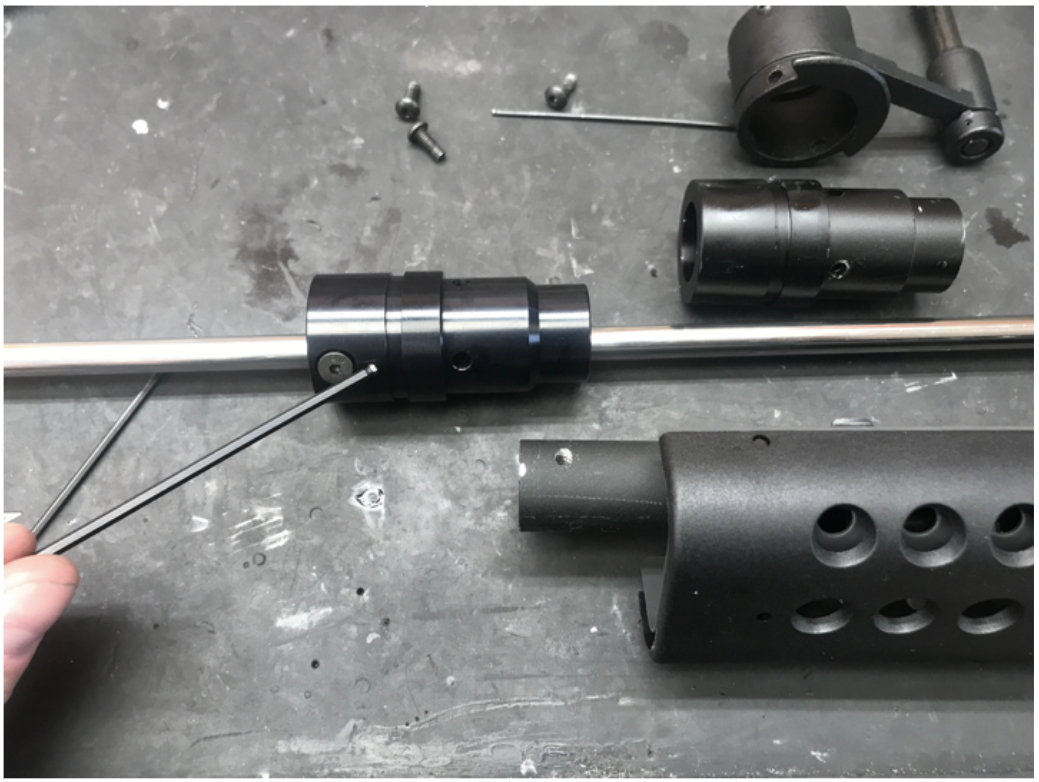
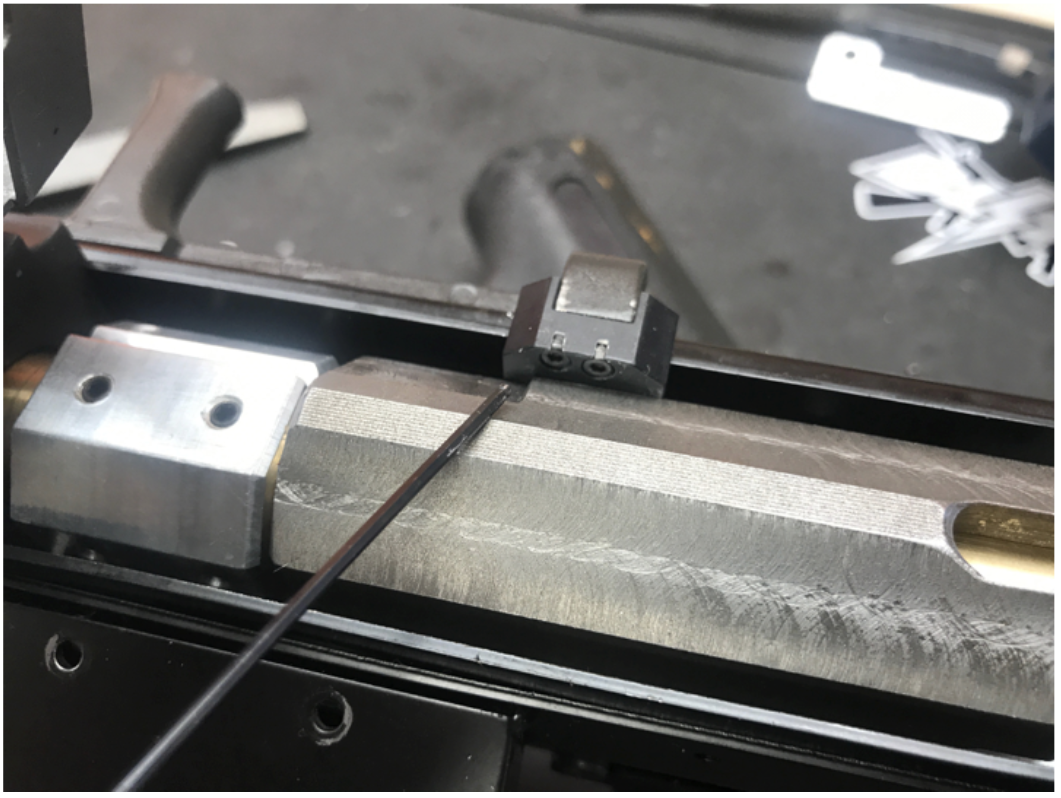
Hopup Assembly:
This is a Gen. 4 M249 kit that does not require a small spring to hold tension.
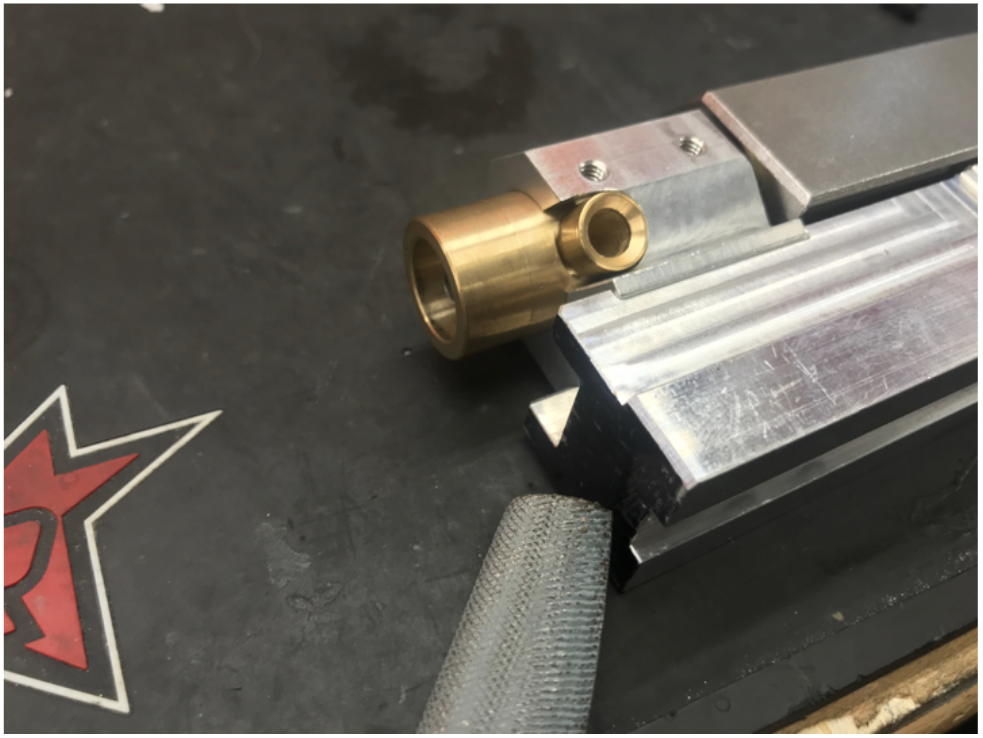
You need either a steel barrel or a brass barrel.
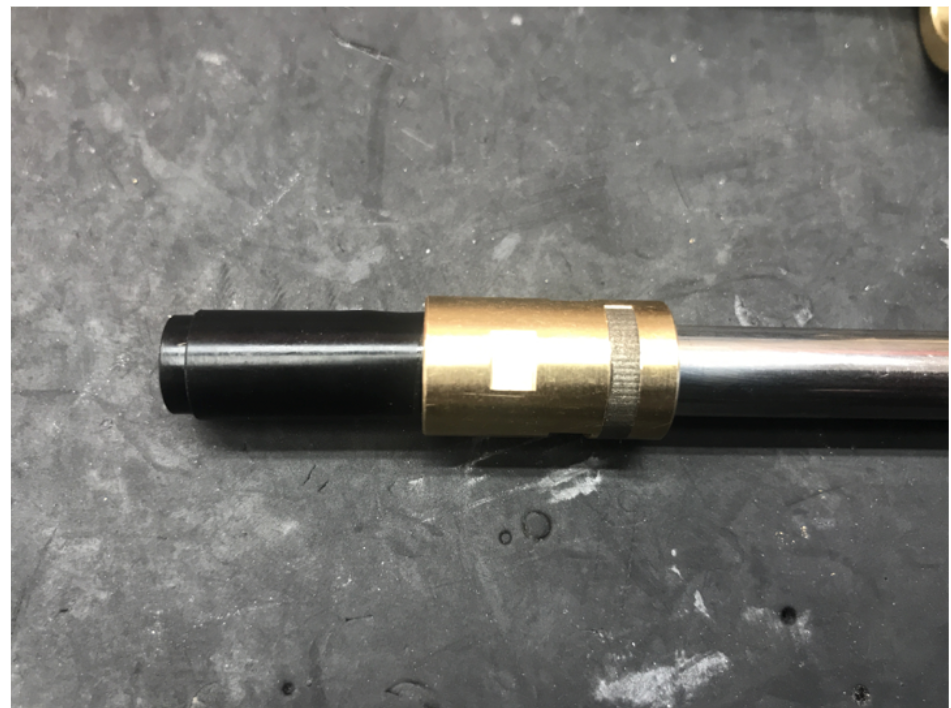
Simply put hopup rubber onto the barrel, lock it up with a brass barrel ring, and tap on the steel c-clip.
Put barrel back into hopup chamber and align them, then put the side set screws back in. Remember to use Loctite on screws.
(A tiny drop of Loctite is enough. Overuse will result in semi-permanent lock-up).
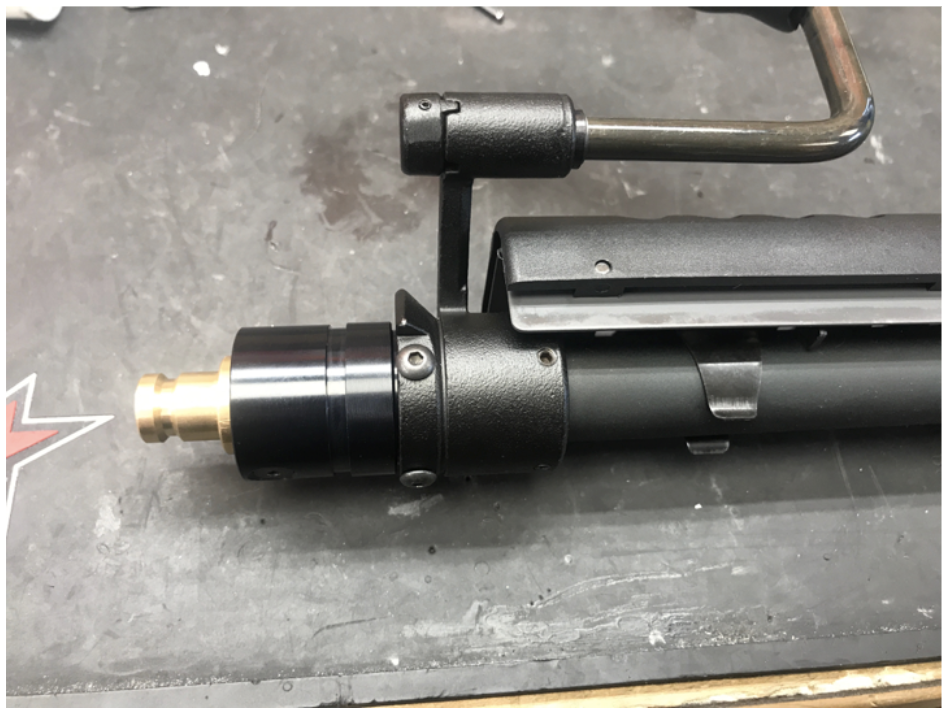
Slide the entire hopup-barrel group onto the outer barrel/carry-handle adaptor.
Tighten up all screws and make sure you have Loctite on them.
The entire barrel group is now finished.
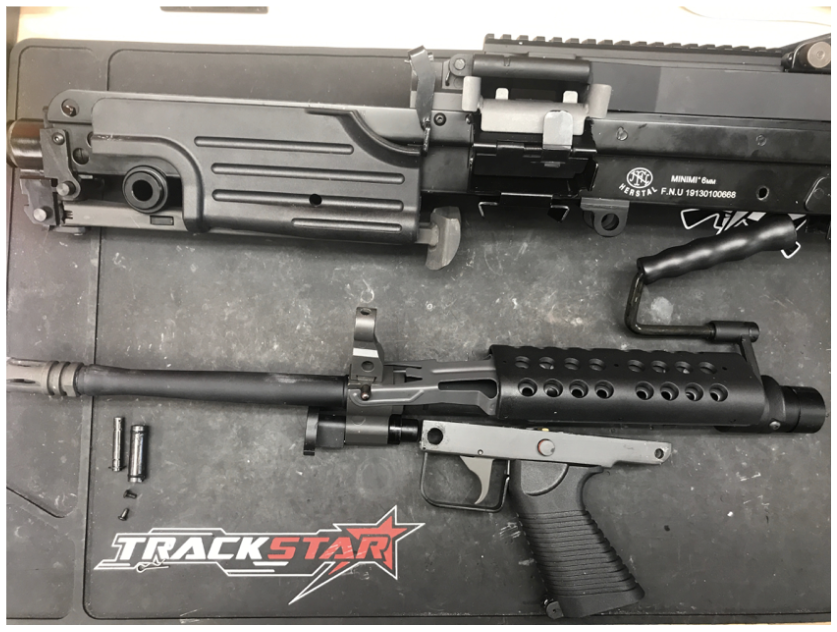
Receiver:
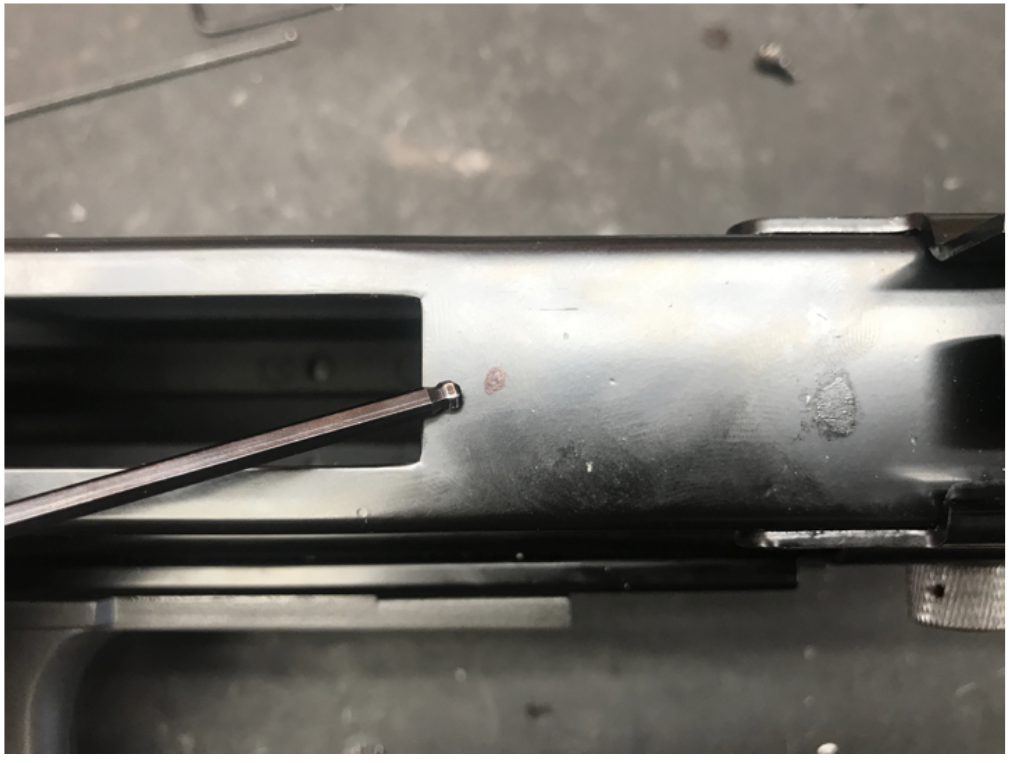
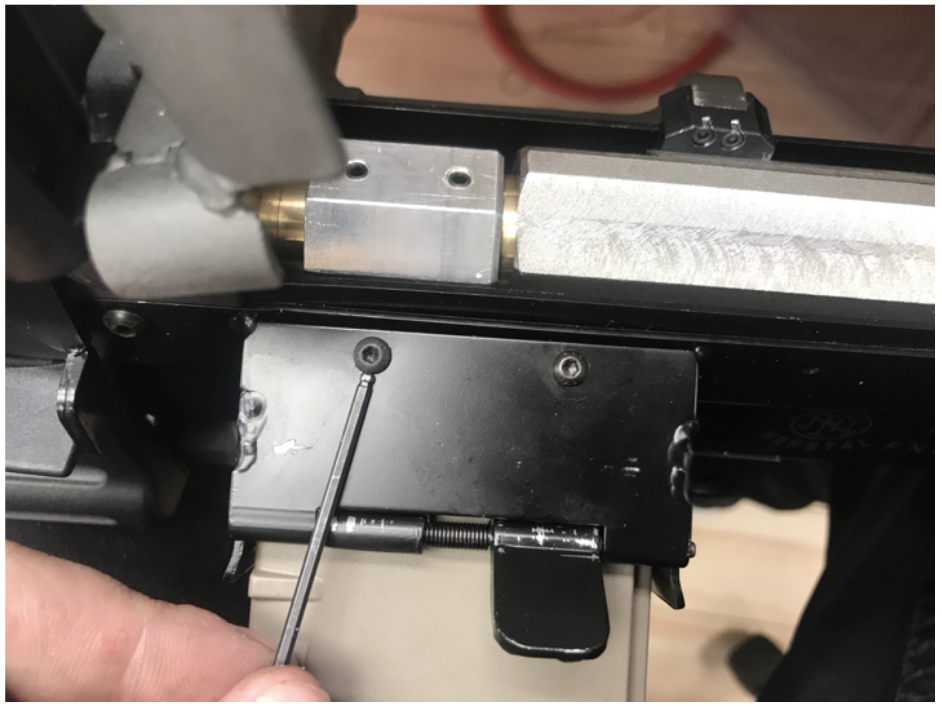
A hole needs to be drilled at bottom of the receiver.
Mark and measure the distance between body screw hole and airline nozzle.
Mark on the actual receiver with the measurement you got from kit.
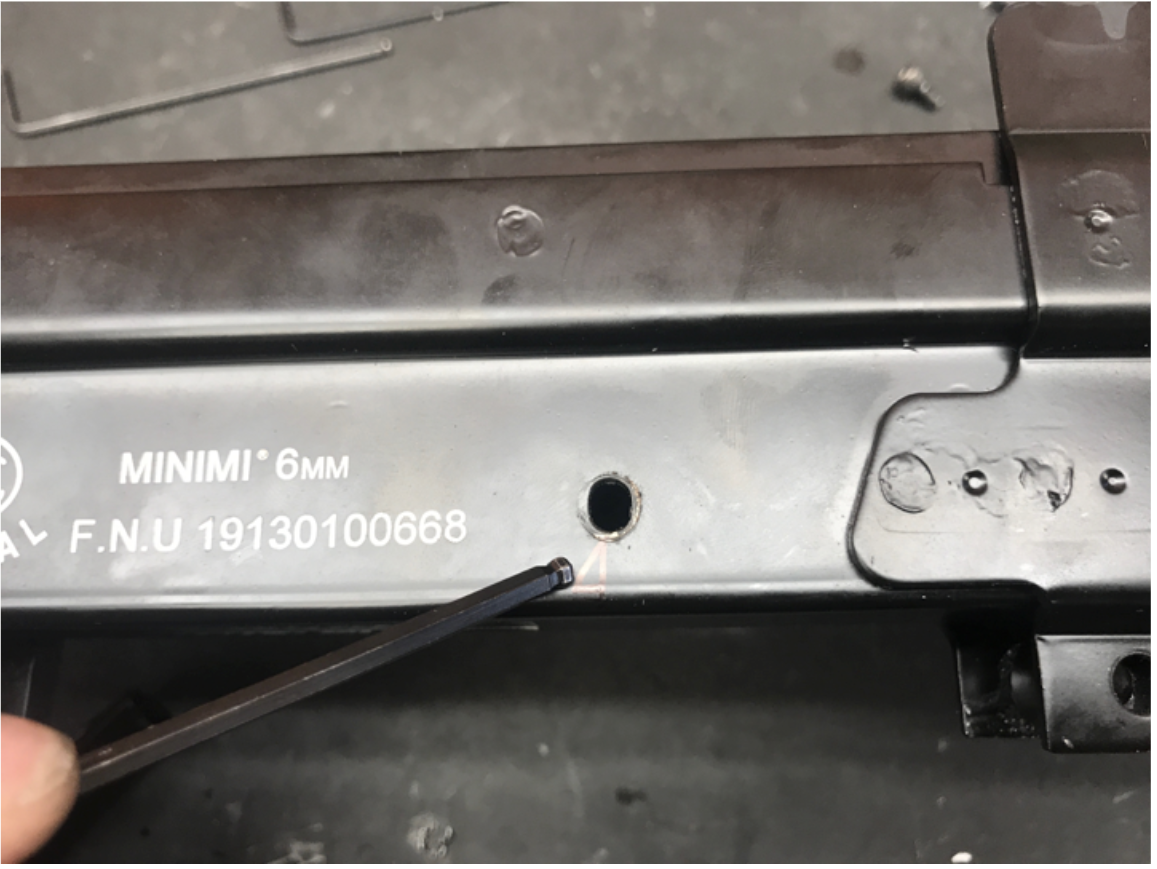
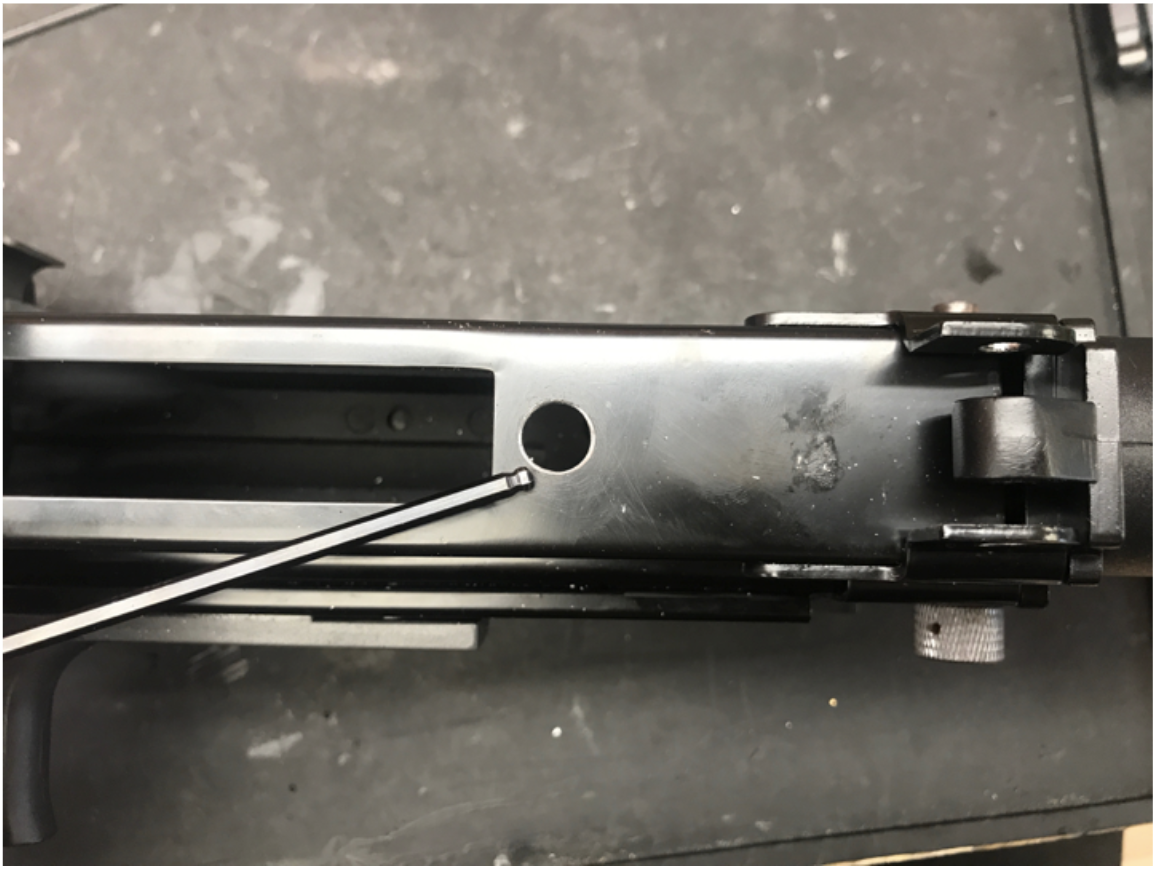
Now it should be easy to find the right spot to drill. Use Metric 8mm drill bit.
Remember to deburr so it won't damage your air line.
Sometimes CA or A&K M249 receivers are a bit off-spec.
Simply use a file to trim down 1-2mm of the front kit so the engine can sit firmly into the receiver.
Align engine with receiver body bolt holes.
(Body holes may need to be widened up a bit if the receiver is off-spec).
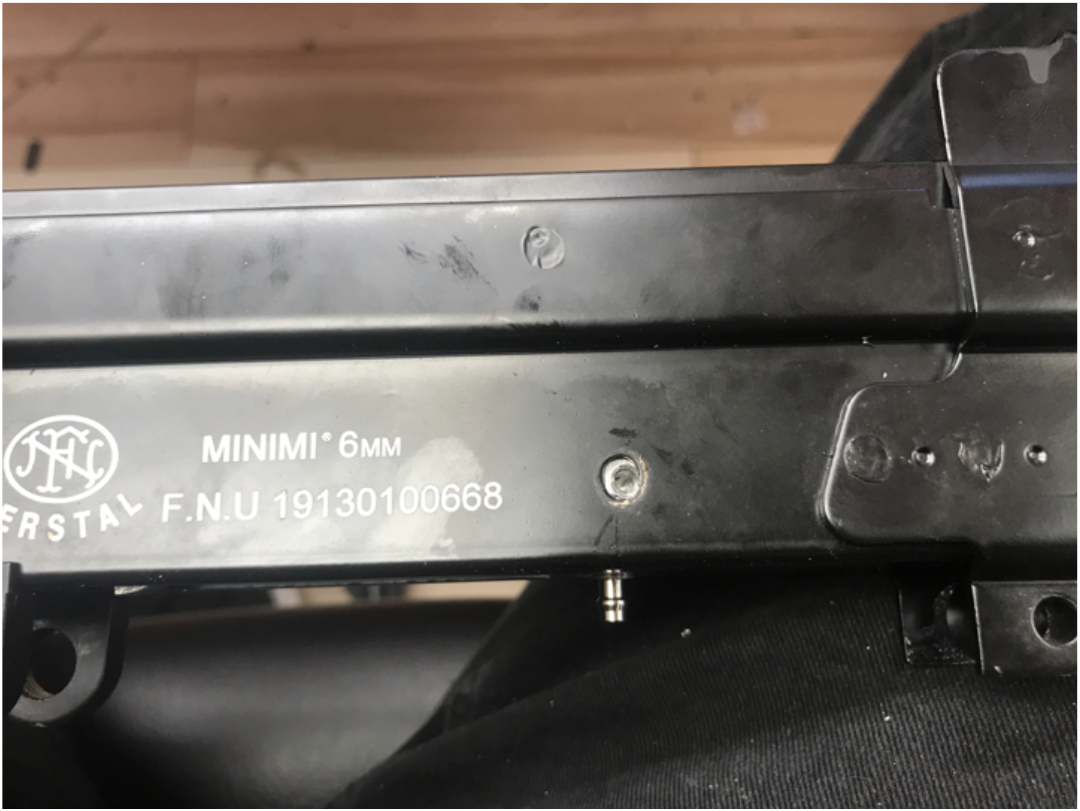
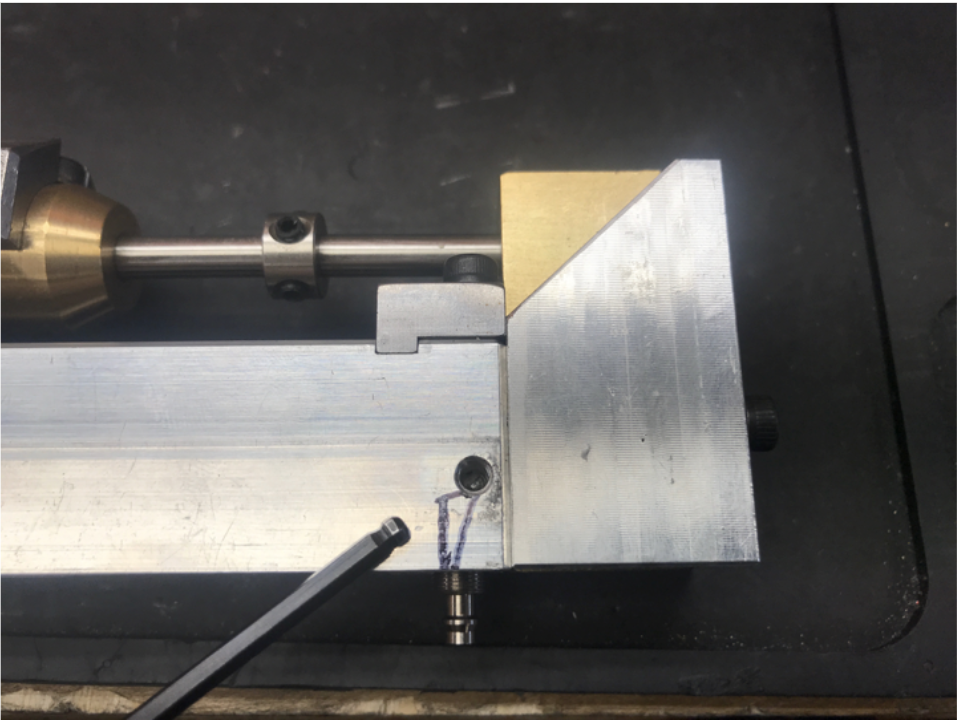
The air line fitting should be sticking out nicely.
Unscrew the original charging handle piece and put it on the Daytona charging handle adaptor. Remember to use Loctite.
Install Daytona feeding tray.
On an off-spec body, use a Dremel to sand the holes so it can align with the actual feeding hole.
Replace the pistol grip screw with the Daytona-provided screw.
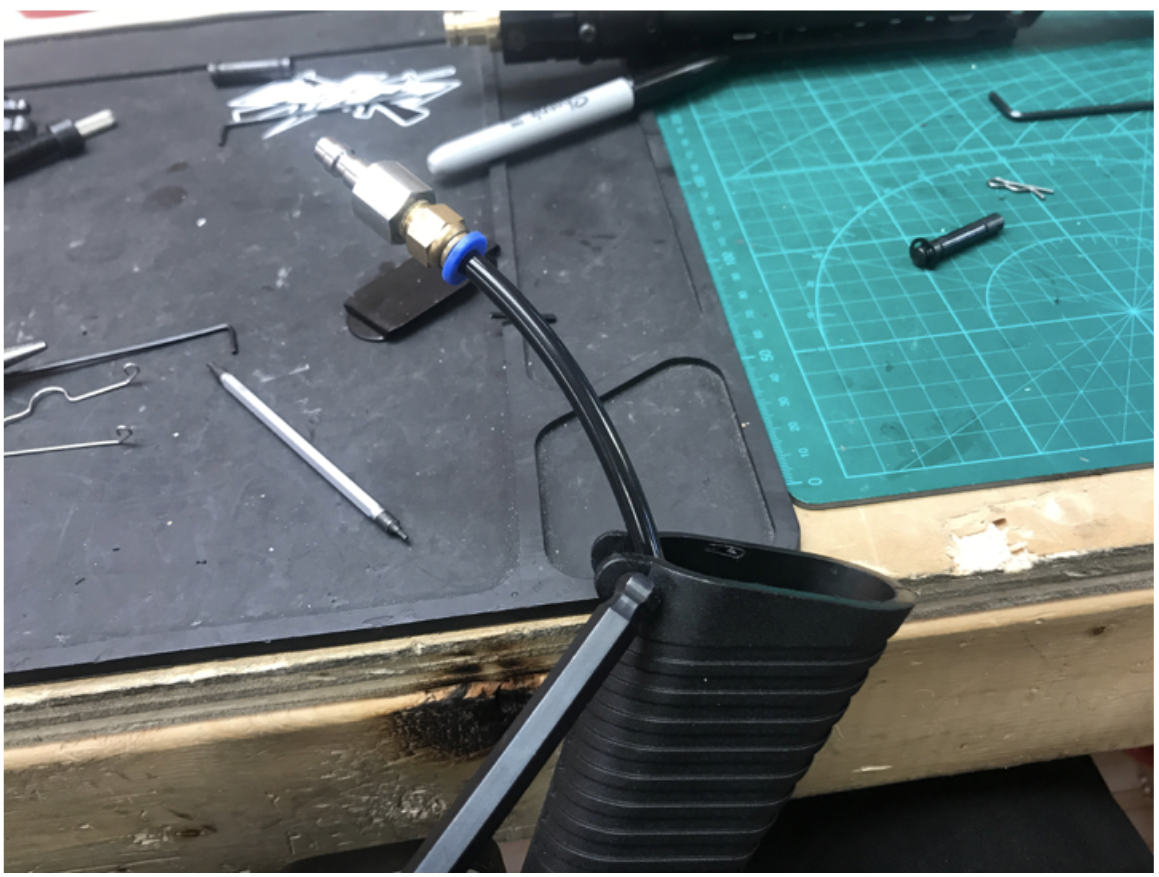
Screw on the air line and adaptor. Apply a tiny drop of Loctite.
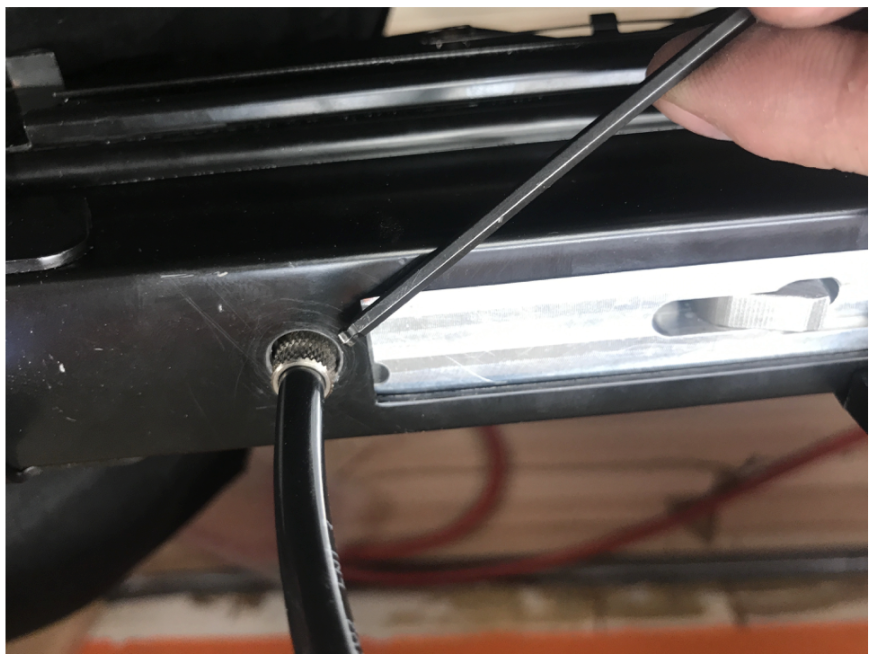 Make sure the air line comes out nice and neat.
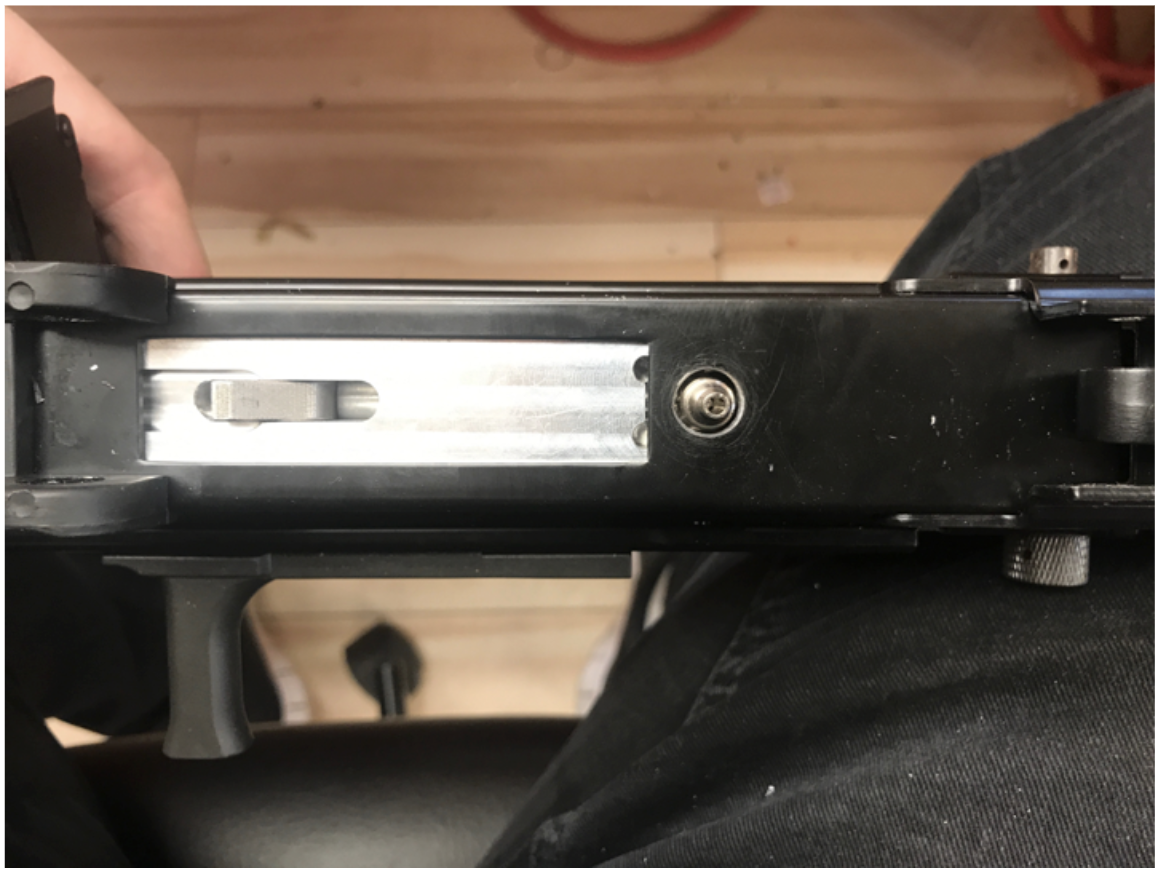
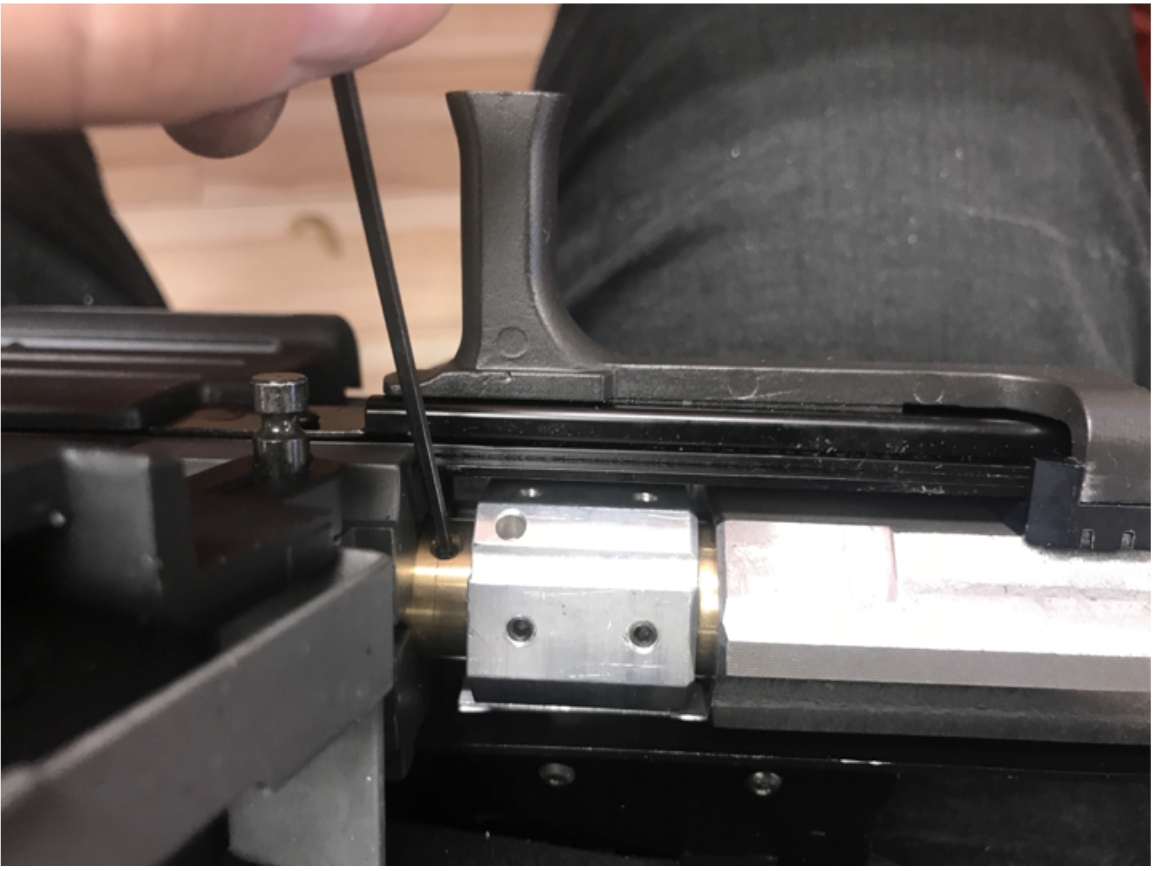
Before putting in the barrel group, remove the lock screw at the front section of engine.
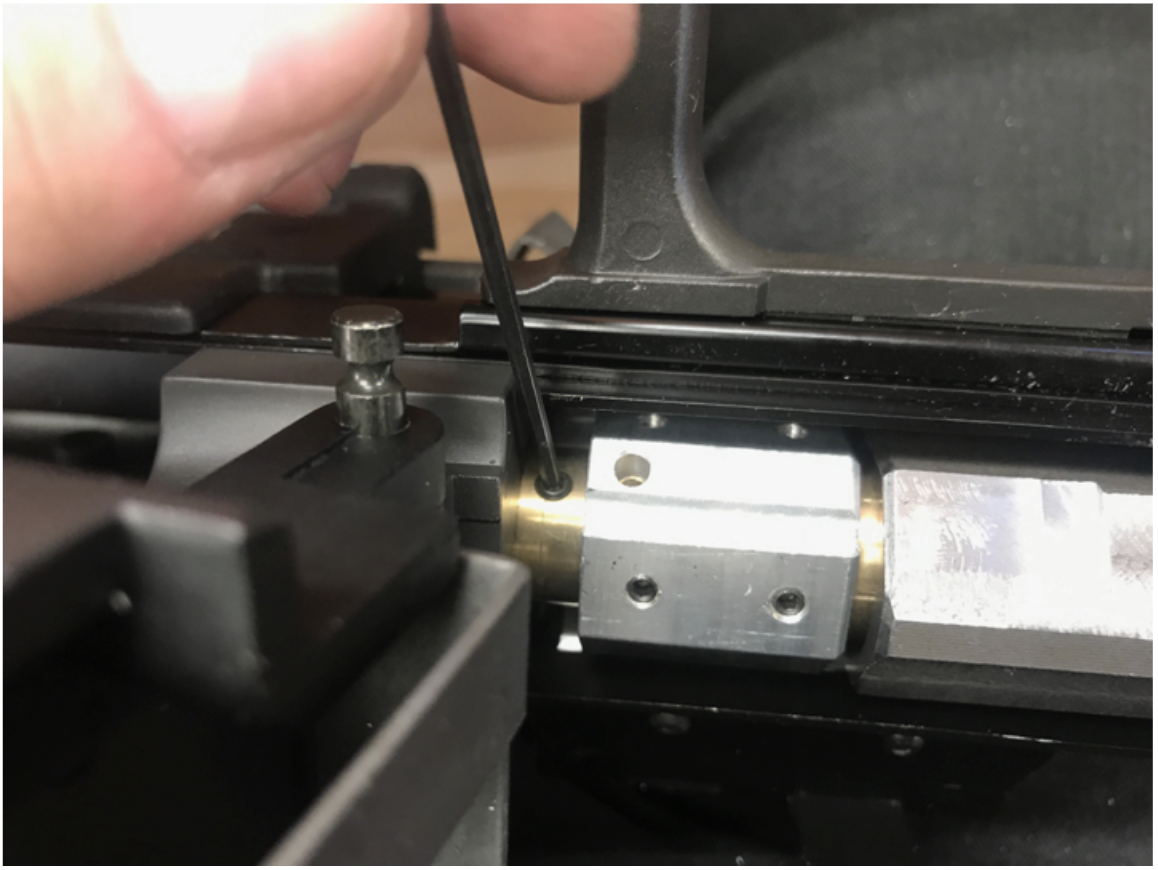
Put in barrel group, and make sure it's all the way in.
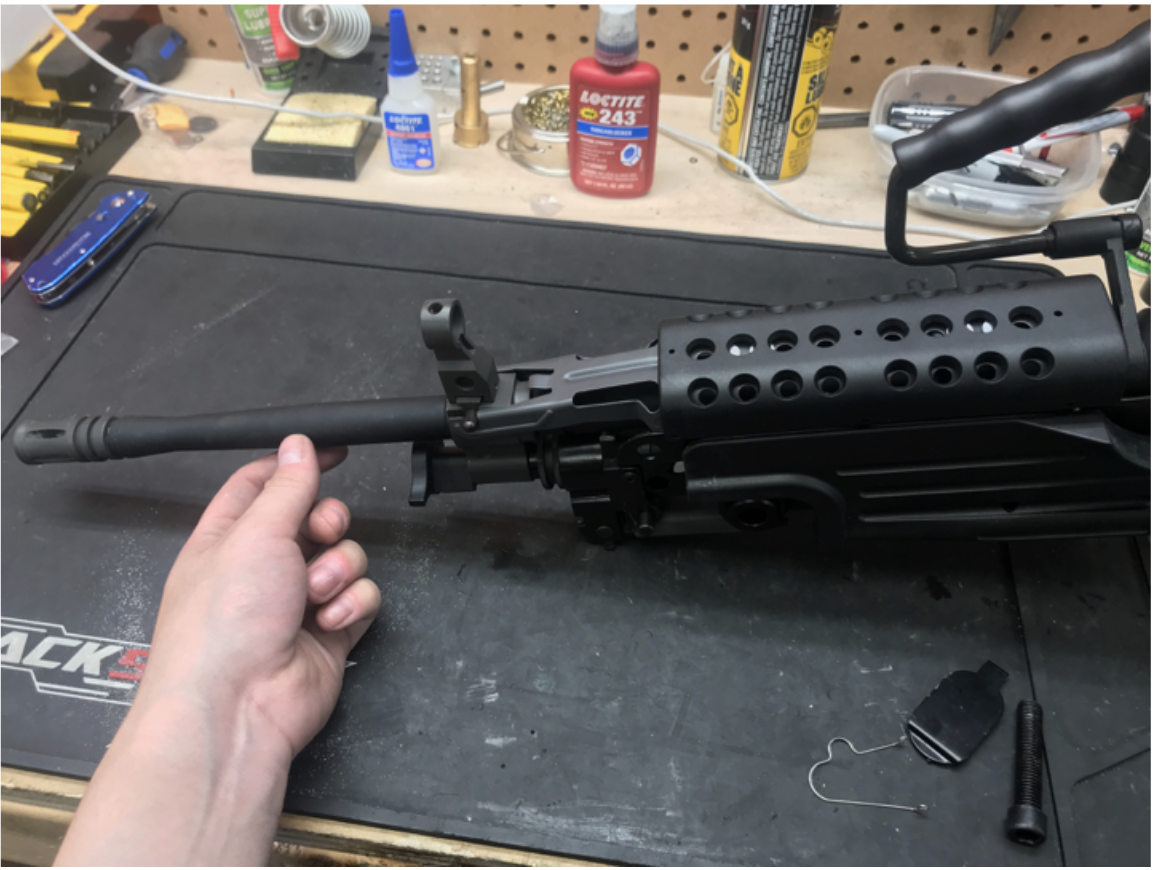
Put lock screw back in and tighten it up.
Finished.
Hook up your air source (after letting Loctite set) and have fun.